Gambit is a Defender who turns punishment into a weapon. If you're new to HEAT, an Agent is the character behind the wheel, and each Agent brings a signature Trait and Ultimate to their own vehicles (see the Game Guide for the basics). For Gambit, that kit is built around two ideas: reinforcing allies with a team-wide Ultimate, and converting the damage he takes into a shutdown on whoever dealt it. As Gambit, getting shot at is progress toward locking someone out of their kit, not a failure state.
AGENT DEEP DIVE
Gambit and His Tanks
The more damage you soak as Season 2's newest Defender, the closer you get to shutting an enemy down.

Gambit, HEAT's Season 2 Defender.
Who is Gambit?
Iron Curtain
Gambit's Ultimate deploys a swarm of drones that buffs every ally within 100 meters. Allies in range get:
- Temporary HP: 1,750, draining at 50 per second (fully depleted after 35 seconds)
- Track max HP: doubled
- Track regeneration: increased by 2 points per tick
- Shell screen max HP: doubled
- Resistance to blast, fire, radiation, shock, and slow effects: plus 10
Every buff besides the Temporary HP lasts 20 seconds.
Iron Curtain can swing a 1v1 or even a 1v2 in your favor, but it is built to be a support Ultimate first, and using it purely to secure one elimination usually wastes most of its value: it hits every ally in range, so it pays off far more spent reinforcing a push or a defense.
Feedback Loop
When Gambit takes damage from within 100 meters, the attacker builds Interference. Interference is tracked per enemy, and once a given enemy's Interference reaches 1,000, it converts into Jammed, locking them out of their vehicle abilities. Jammed affects vehicle abilities only; the enemy's Agent Trait and Ultimate keep working.
Interference builds at different rates depending on how the damage happens:
- Damage dealt to Gambit within 100 meters: 0.75 Interference per point of damage
- Damage blocked by Gambit's shields within 100 meters: 0.75 Interference per point of damage
- Ramming damage: 1.5 Interference per point of damage
- Damage from beyond 100 meters: no Interference generated
Feedback Loop rewards being hit rather than punishing it, so close-range engagements work in your favor as Gambit. Damage from a specific enemy builds Interference on them specifically, which means deliberately trading hits with a target whose ability you want delayed, an enemy about to pop something strong, for example, can be a valid way to shut that ability down for a few seconds.
Any damage exchange involving an enemy builds Interference on them, not just damage they deal to you directly. Ramming is the clearest example: the collision damages you, but since the enemy is the other party in that exchange, they take Interference from it even though you initiated the ram.
Interference falls off beyond 100 meters, so enemies who fight at long range, a Leopard 1A6A1, for example, generate no Interference against you no matter how much damage they land. Long-range attackers are the matchup where Gambit gets the least value from his Trait, so closing distance, or forcing them into short range, pays off more against them than it does against most other targets.
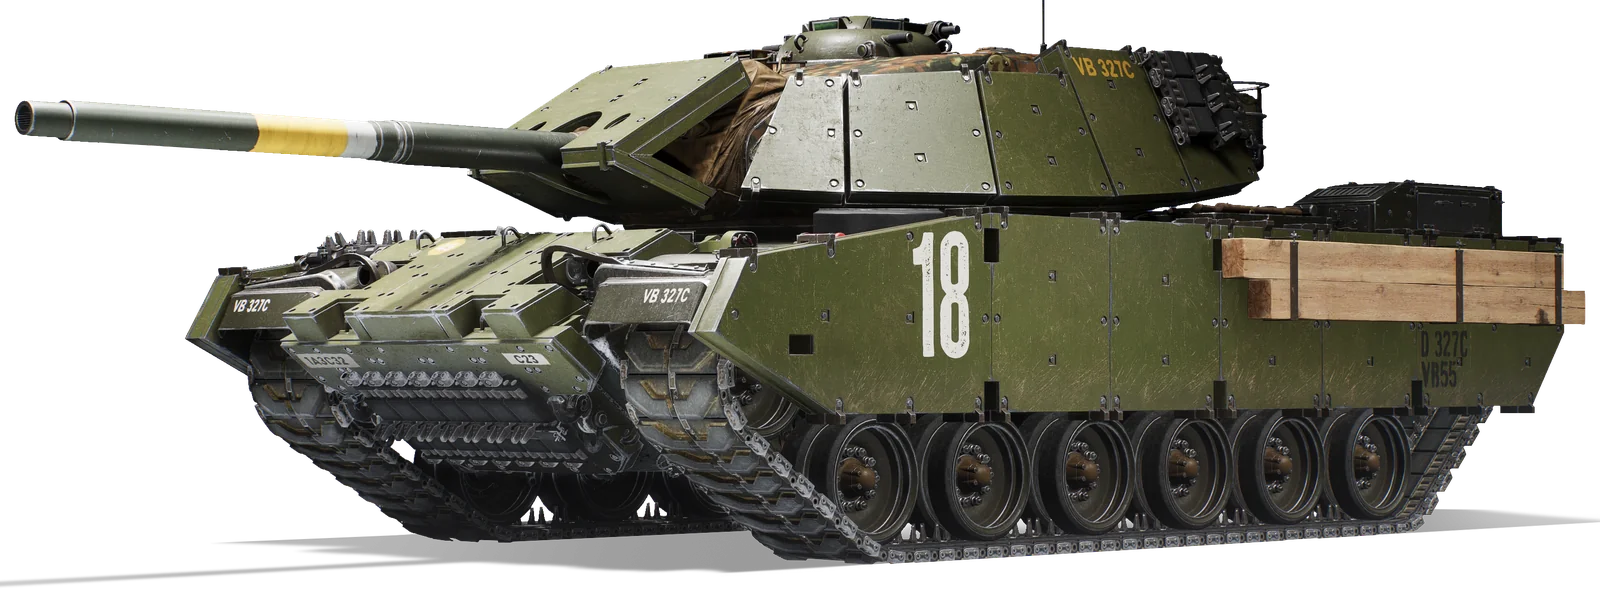
M60A3E2
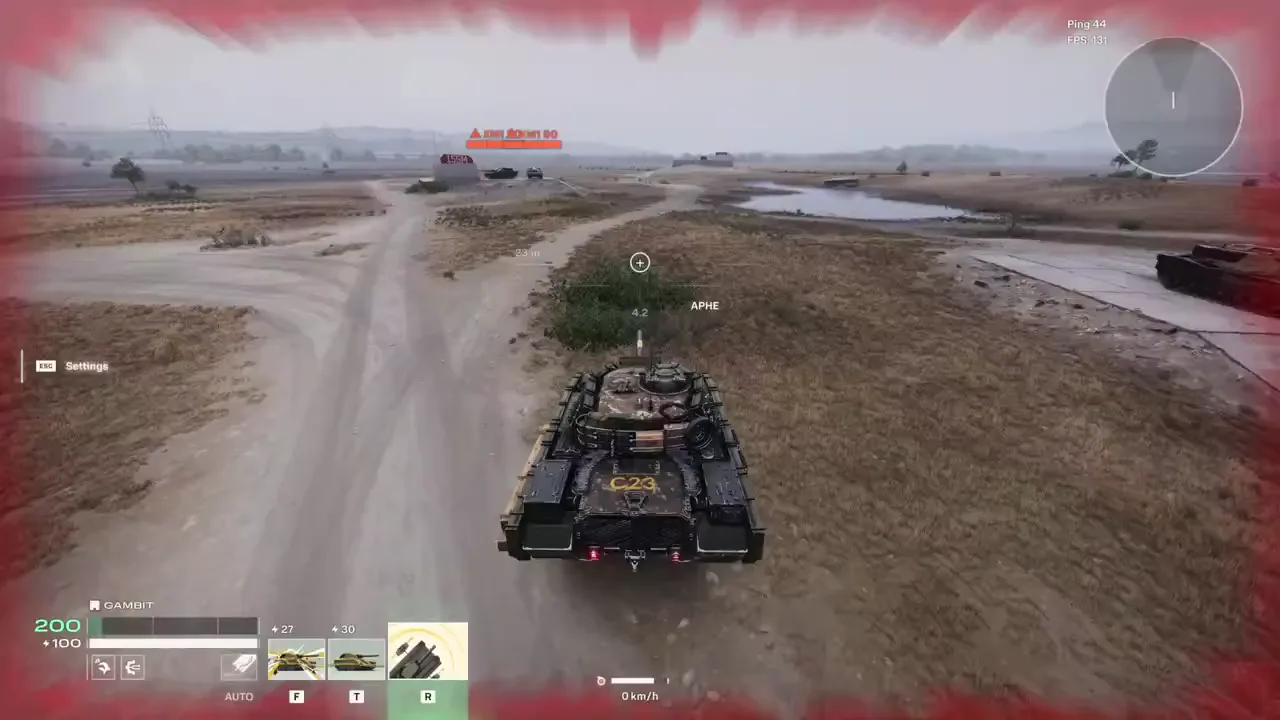
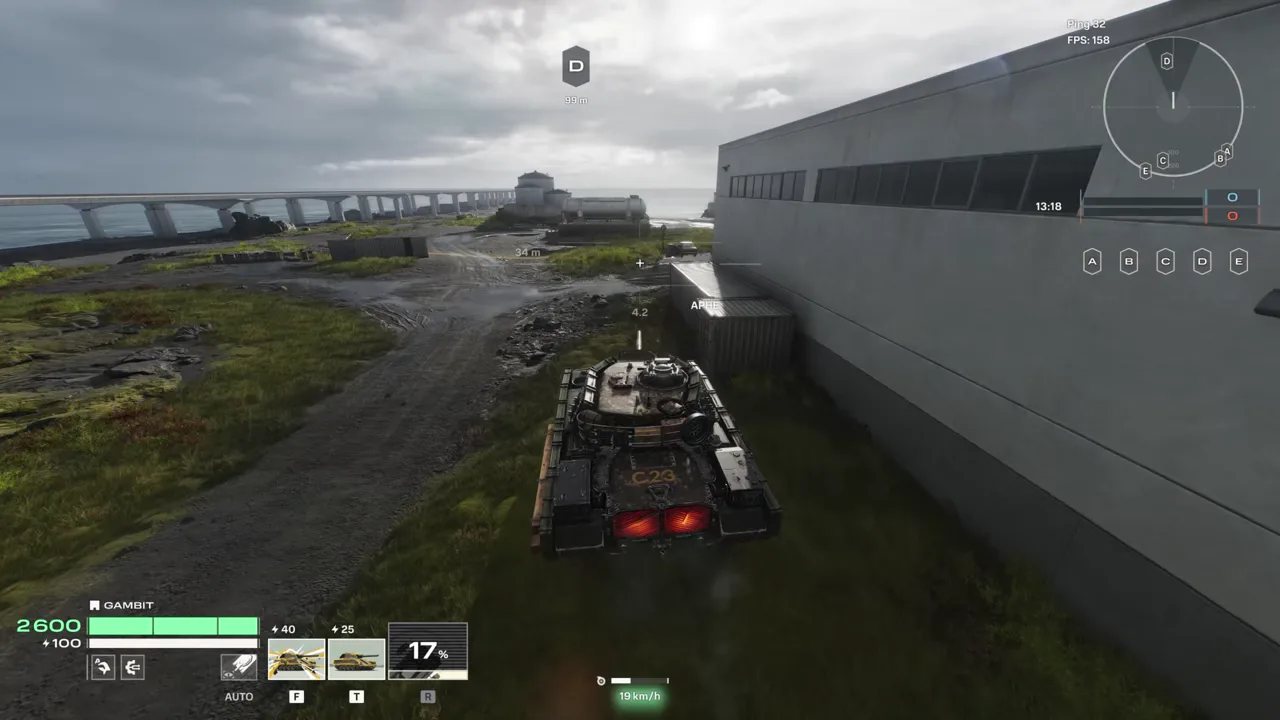
The M60A3E2 is built around applique armor plating that hardens under an applied electric current. The plating cannot be welded or press-formed, which limits its structural use, but it functions well as bolt-on protection. This is Gambit's dive vehicle. Get close, absorb damage directly, and punish whoever is nearby.
Energized Plating
Your shell screens become immune to damage for the duration. Any shell screens already broken when you activate it start regenerating immediately, and your track health and regeneration both increase, making the M60A3E2 harder to immobilize.
- Duration: 12 seconds
- Cooldown: 35 seconds
- Charges: 1
- While active: track max HP doubled, track regeneration increased by 3 points per tick, tracks held near full health, shell screens absorb all incoming damage
Energized Plating is primarily a durability and recovery tool. Use it to hold a position under fire, or to bring already-broken shell screens back online quickly.
Blast Projectors
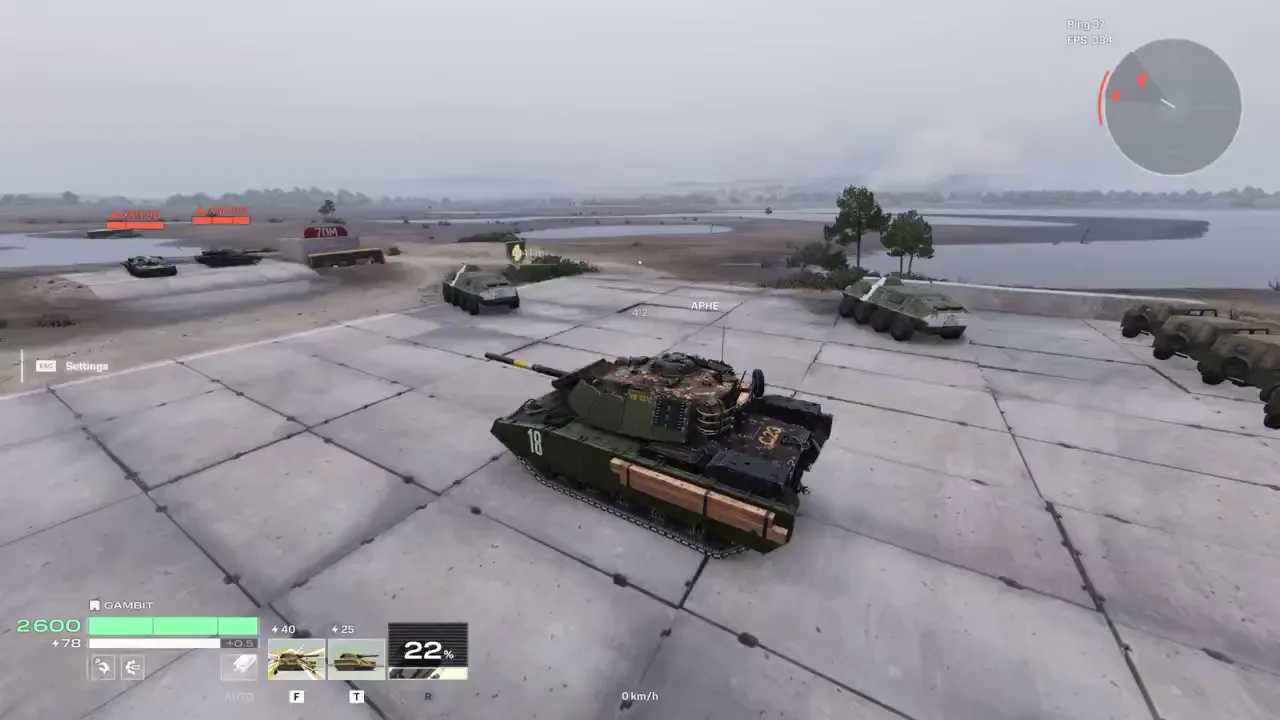
Blast Projectors detonates concussion charges hidden beneath the armor plating, dealing blast damage to nearby enemy vehicles, tracks, and shields. Damage, range, and the bonus for a precise hit all increase the longer you charge it before release. Charge past a certain point and you push the M60A3E2 into an overcharge state, where the vehicle itself starts taking damage while still holding the charge.
- Charge time: up to 5 seconds
- Cooldown: 30 seconds
- Any detonation, at any charge level, destroys the M60A3E2's own shields and applies Slowed
- Detonating at maximum charge additionally applies Immobilized instead of just Slowed
Blast Projectors works well as an area control and denial tool: enemies who want to avoid the blast have to actually drive out of the area. Because the self-penalty (lost shields, plus Slowed or Immobilized) is guaranteed on every detonation, plan your timing around when you can afford that downside, not just around maximizing damage.
There is a recovery combo worth knowing here. If you detonate Blast Projectors at maximum charge and take the Immobilize, following it up immediately with Energized Plating restores your tracks and cancels out the Immobilize.
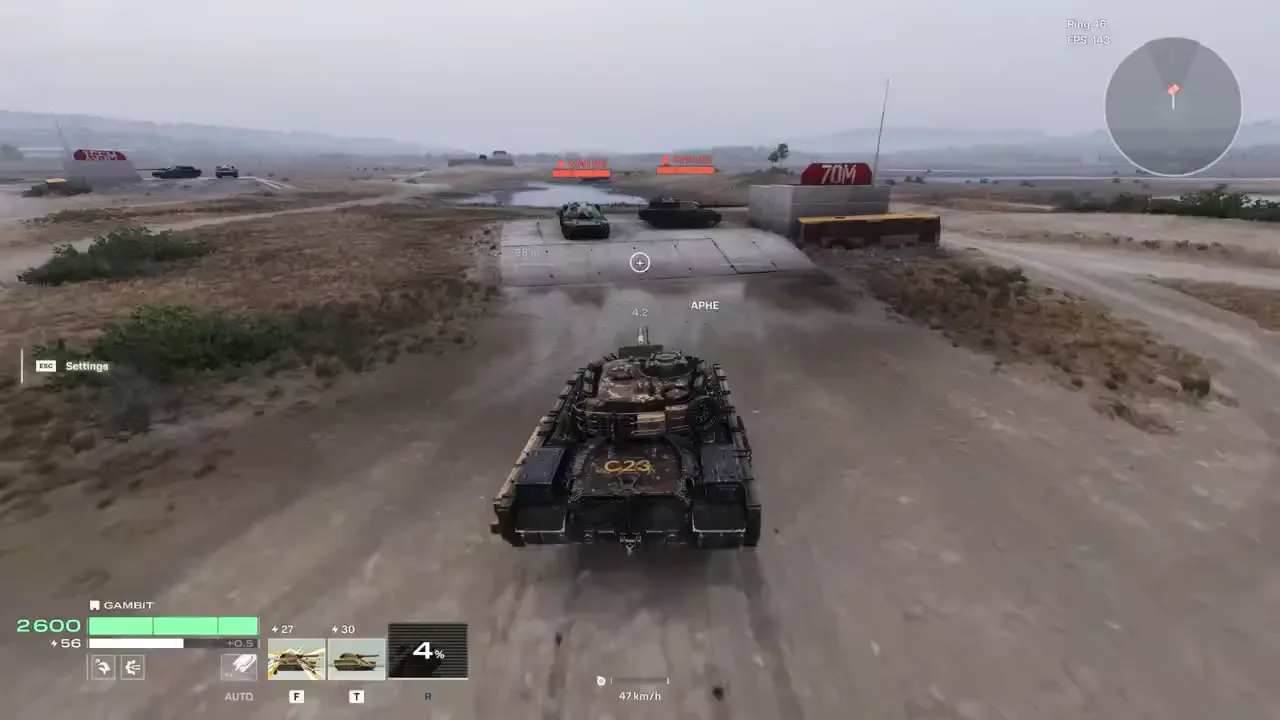
How to play it
- Use the M60A3E2's strong off-the-line acceleration to dive into range quickly, ideally with Blast Projectors already charging so it is ready to release the moment you arrive
- Activate Energized Plating to hold position under fire or to recover shell screens that have already broken
- Charge Blast Projectors fully against grouped or overextended enemies, accepting the shield loss and Slowed or Immobilized as the cost
- Release Blast Projectors early instead if you cannot afford the later self-penalty
- If you detonate Blast Projectors at max charge and get Immobilized, follow up with Energized Plating to restore your tracks
- Take close-range fights without hesitation. Every hit you take within 100 meters builds Interference on the attacker through Feedback Loop
T-72SH
The T-72SH fires APHE rounds from an autoloader, giving you several shots in succession instead of one high-damage hit. Where the M60A3E2 dives in and blocks hits, the T-72SH holds ground and locks enemies down from range.
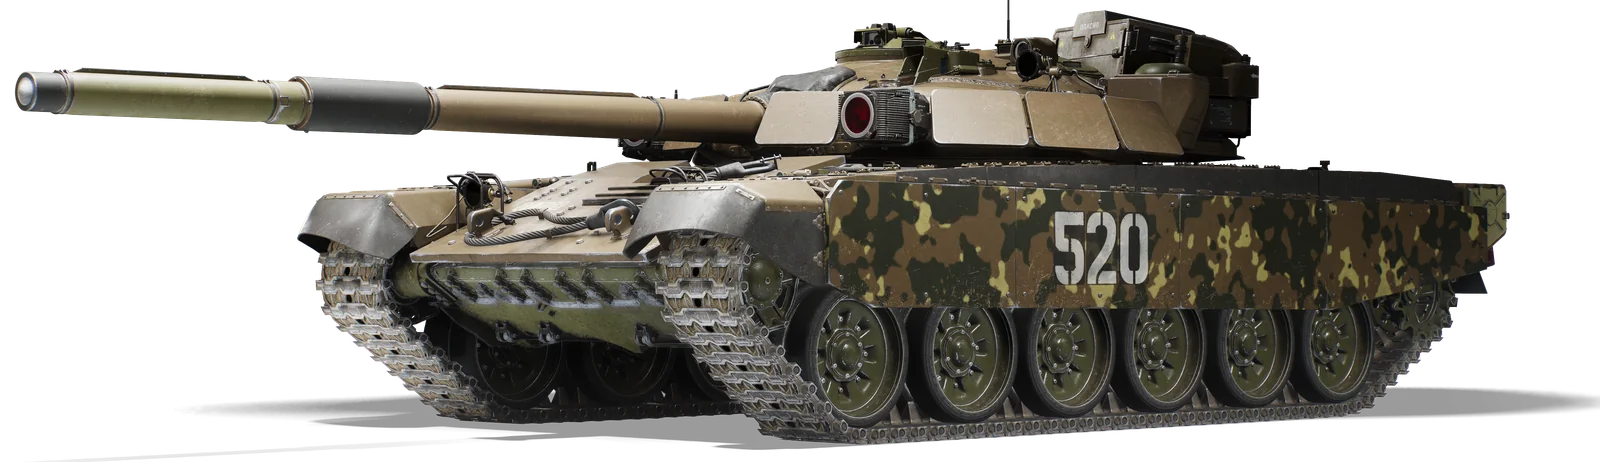
Disruption Field Generator
Disruption Field Generator projects a magnetic field in front of the vehicle that increases the default dispersion for any enemy looking through it, making it noticeably harder for them to land shots on you. The field is attached to the turret and follows your aim.
- Duration: 10 seconds
- Cooldown: 20 seconds
This is the T-72SH's answer to enemy snipers and long-range vehicles, and it is effectively the only tool in the kit built for that matchup. Without it active, you are significantly more exposed to long-range fire and should be playing behind hard cover. Also, it loses most of its value at close quarters: even at around 100 meters, enemies should have little trouble hitting you through it. Point it at long-range threats instead, and it becomes a real answer, protecting both you and any allies caught in the open.
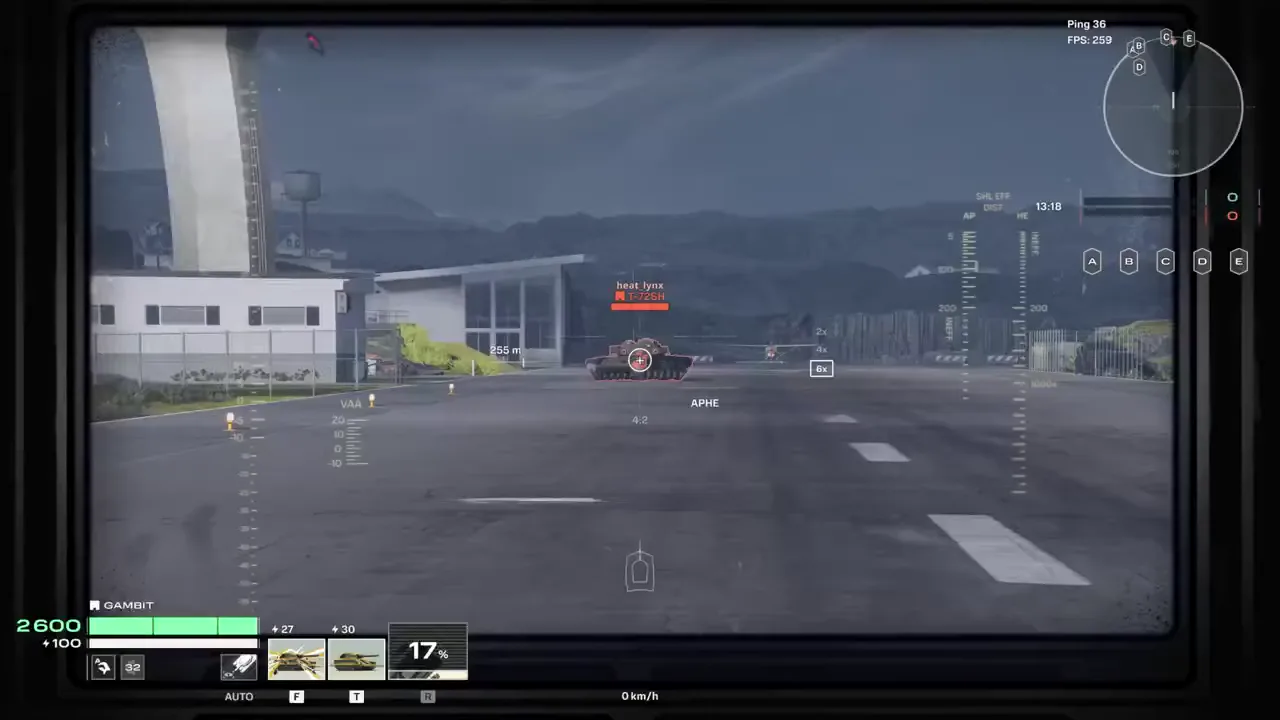
Tesla Discs
Tesla Discs launches three discs from the turret that come to rest a short distance off the ground, either at a set range ahead of the vehicle or on collision with an obstacle. Each disc pulses periodically, dealing true damage and Interference to anything in range. Discs have their own health and can be destroyed by enemy fire.
- Disc health: 450
- Duration: 30 seconds
- Pulse interval: 2 seconds
- Pulse damage: 105 true damage
- Pulse Interference: 250
- Cooldown: 30 seconds
Tesla Discs are an area-denial tool as much as a damage one. Enemies caught in a disc's radius either take repeated damage and Interference or have to move out of the area entirely, which makes discs strong for holding chokepoints or clearing enemies out of a contested site. The Interference from discs adds toward the same 1,000 threshold as Feedback Loop, so discs can meaningfully speed up locking down an enemy's abilities on their own.
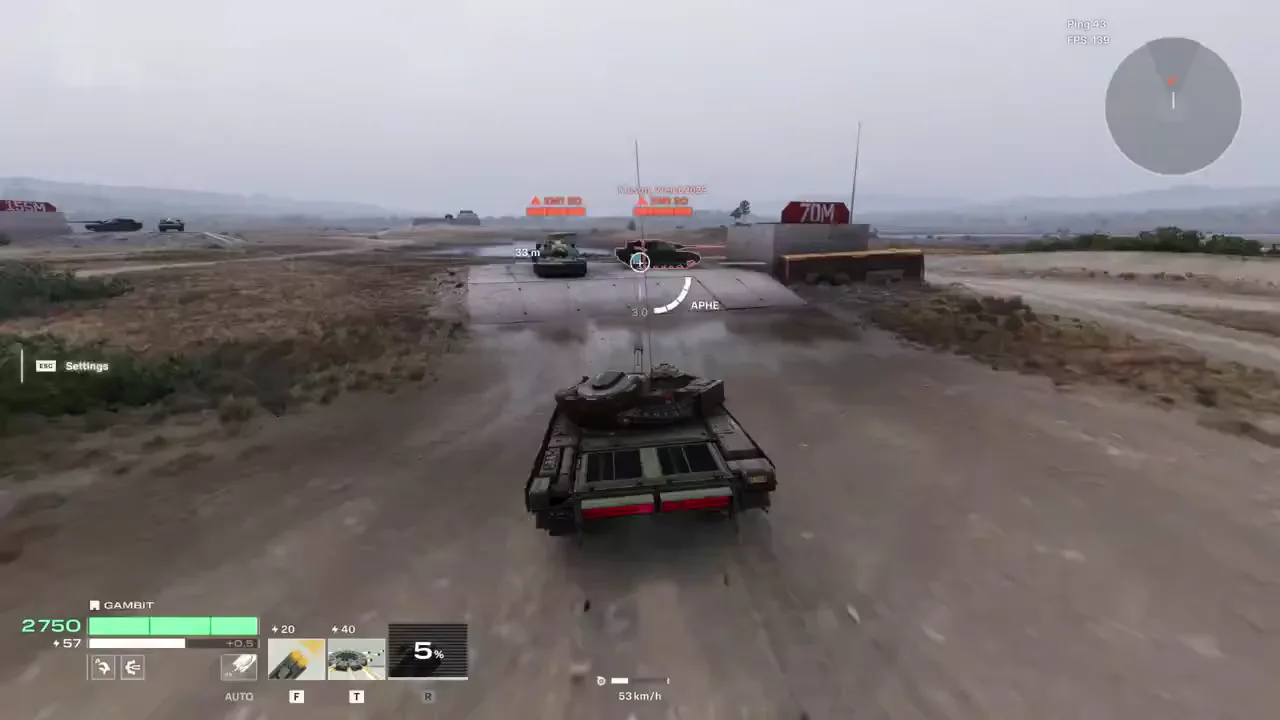
How to play it
- Point Disruption Field Generator at the biggest long-range threat before an exchange starts, since it only helps against enemies already looking through it
- Stay behind hard cover when Disruption Field Generator is on cooldown, especially against snipers
- Use Tesla Discs to force enemies out of a contested site rather than expecting to win a straight fight there
- Use the APHE main gun for direct hits once targets are disrupted or already carrying Interference
Recommended Agent skills
The Agent skills and builds below are recommendations, not requirements. Use them as a starting point, then adjust once you find your own rhythm with Gambit.
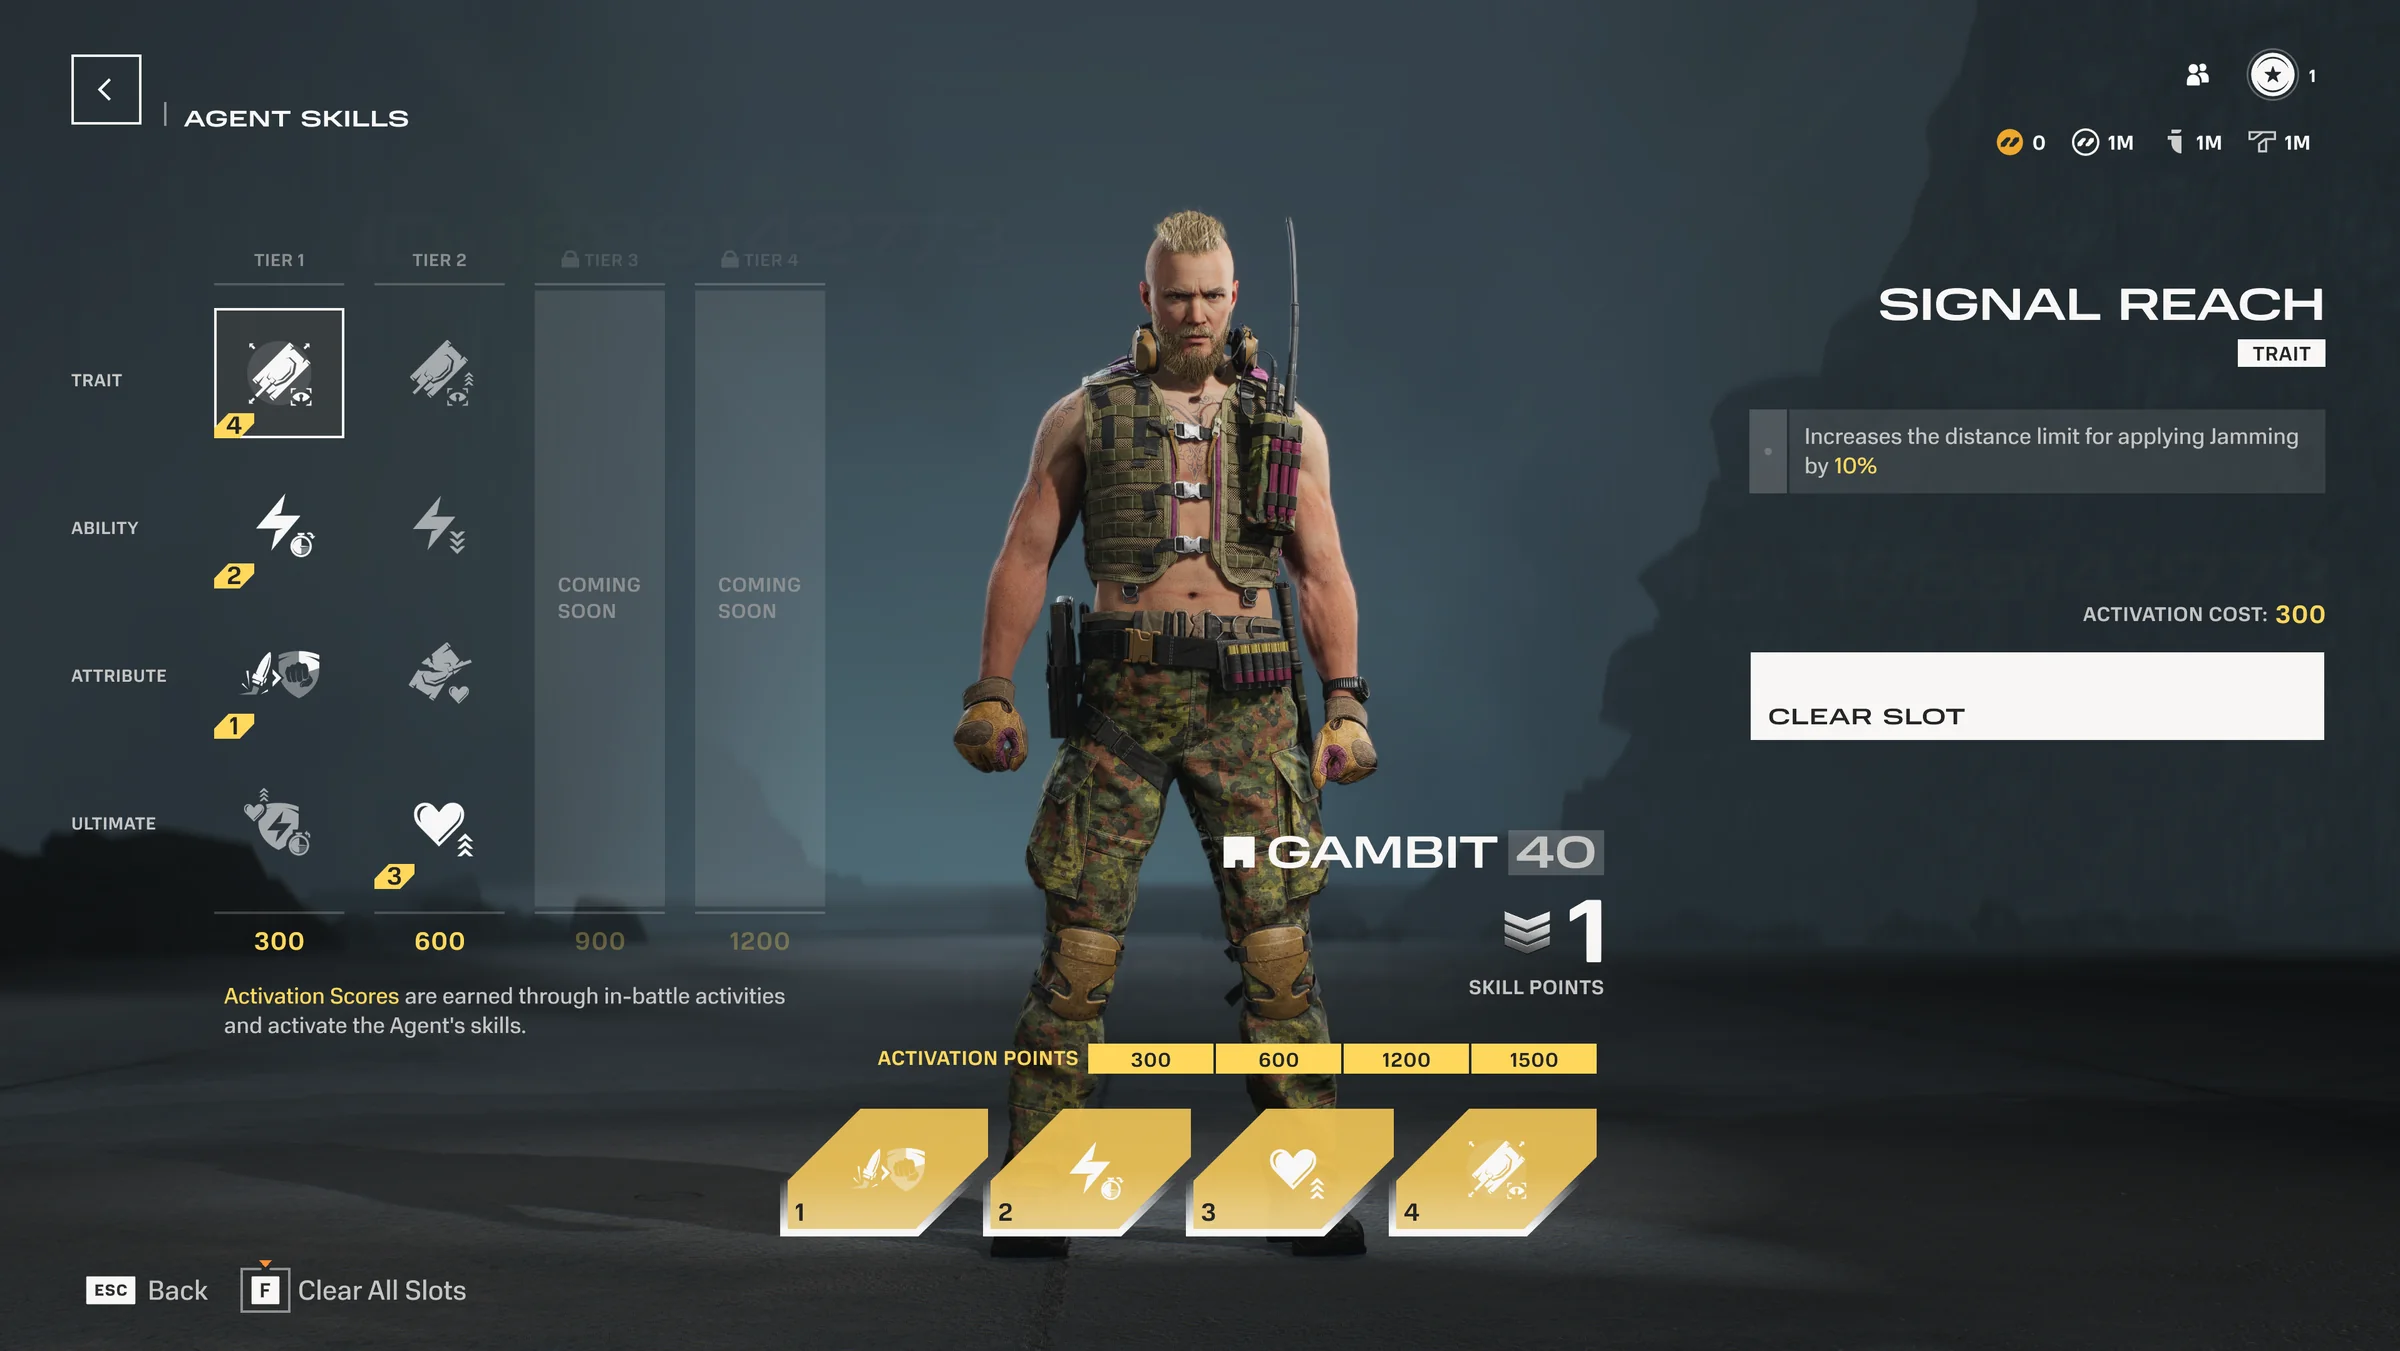
These four work for both the M60A3E2 and the T-72SH:
- Kinetic Feedback (Attribute): Blocking damage generates 0.1 Ultimate Energy for each HP of damage blocked. This turns any damage your shields soak into progress toward Iron Curtain, so time spent blocking hits with Energized Plating or Disruption Field Generator active is also time spent charging your Ultimate.
- Extended Uptime (Ability): Plus 10% to ability duration. This stretches out Energized Plating, Disruption Field Generator, and the active window on Tesla Discs, giving you slightly more time to hold a position, disrupt a sniper, or lock down a chokepoint per activation.
- Reinforced Reserves (Ultimate): Increases the Temporary HP granted by Iron Curtain by 30%, so every ally in range comes out of it with significantly more Temporary HP to work with during the push or defense you used it for.
- Signal Reach (Trait): Extends Feedback Loop's Interference application range by 10%. Feedback Loop normally stops generating Interference beyond 100 meters, so this pushes that range out further, narrowing the gap against enemies who try to stay just outside your Interference range.
Why it works together: this loadout leans into Gambit's identity as a Defender who gets stronger the more damage he is allowed to soak. Kinetic Feedback means blocking hits builds your Ultimate faster; Extended Uptime means each activation covers more of the fight; Signal Reach closes the range gap against the attackers Feedback Loop normally struggles with; and Reinforced Reserves makes the Ultimate you build toward hit harder for your team once it comes online.
M60A3E2 build
- Ability Module 1: Tornado P (Legendary)
Modifies Blast Projectors. For each enemy hit by a single detonation, you gain a stack of Warded and 350 Temporary HP, stacking up to four times. Hitting at least two enemies with a single detonation also grants Fuel Rush. Blast Projectors range increases by 25%, at the cost of a 9% longer cooldown (32.7 seconds), 9% less damage, and a 5.6% higher energy cost.
This turns Blast Projectors from a pure damage-and-self-punishment tool into something that pays you back for landing it on a group. The extra range makes it easier to actually catch multiple enemies in one detonation, and doing so converts the ability's usual downside—losing your own shields—into a source of Warded stacks and Temporary HP instead.
- Ability Module 2: AN/VRC-168 (Epic)
Modifies Energized Plating. Grants Ramming Proficiency, for plus 25% ramming damage, while Energized Plating is active. Energized Plating gains an extra charge (2 total) and costs 16% less energy, but its duration drops by 25% to 9 seconds. Turret traverse speed is reduced by 15.8%.
This pairs directly with Feedback Loop. Since your shields are immune while Energized Plating is active, it is a safe window to ram into an enemy: you are not risking your shields on the trade, you get bonus ramming damage from this module, and the enemy still takes Interference from the collision regardless of who initiated it. The extra charge means you get two windows to do this per cooldown cycle instead of one.
- Toughness Module: Griffin-C (Common)
Flat hit point increase, plus 7.4% (2,792.4 total). Straightforward durability with no downside, filling out base survivability.
- Toughness Module: Havoc-BX (Epic)
Adds Restore Tracks, which instantly repairs broken tracks and removes Immobilized on a 30-second cooldown. Track HP increases by 25.1%, track repair time drops by 5%, and hull traverse improves by 10%, at the cost of an 8% larger reticle size, both stationary and moving.
Restore Tracks gives you a second, more reliable answer to Blast Projectors' max-charge Immobilize, on its own cooldown rather than depending on Energized Plating being available. Between this and Energized Plating, the M60A3E2 has two separate ways to shrug off a self-inflicted Immobilize.
- Utility Module: RT/L-4 (Epic)
Increases HP recovery from all sources by 25%, and adds plus 15.8% status resistance. Costs 15.1% forward speed and 15% hull traverse.
This scales with every regeneration source already in the build, including Iron Curtain's track regen buff and Energized Plating's own track regeneration bonus. The mobility cost is the real trade-off, since it works against the dive playstyle this vehicle is otherwise built around, and it is a lasting one: the M60A3E2's slots have no Mobility category at all, so once you take that speed and traverse hit, there is no other slot to spend recovering it.
- Firepower Module: IMBAS (Common)
Reduces reload time by 9.1%, down to 3.82 seconds. No listed downside.
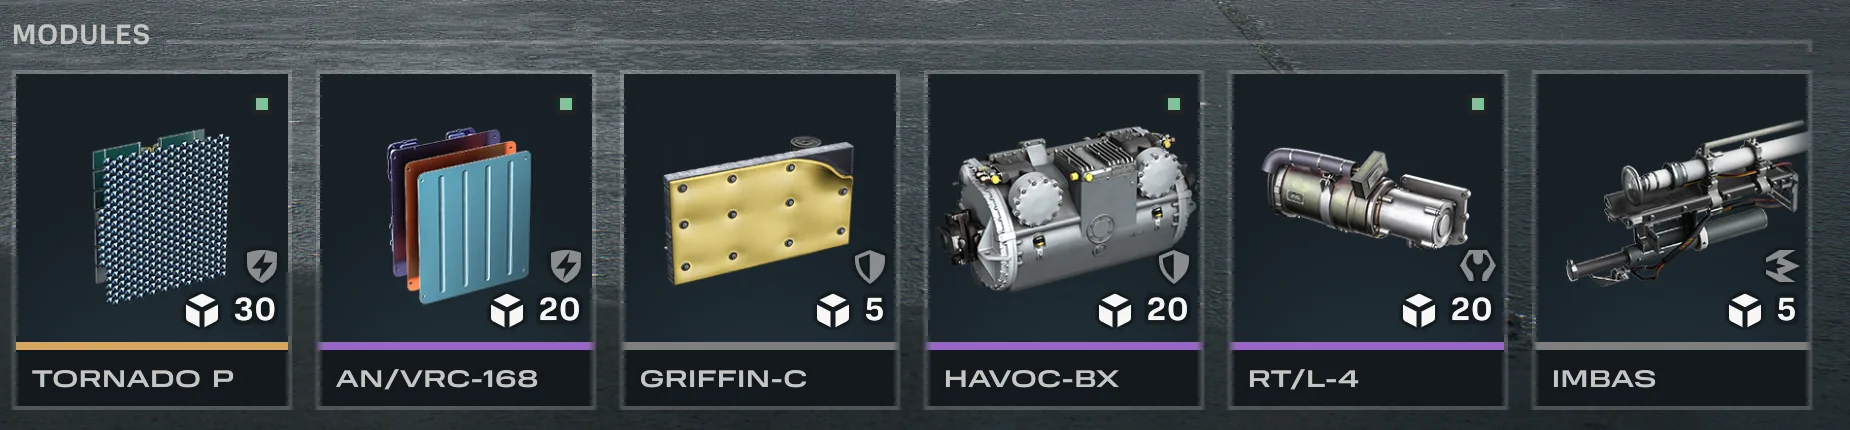
Why it works together
The build leans into soaking damage and getting rewarded for it rather than avoiding the fight. RT/L-4 and Griffin-C round out raw durability, at some cost to the mobility the dive playstyle depends on, while Energized Plating with AN/VRC-168 turns a defensive cooldown into a safe ramming window. Tornado P converts Blast Projectors from a self-punishing detonation into a source of Warded stacks and Temporary HP against grouped enemies, and Havoc-BX plus Energized Plating together give you two separate outs from the vehicle's own overcharge Immobilize.
T-72SH build
- Ability Module 1: 4NK28 (Common)
Increases Disruption Field Generator duration by 15.4%, to 12.54 seconds. A straightforward extension of the T-72SH's counter-sniper window, giving you more time to hold the field on a long-range threat before it drops.
- Ability Module 2: Lukoshko-PK (Legendary)
The T-72SH and its allies receive a stack of Warded on each pulse while standing in a Tesla Disc's radius, with Warded reducing damage taken by 6% per stack, stacking up to five times. Tesla Discs damage increases by 26.9% (133.25), but the pulse interval increases by 50%, to 3 seconds.
This changes what Tesla Discs are for. Instead of pure area denial against enemies, standing an ally, or yourself, inside a disc's radius turns it into a defensive tool, since every pulse hands out a stack of Warded. The trade-off is a much slower pulse rate, so fewer pulses land over the disc's lifetime even though each one hits harder and grants more value when allies are standing in range.
- Utility Module: RNB-U (Rare)
Using a Repair Kit also replenishes 30 Boost Energy. Increases Tesla Discs duration and Disruption Field Generator duration by 10% each (33 seconds and 12.54 seconds respectively), at the cost of an 8.5% longer cooldown on both.
This extends the uptime on both abilities further, stacking with 4NK28 for a longer Disruption Field Generator window in particular. Tying Boost Energy to Repair Kit usage also means healing up doubles as a mobility refill, letting you reposition immediately after patching up rather than waiting on Boost Energy regen.
- Mobility Module: V85E (Epic)
On kill, grants Overdrive for 10 seconds, which doubles acceleration, increases Boost mode speed, accelerates Boost Energy regeneration, and grants complete slow resistance. Boost mode acceleration increases by 0.08% and forward speed by 8% (56.38 km/h), at the cost of 13.9% less Boost mode energy volume.
Since the T-72SH plays at range rather than brawling, Overdrive's slow resistance is particularly useful for breaking away cleanly after a kill instead of getting caught repositioning. The energy volume cut means Boost mode itself runs out faster outside of Overdrive, so this module rewards actually securing kills rather than just chip damage.
- Firepower Module: AZ-185 (Rare)
Shells apply 250 Interference. Magazine loading time drops by 14.3% (8.57 seconds), at the cost of 5% turret traverse speed.
This stacks the autoloader's own shell hits on top of Feedback Loop and Tesla Discs as another source of Interference, all feeding the same threshold that converts to Jammed. Combined with Tesla Discs, a target caught in a disc radius while also being shot by the main gun is taking Interference from two sources at once.
- Toughness Module: UTT-24 (Uncommon)
Track HP increases by 25% (750) and track repair time drops by 20.5% (3.18 seconds). No listed downside. Plain track durability, useful given the T-72SH has no ability of its own dedicated to track recovery the way the M60A3E2 does.
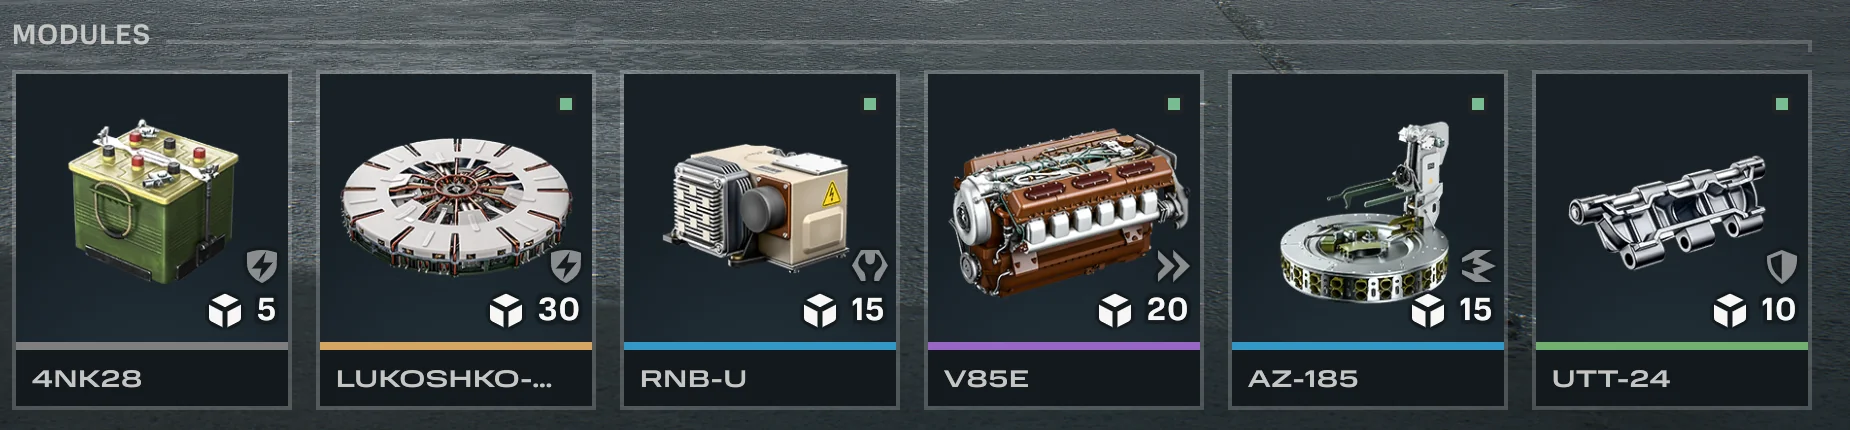
Why it works together
This build shifts Tesla Discs from a purely offensive tool into something that also protects whoever stands near it, while the autoloader keeps building Interference independently through AZ-185. The extended ability durations from 4NK28 and RNB-U mean both Disruption Field Generator and Tesla Discs are up for longer relative to their cooldowns, and V85E's Overdrive on kill helps the T-72SH disengage cleanly once a fight is won rather than getting caught out of position afterward.
Get started
Gambit's kit comes down to two things: reinforcing allies with Iron Curtain, and converting incoming damage into Interference with Feedback Loop until it locks an enemy out of their kit. The M60A3E2 applies that by diving into a fight and absorbing damage directly. The T-72SH applies it by controlling space, countering long-range threats, and locking down ground with Tesla Discs.
Take Gambit into battle and see which application fits how you play. The builds above are a starting point, not a rulebook, so adjust them once you know where Iron Curtain and Feedback Loop fit your own playstyle.