Reaper is an Assault Agent built around relentless momentum and pressure. Most tanks have to respect a single big shot. Reaper can take it: as long as he goes into the hit with enough health, his Trait leaves him on 1 HP instead of destroyed. On top of that survivability, he layers statuses, Slow, and Burning, which leave enemies unable to turn, run, or hold their ground, and his Ultimate sets whole sections of the map on fire. Put simply, Reaper is an Assault Agent who wins the trades others might lose. He survives the killing blow, sets the enemy up with statuses, and finishes them with the gun.
AGENT DEEP DIVE
Reaper and His Tanks
The Assault Agent who refuses to go down in one shot wins trades he should lose, then burns the enemy out of position, up close in the M60A1 or at range in the M60A2 Starship.

Reaper, HEAT's Assault Agent.
Who is Reaper
Napalm in the Morning
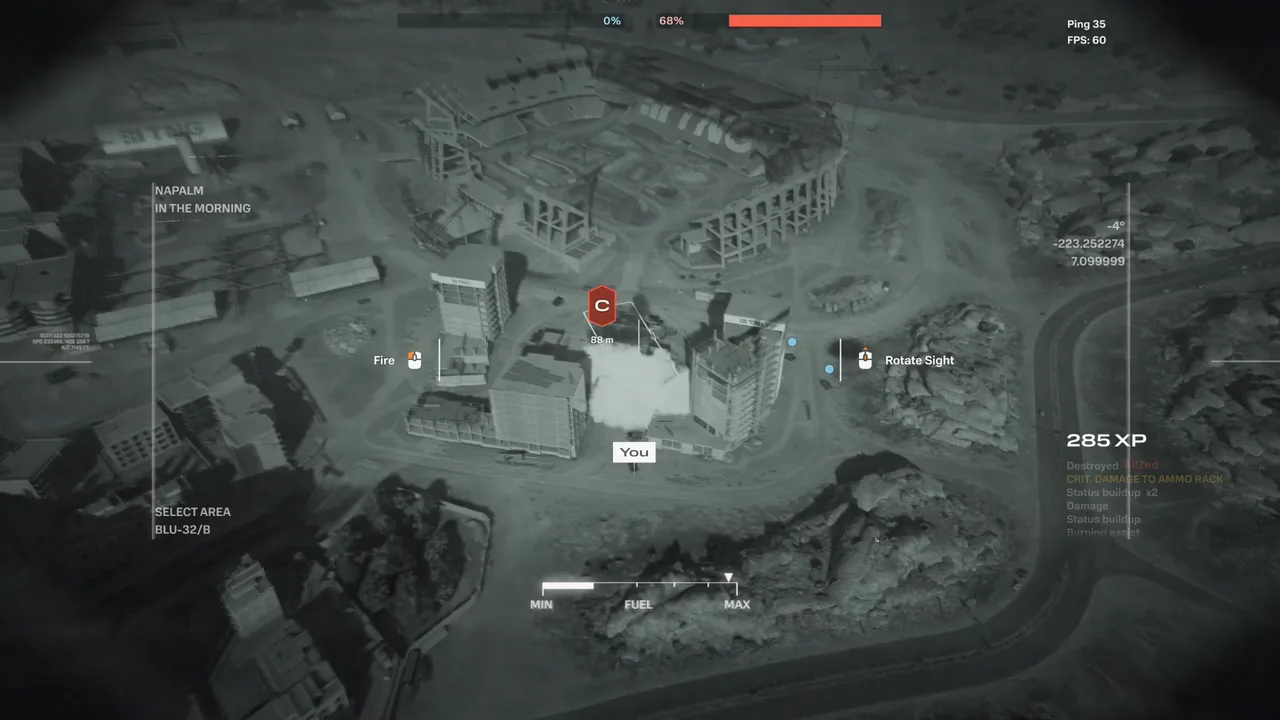
Reaper's Ultimate calls in an F-4 Phantom napalm strike. You pick the target from an aerial targeting view, up to 3,000 meters away, and two bombers carpet the area roughly 5 seconds after you confirm it.
The bombs themselves do modest damage. The fire is the weapon. The strike leaves a long burning area that builds Fire status on every enemy vehicle inside it, and a Burning vehicle loses 3% of its max HP every second. Enemies keep burning for a while after they drive out, so the area forces a choice: take the damage, or give up the position. Napalm also ignites any grease it touches.
Napalm burns you too. Allies are safe inside it, Reaper is not, so never fight inside your own fire. While you are in the targeting view, your tank cannot move, fire, or use abilities, so find cover before you call the strike in.
Ultimate Energy builds fastest from setting enemies on fire and keeping them burning: burn damage charges it four times faster than shell damage. Kills and assists are the biggest single boosts.
Key values:
- Targeting range: up to 3,000 meters
- Strike delay: about 5 seconds after you confirm the target
- Fire area: about 12 meters wide and 36 meters long
- Fire area duration: 10 seconds
- Burning damage: 3% of max HP per second
Relentless
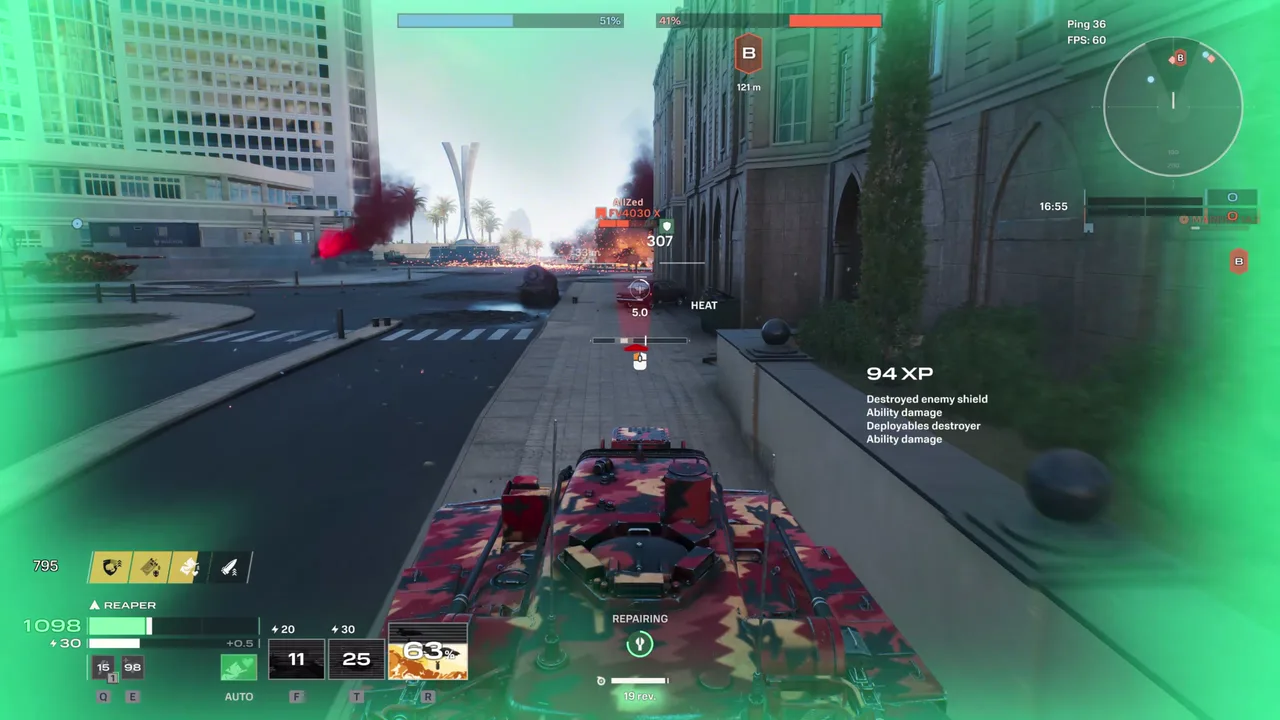
Provided his vehicle has enough HP, Reaper cannot be destroyed in a single shot. While he is at or above 20% of his max HP, a hit that would destroy him leaves him on 1 HP instead, and for the next 2 seconds he cannot be destroyed at all. Once he drops below 20%, Relentless switches off until he is healed back above that line.
Relentless does not heal you. It buys you a short window to get out, and that is where the Repair Kit comes in. Use it the moment Relentless saves you: one charge restores 550 HP, enough to lift either tank back above the 20% line, which re-arms Relentless for the next lethal shot. That is why we recommend swapping the default Recovery System for a Repair Kit on both tanks.
Relentless protects you from big single hits, not from steady chip damage. A stream of small hits from autocannons or machine guns walks you under the 20% line without ever triggering it, so stay out of sight of rapid-fire weapons once your HP gets low.
M60A1
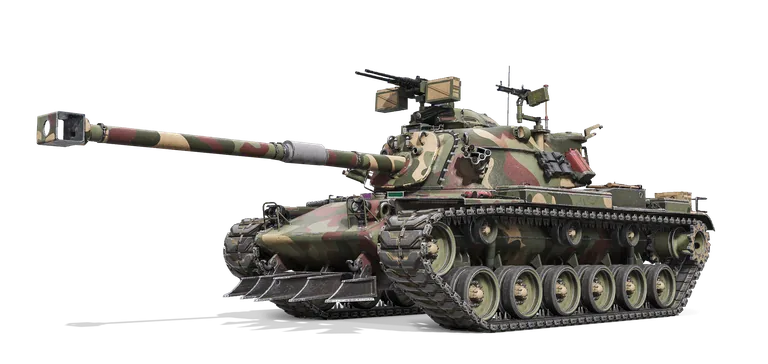
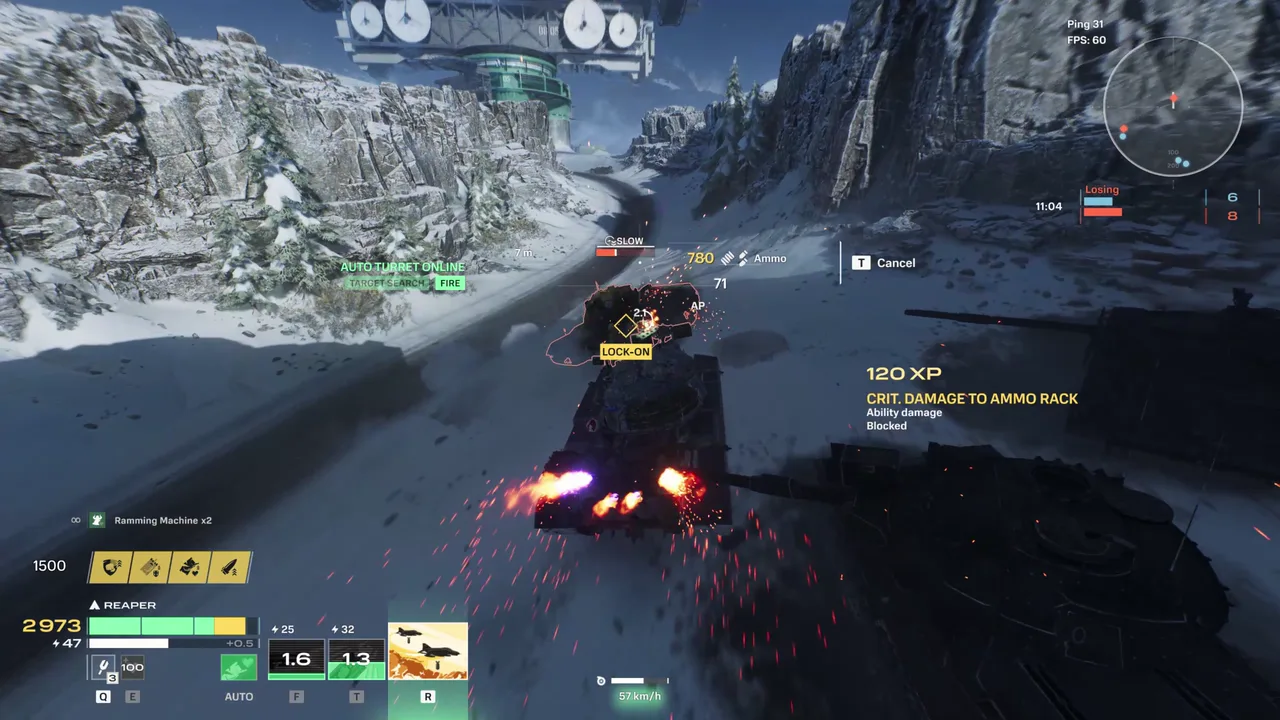
The M60A1 is a heavy brawler, built to get statuses on a target and then ram or shoot it at close range. Its turret front is far better armored than its hull front, so show the enemy your turret wherever the ground allows.
Main gun: single shot
The M60A1 fires a single-shot main gun with a 4.2-second reload. The default AP round loses damage over distance and is down to about 60% of its damage at 300 meters, so fight close. Modules can swap in an HE round for soft targets and splash damage, or a Canister round that fires 12 pellets for point-blank fights.
Ability 1: Suppressive Fire
Dual .50 cal machine guns on the turret fire on their own for 10 seconds at enemies up to 60 meters away in front of the turret. Every hit builds Slow status, and around ten hits Slow the target. A Slowed vehicle turns its turret at a quarter of its normal speed, loses top speed, and cannot Boost. After one press, the machine guns pick their own targets, favoring low-HP enemies and enemies close to where your turret is pointing, so your main gun stays free. They need a clear line of fire and will not target enemies inside smoke.
Ability 2: Charge
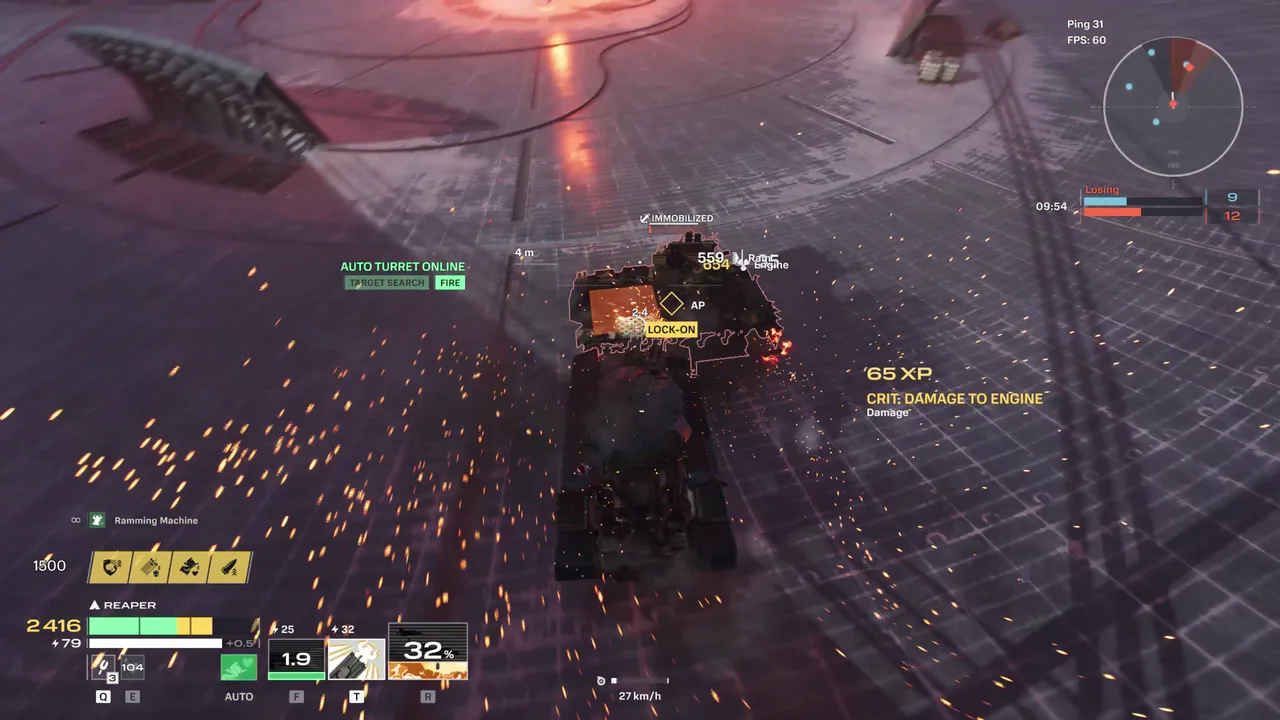
The M60A1 plows forward at double its top speed for 3 seconds, pushing enemies aside. While charging it deals far more ramming damage and takes only a quarter of the usual damage from a head-on ram. You can still steer, but the hull turns more slowly and you cannot Boost, brake hard, or reverse. Press again to end the charge early; the Energy is not refunded. A broken track or the Jammed status ends the charge and starts the full cooldown.
How to play it
- Slow first, then commit. Open with Suppressive Fire, and once the target is Slowed, Charge into it and finish it at point-blank range while it cannot turn its turret toward you.
- You spawn with 40 Energy and the two abilities cost 57 together, so open with the one the first fight needs and hold the other.
- Charge into a Slowed target or one that has just fired.
- When Relentless saves you mid-push, use the Repair Kit straight away, then decide whether to keep pushing or back out of sight.
- Plan around your Ultimate: aiming Napalm in the Morning blocks both abilities and cuts a running Suppressive Fire short.
M60A2 Starship
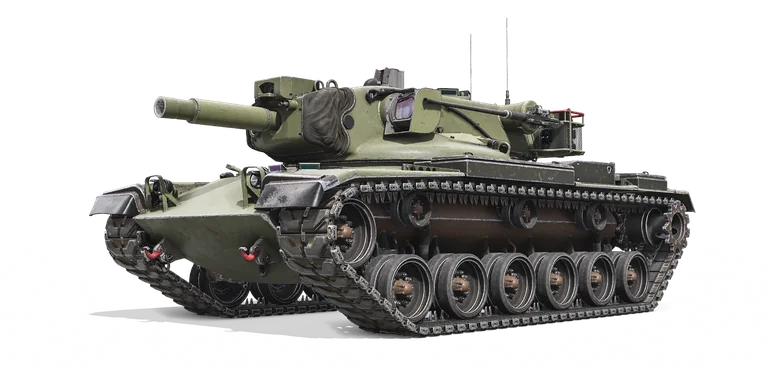
The M60A2 Starship is a slower, long-reload fire-support tank, built to hit hard and set enemies alight from range, then protect itself with Relentless and the Repair Kit.
Main gun: single shot
The M60A2 fires a 152 mm HE shell once every 7 seconds. A shell that hits very hard, and every hit splashes damage around the impact, but penetration is low, so heavy frontal armor will stop the full hit. Aim at sides, rear, and weak spots. The shell is slow and drops a lot over distance, so lead your target and aim higher at range. The XM248 Gun breech module swaps it for a HEAT round with much higher penetration that does not fall off with range.
Ability 1: Autocannons
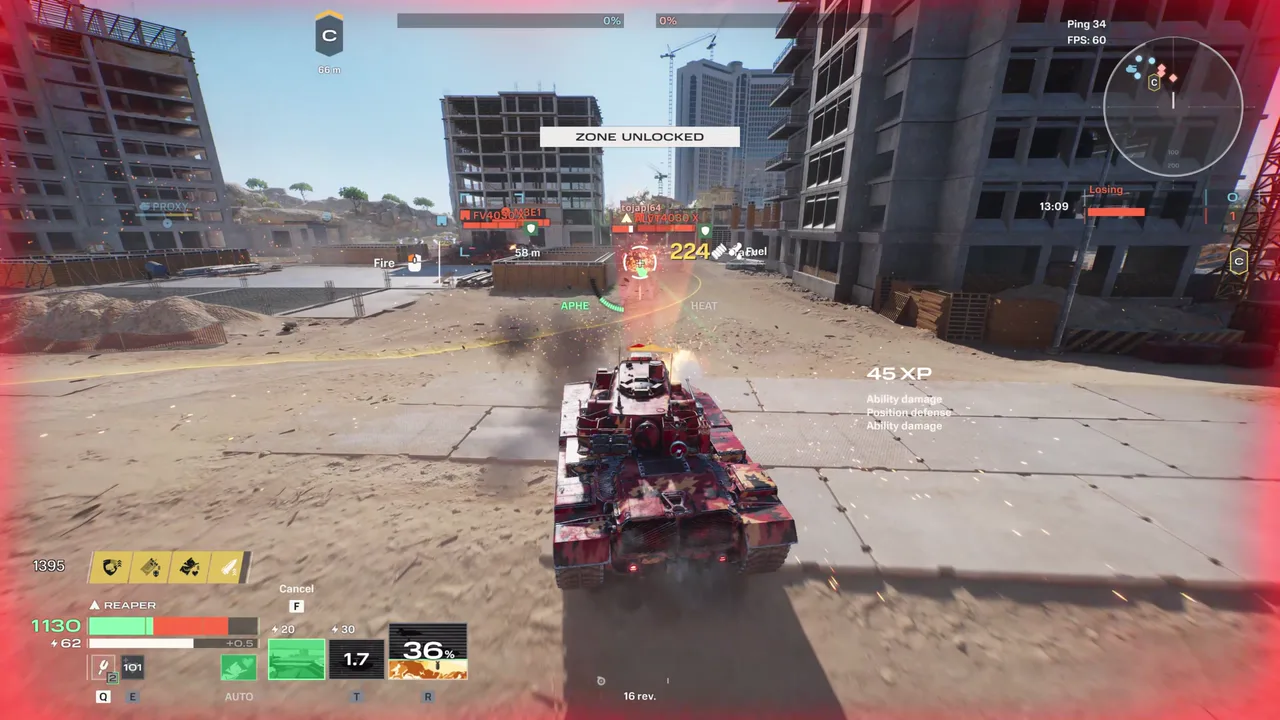
Switches to dual 20 mm autocannons for a burst of 32 shells over about 4 seconds. They penetrate well inside about 110 meters and fall off sharply beyond that, so use them up close against side and rear armor. They traverse with your turret, which is slow, so they struggle to track fast targets.
Ability 2: Airburst
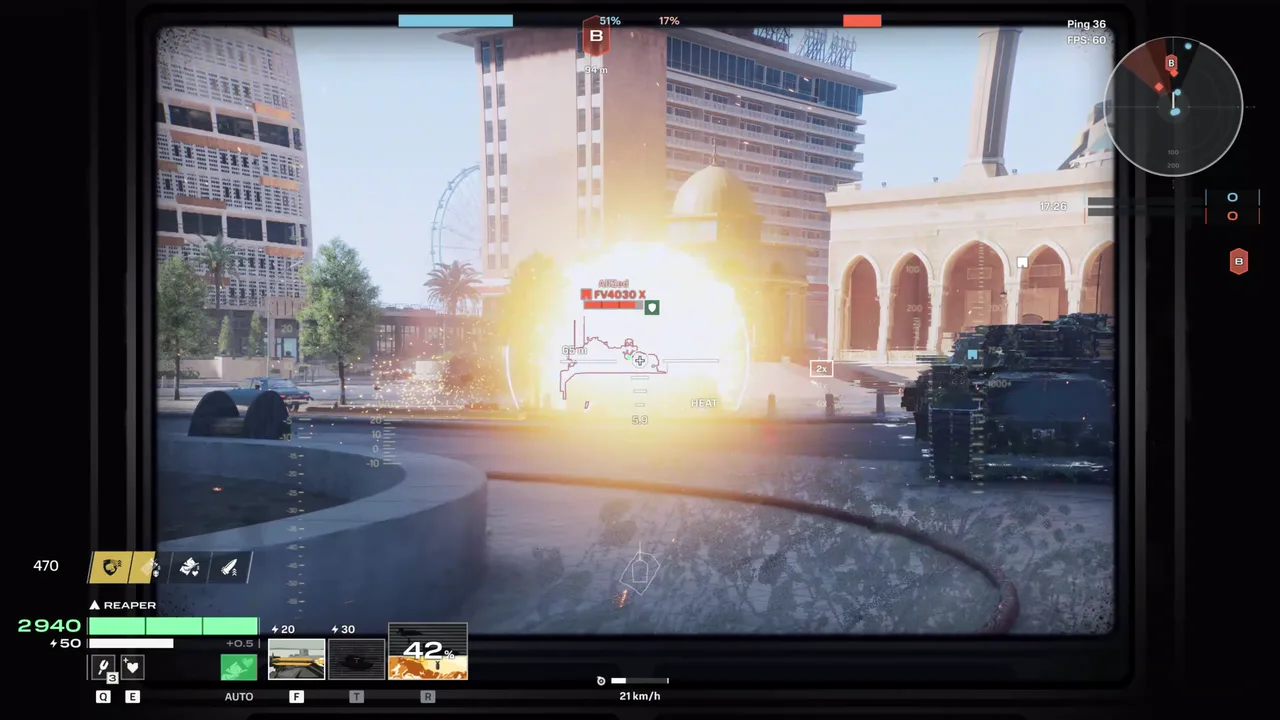
Loads a guided missile into the main gun. After a short straight flight, the missile steers toward your crosshair, and its proximity fuze detonates it when it passes within 5 meters of an enemy vehicle, decoy, or proxy, so it does not need a direct hit. The blast damages vehicles and tracks around it and leaves a fire area that sets them alight. Firing Airburst restarts the main gun reload, and the blast and fire can hurt you too.
How to play it
- Open with Airburst on the first enemy you can see. It sets them alight from range and starts its cooldown early.
- Fire the main gun first, then Airburst. Airburst restarts your reload, so casting it just after a shot costs you almost nothing.
- Ignite first, then let the fire do the work while you reload.
- Save Autocannons for close range against sides and rear, never at 300 meters.
- Pick positions with cover. A slow turret makes open ground dangerous, so use hills and corners.
Get started
Reaper is an Assault Agent first, built to push into fights and win trades. What sets him apart is how hard he is to finish: Relentless turns the shot that should destroy him into a 1 HP escape, and a Repair Kit straight afterward re-arms it for the next one. Napalm in the Morning denies a large area and burns anything that stays in it. The M60A1 applies this up close, Slowing targets with Suppressive Fire and ramming them with Charge, while the M60A2 Starship works from range, setting enemies alight with Airburst and finishing them with its heavy 152 mm gun and Autocannons.
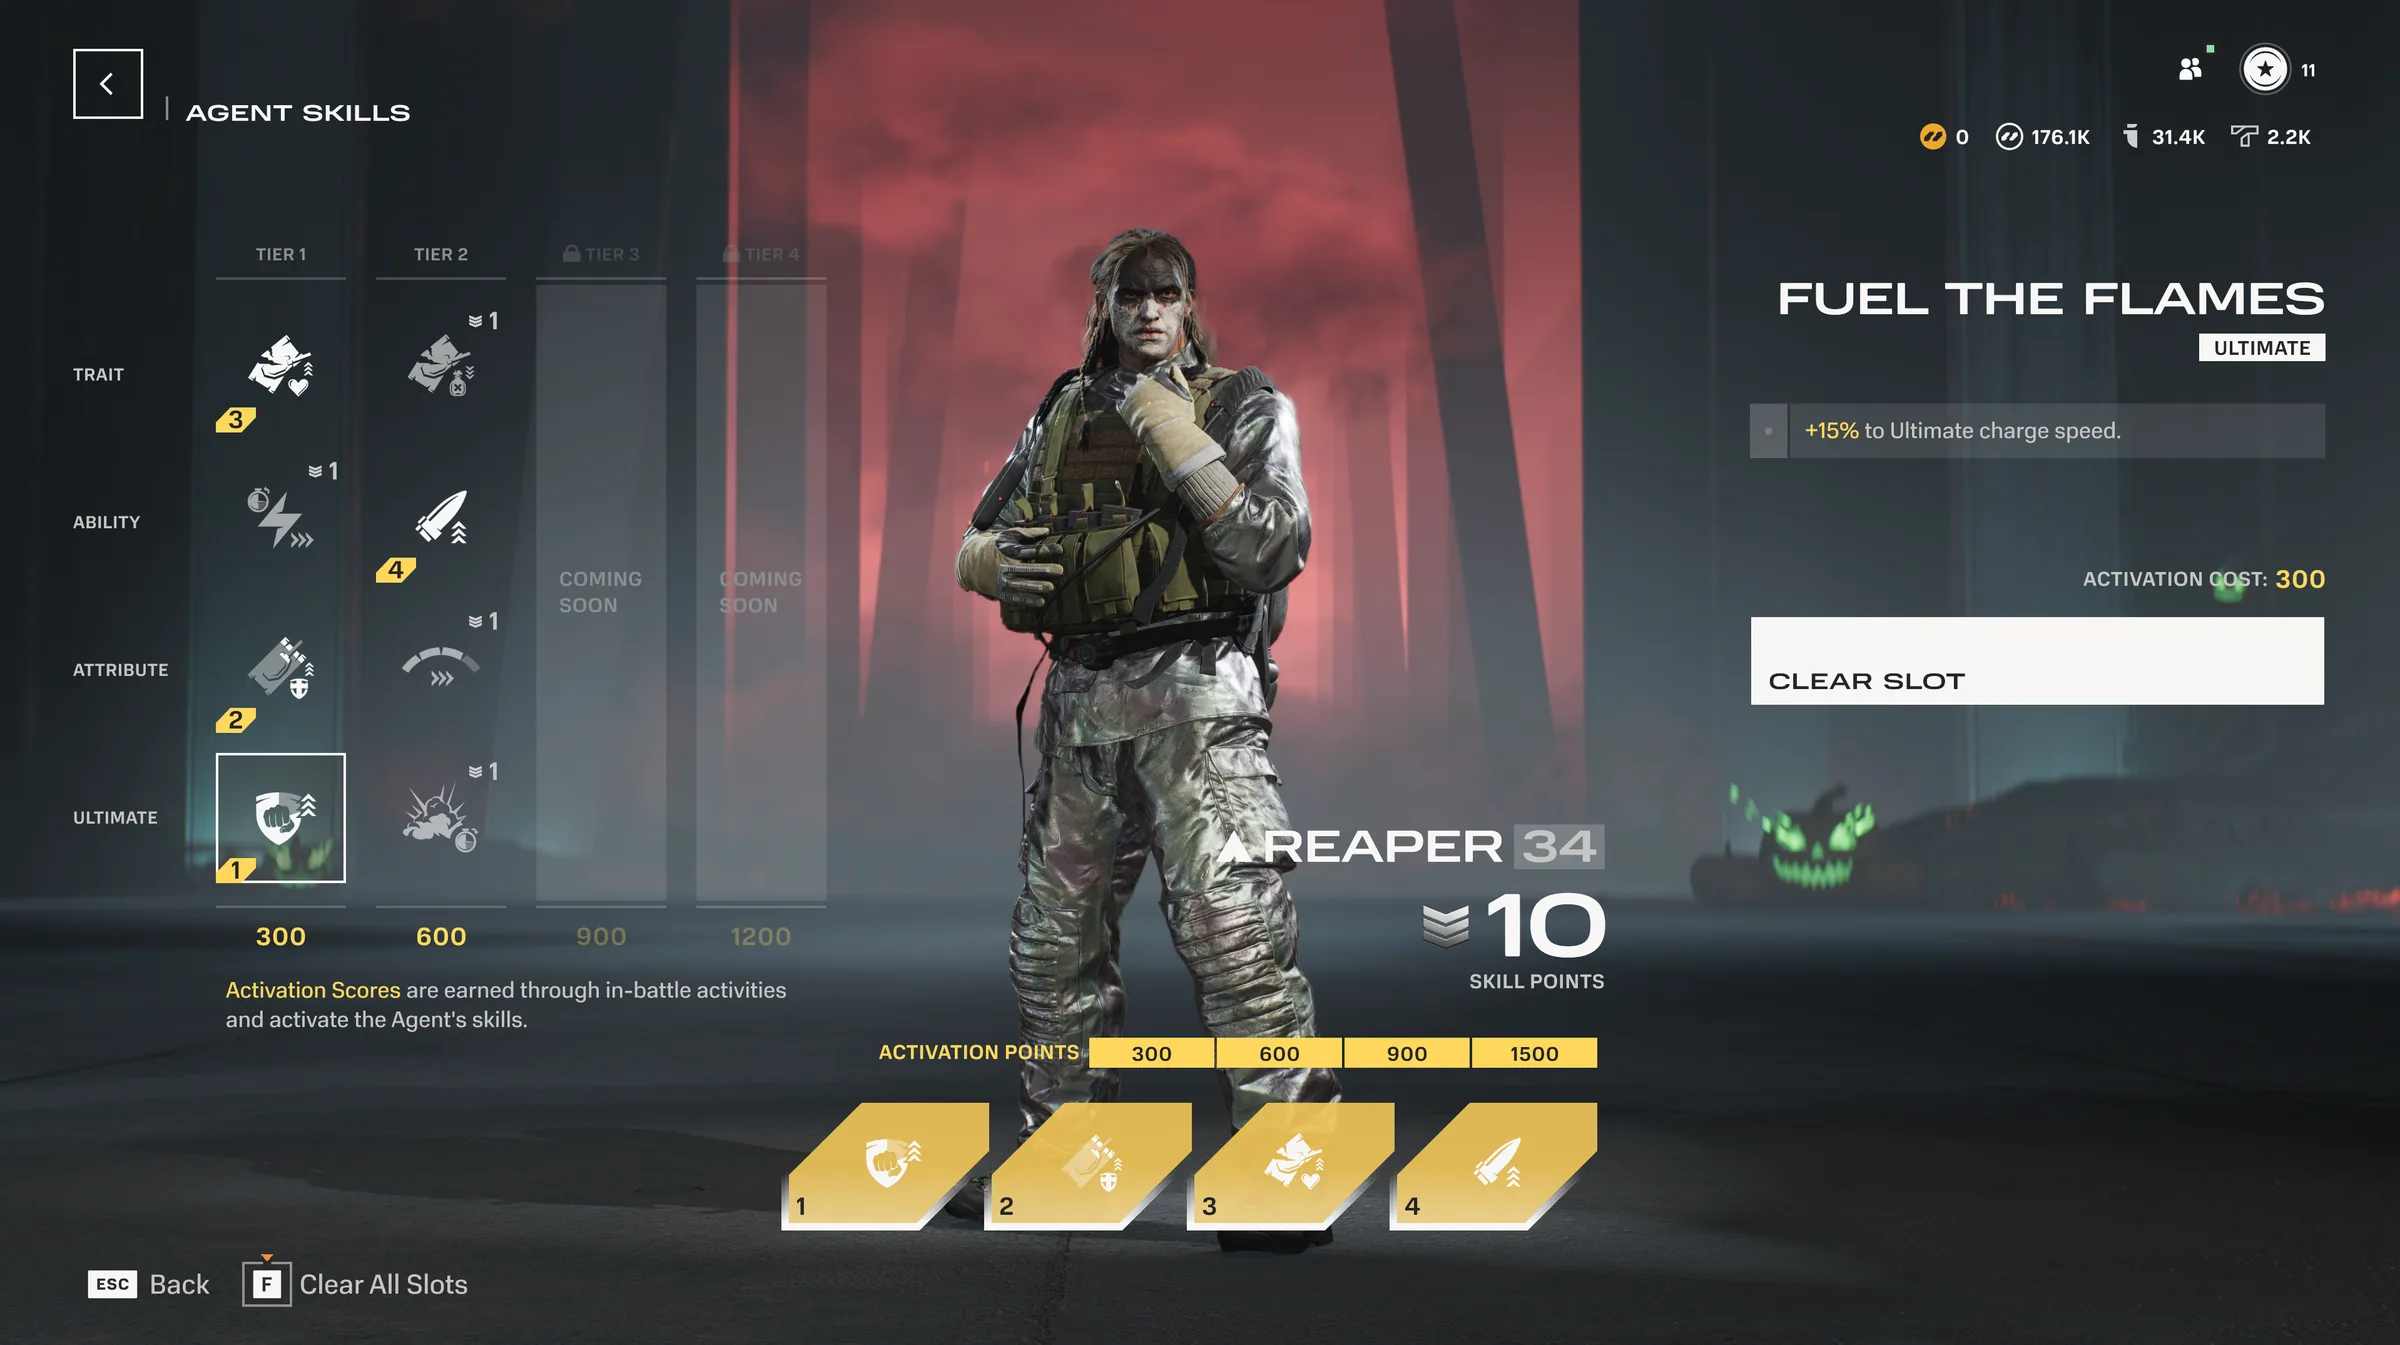
Recommended Agent skills
Skills, in activation order
- Fuel the Flames First: helps from minute one, and every Slow and ram feeds your napalm.
- Reinforced Plating Second: a tougher front for the early trades.
- Last Stand Third: this build has no max-HP module, so a Repair Kit from 1 HP (551 HP) already clears the 520 HP line. Last Stand is the extra margin.
- Tactical Calibration Last: saves you a hit on every Slow once you've settled in.
M60A1 module build
How a fight goes
- Hull Reinforcement Kit
Open with it. Use it as you leave cover, before the first shot is fired. It adds 700 temporary HP, but it starts draining after one second, so it's for the push, not for waiting. Hold the Repair Kit back.
- T211 + Tactical Calibration (skill)
Slow them first. Suppressive Fire does the work for you while your gun stays free. The Slow lands in about nine hits. A Slowed tank turns its turret at a quarter of its speed, so it can't punish you as you close in.
- GTS-345 + SRS-17A
Boost across the last open stretch. GTS-345 gets you up to speed faster, and SRS-17A adds a little top speed and hull turning. Then Charge (Boost is disabled while you charge).
- MHC-B
Charge into the gap. You take a quarter of the damage from a head-on ram, and MHC-B removes ramming damage entirely above 30 km/h, so the side hits that normally hurt you during a Charge do nothing.
- TC-432W + SRS-17A
Stay pointed at them. The faster turret (38 → 46 degrees per second) and the quicker hull turning keep your gun on a target that is already struggling to turn.
- Imram-5
Shoot from point blank. Your reload goes from 4.2 to 3.69 seconds. At this range, every shot counts, and the target can't turn to answer.
- Repair Kit + Last Stand (skill)
Take the hit, then reset. When a big shell would kill you, Relentless leaves you on your feet. Press the Repair Kit straight away and get out of sight for a moment. Last Stand makes the save safer, and the kit lifts you back over the 20% line.

M60A2 Starship module build
Build: The M60A2 with XM248 (all HEAT)
XM248 is the whole build. It swaps your HE shell for HEAT, and from then on every shot is HEAT.
The damage potential is huge: 714 per shot, and it goes through heavy armor at any range. The price is the shell itself. It is slow and it drops hard, so you lead your target and aim high. Everything else in the build exists to make that one shell count.
How a fight goes
- Hull Reinforcement Kit
Use it as you pull into position. It covers the first exchange.
- XM15
Open with Airburst on the first target you see. It sets them alight and widens the blast. Fire the main gun first, because Airburst restarts your reload.
- XM248
Then fire the HEAT shell. Aim at what HE could never hurt: front armor and turret fronts. Lead the target, aim above it, and don’t shoot at extreme range. Its gravity makes it fall fast.
- Fared-B
It adds penetration and puts 600 Fire on every shell. Each hit now starts a burn on top of the damage.
- Imdubar
Save Autocannons for close range, against sides and rear. You get more shells per burst.
- FDH-5432H
Reposition between shots. It gives a little more top speed, and the M60A2 has no Boost.
- USUCEC + Repair Kit + Last Stand (skill)
USUCEC lifts you to 2,940 HP, so the Relentless line is 588. A Repair Kit from 1 HP only reaches 551, under the line. With Last Stand, you're saved at 118 HP and the kit lifts you to 668.
The trade-off. The shell is slow and falls, there's one shot every 7 seconds, and XM248 slows your hull turning by about 15%. Choose your position first, then take the shot.

Join the Discord
Reaper rewards players who always know how much HP they have left. Take him into a match and run the M60A1 up close or the M60A2 Starship at range to see which one fits how you like to fight. The builds above are a starting point, not a rulebook. Tell us how you run him and share your own builds with the community on Discord.