How HEAT Works

Your guide to Agents, tanks, combat, and progression

What Is HEAT?

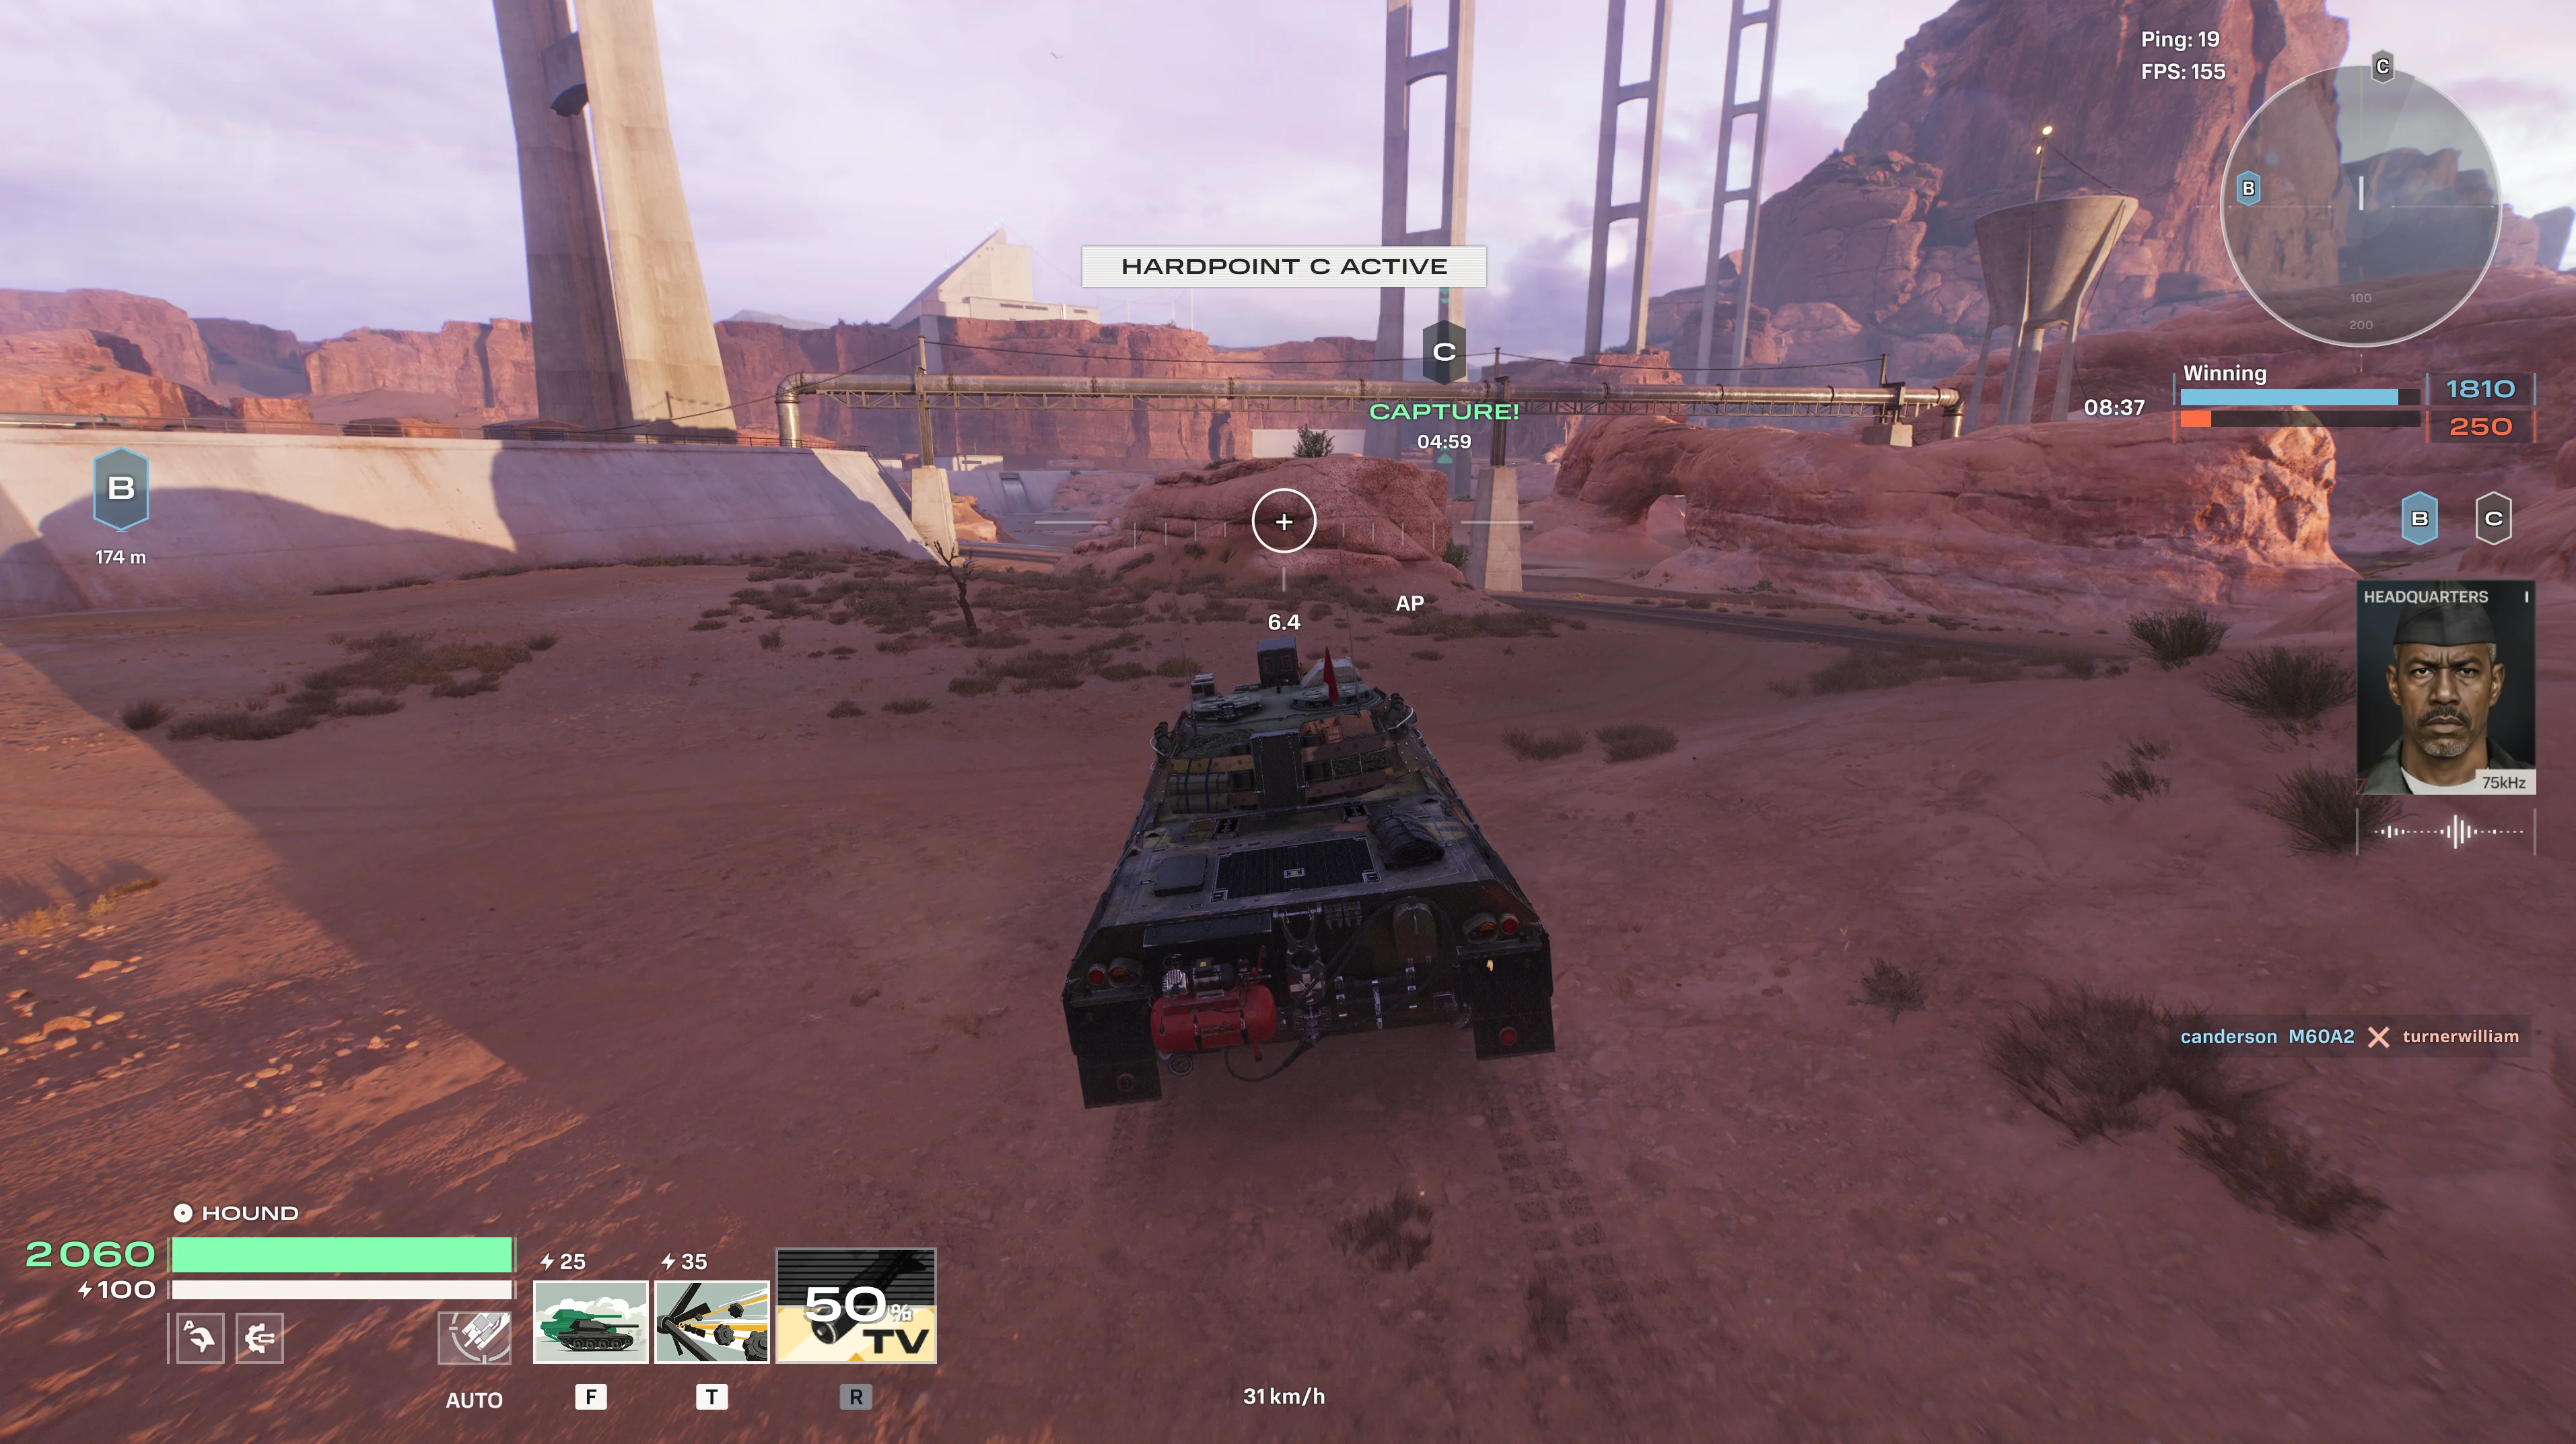
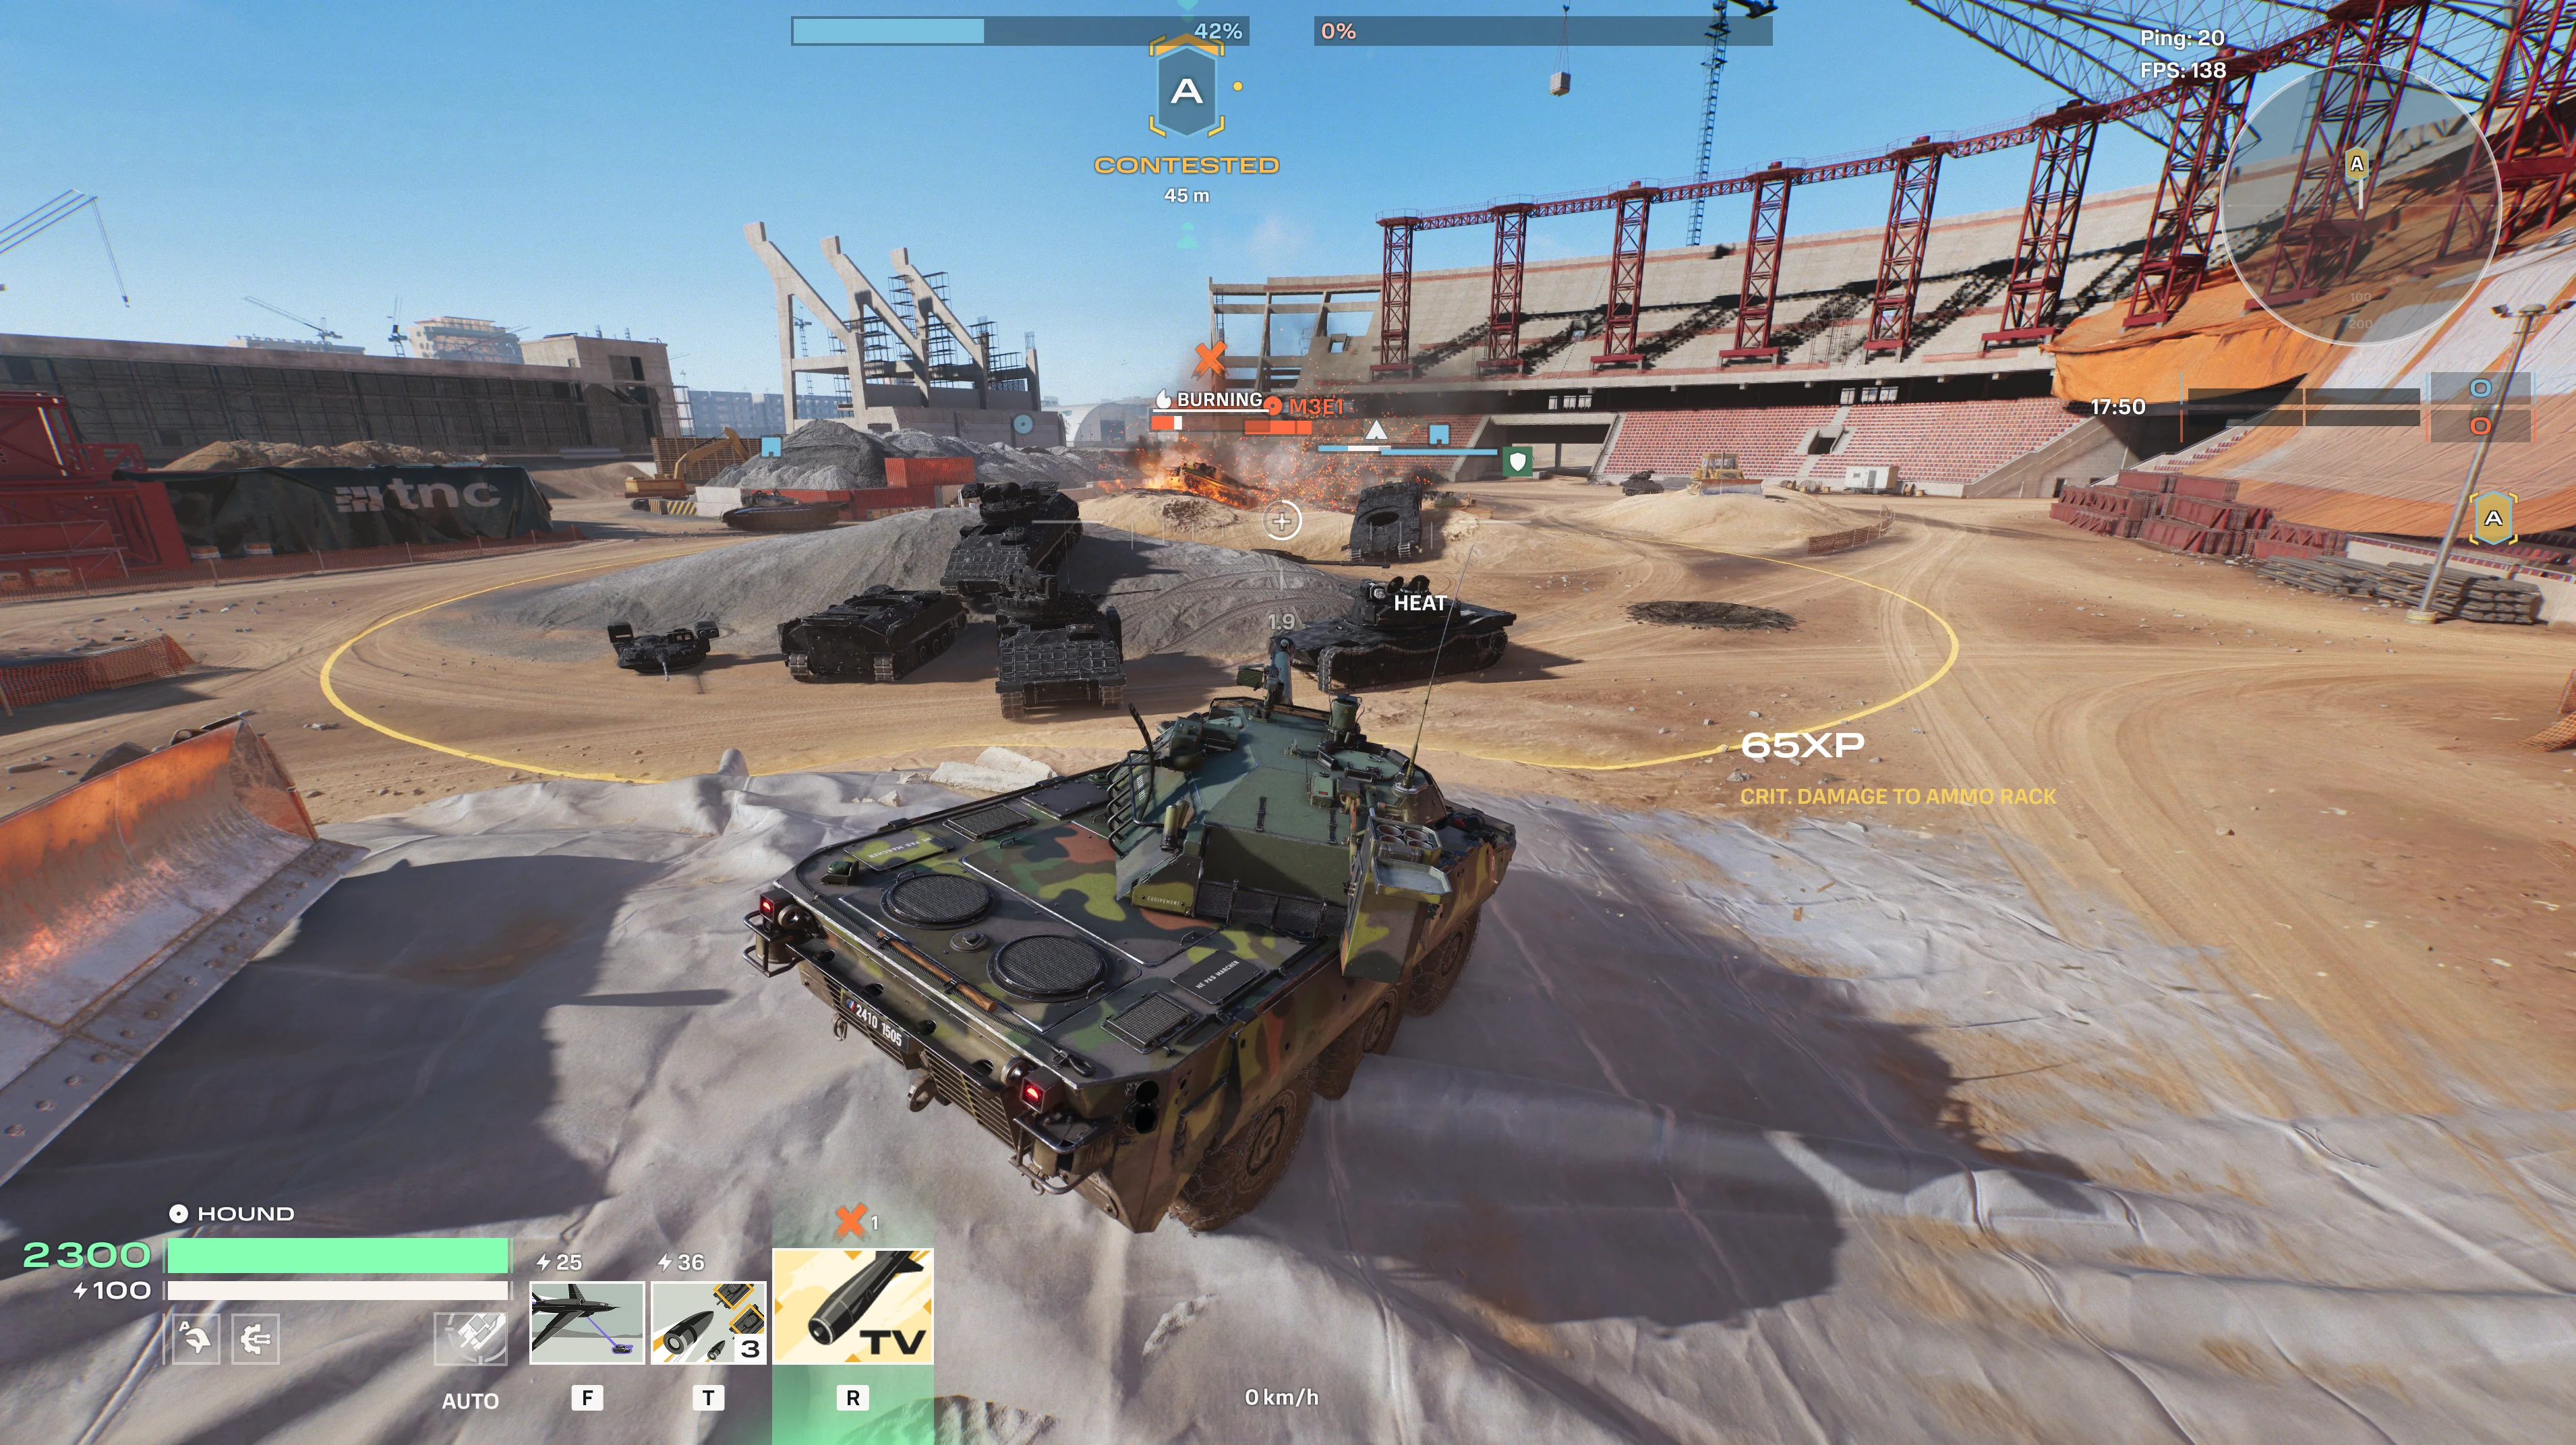
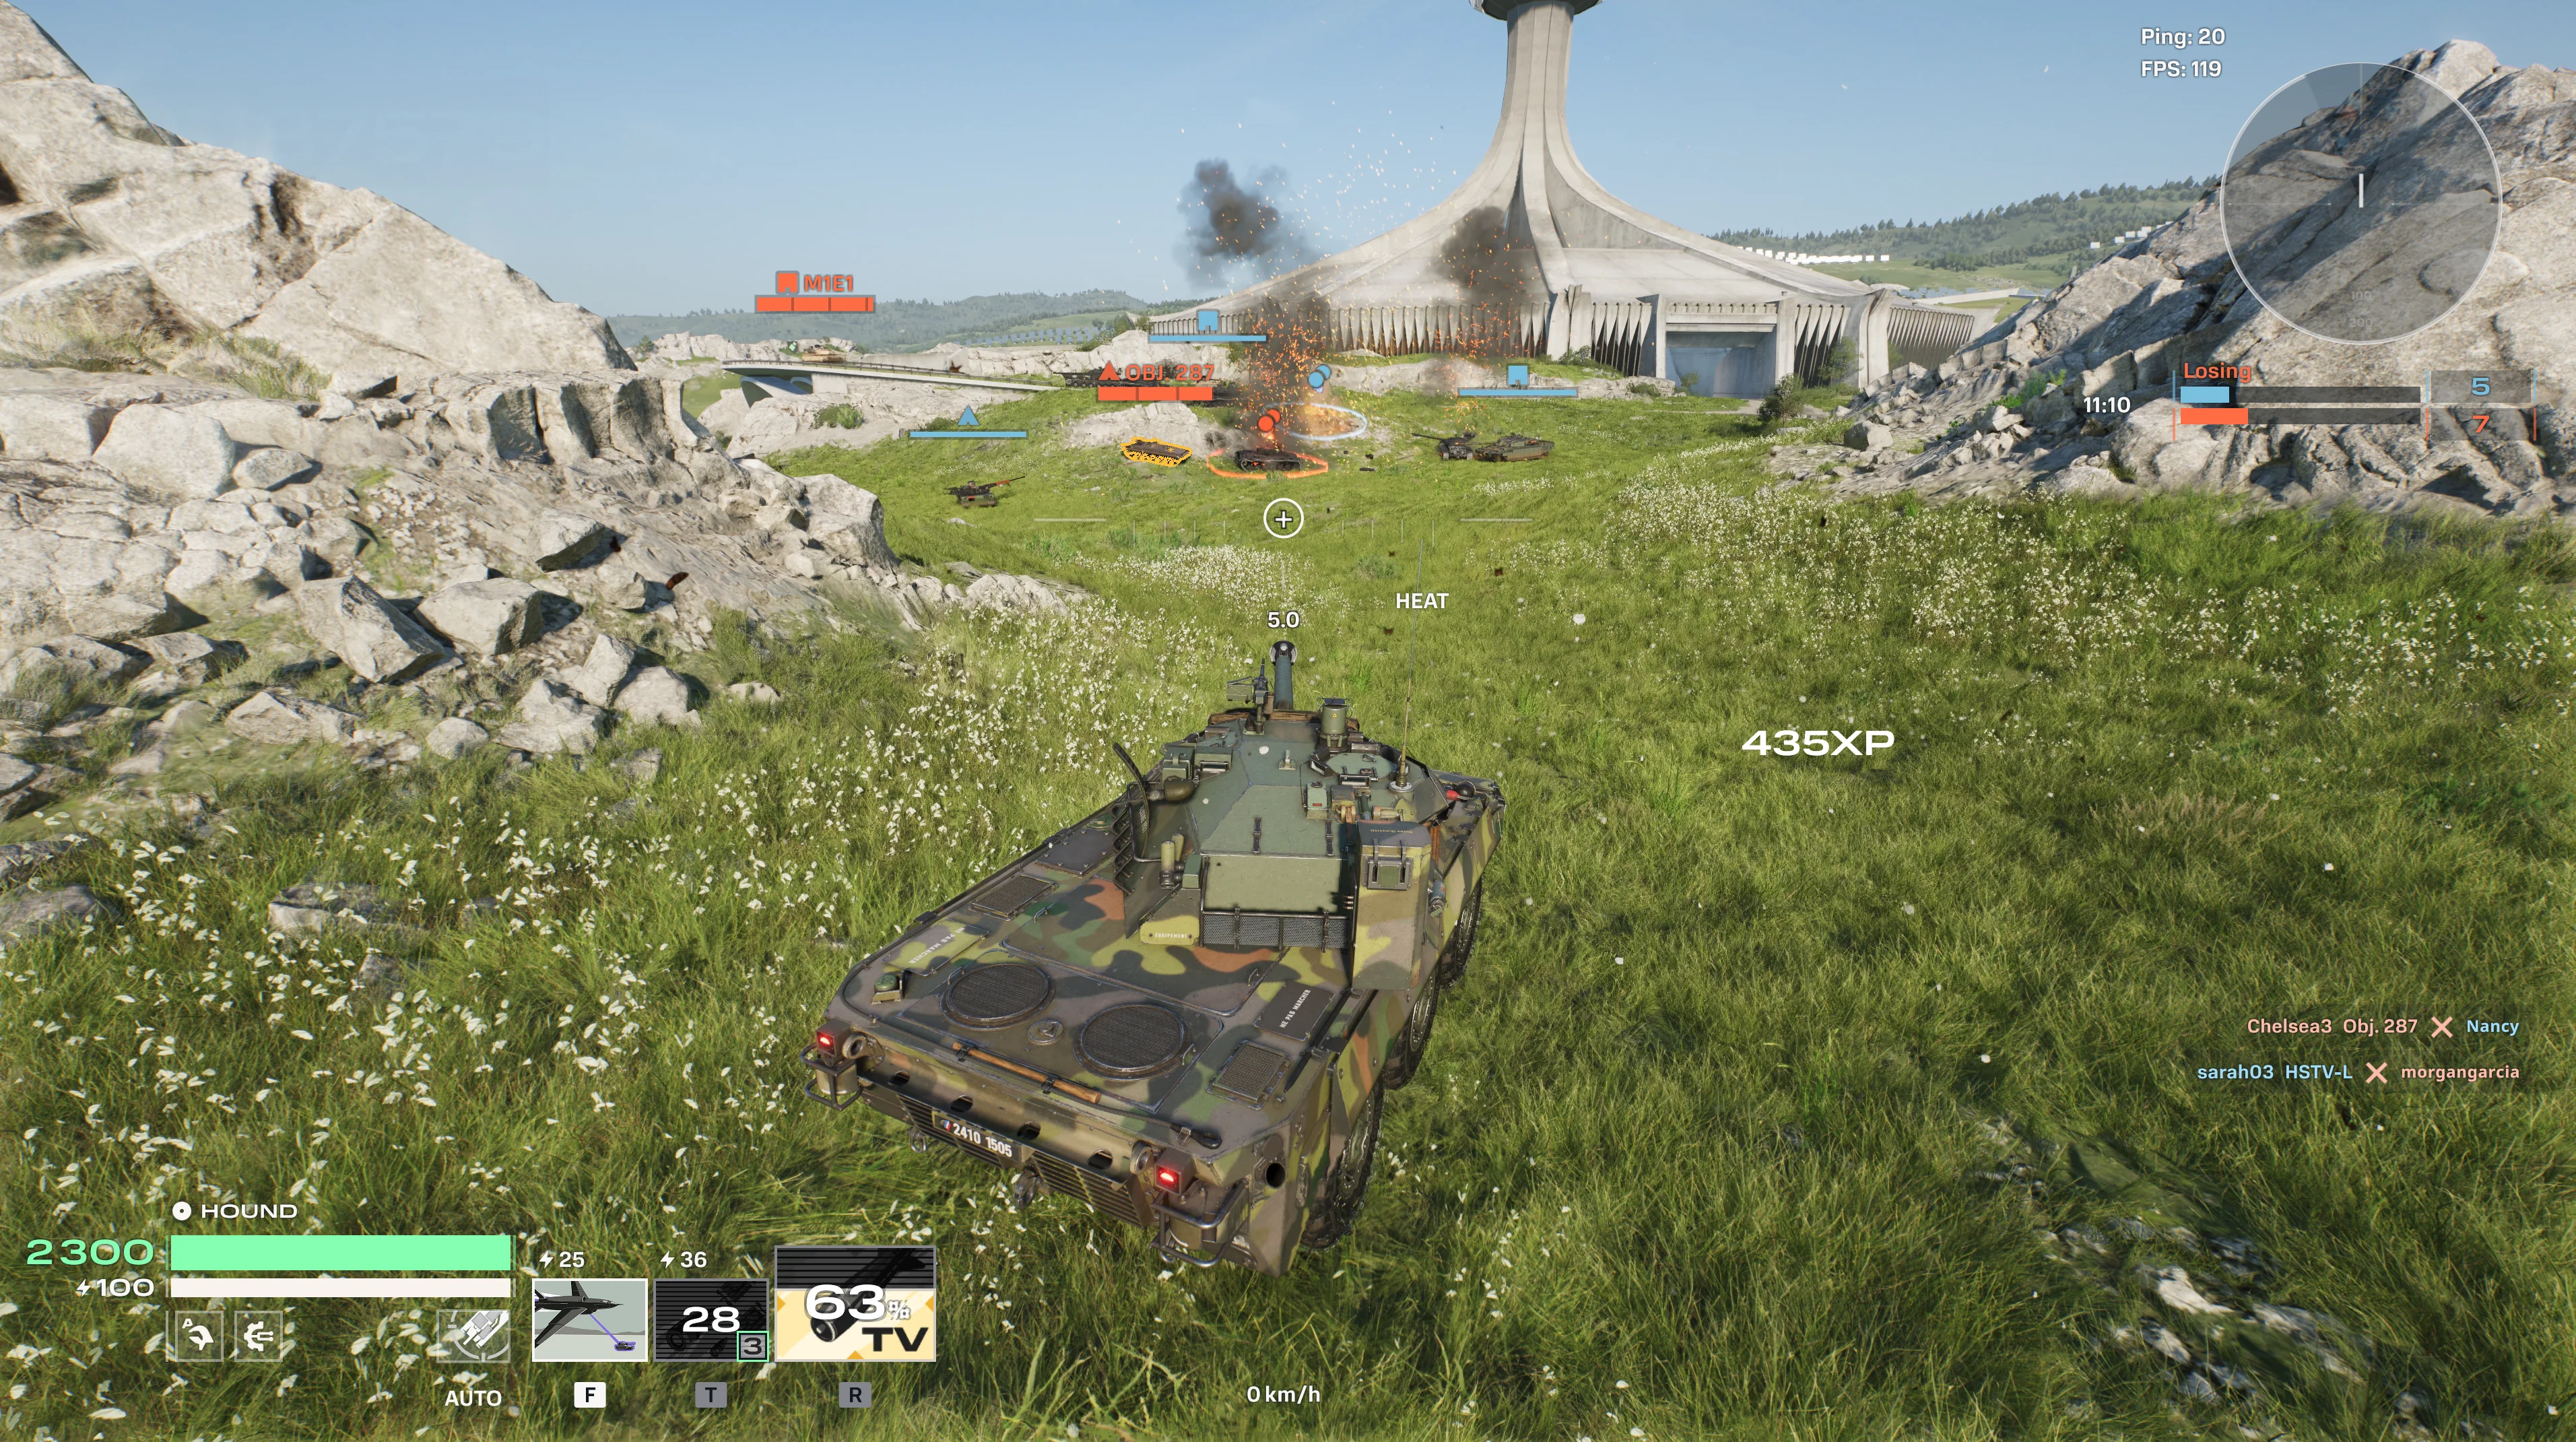
World of Tanks: HEAT is a hero-based free-to-play PvP tank action where the unique abilities of humans and the raw power of machines form menacing combat units. Choose your Agent, equip your tank, and combine skill and strategy to dominate the battlefield in 5v5 and 10v10 battles.

HEAT is set in a post-WWII world where the atomic race has been abandoned, and the boldest ideas of aspiring minds propel humanity into an era of innovation and scientific triumph. But peace is always fragile, and balance unstable. Behind the facade of harmony lurks an arms race, a war of ideologies, and ever-emerging hotbeds of conflict. We are creating a world where military corporations and factions hire tank aces to protect a seemingly perfect utopia.

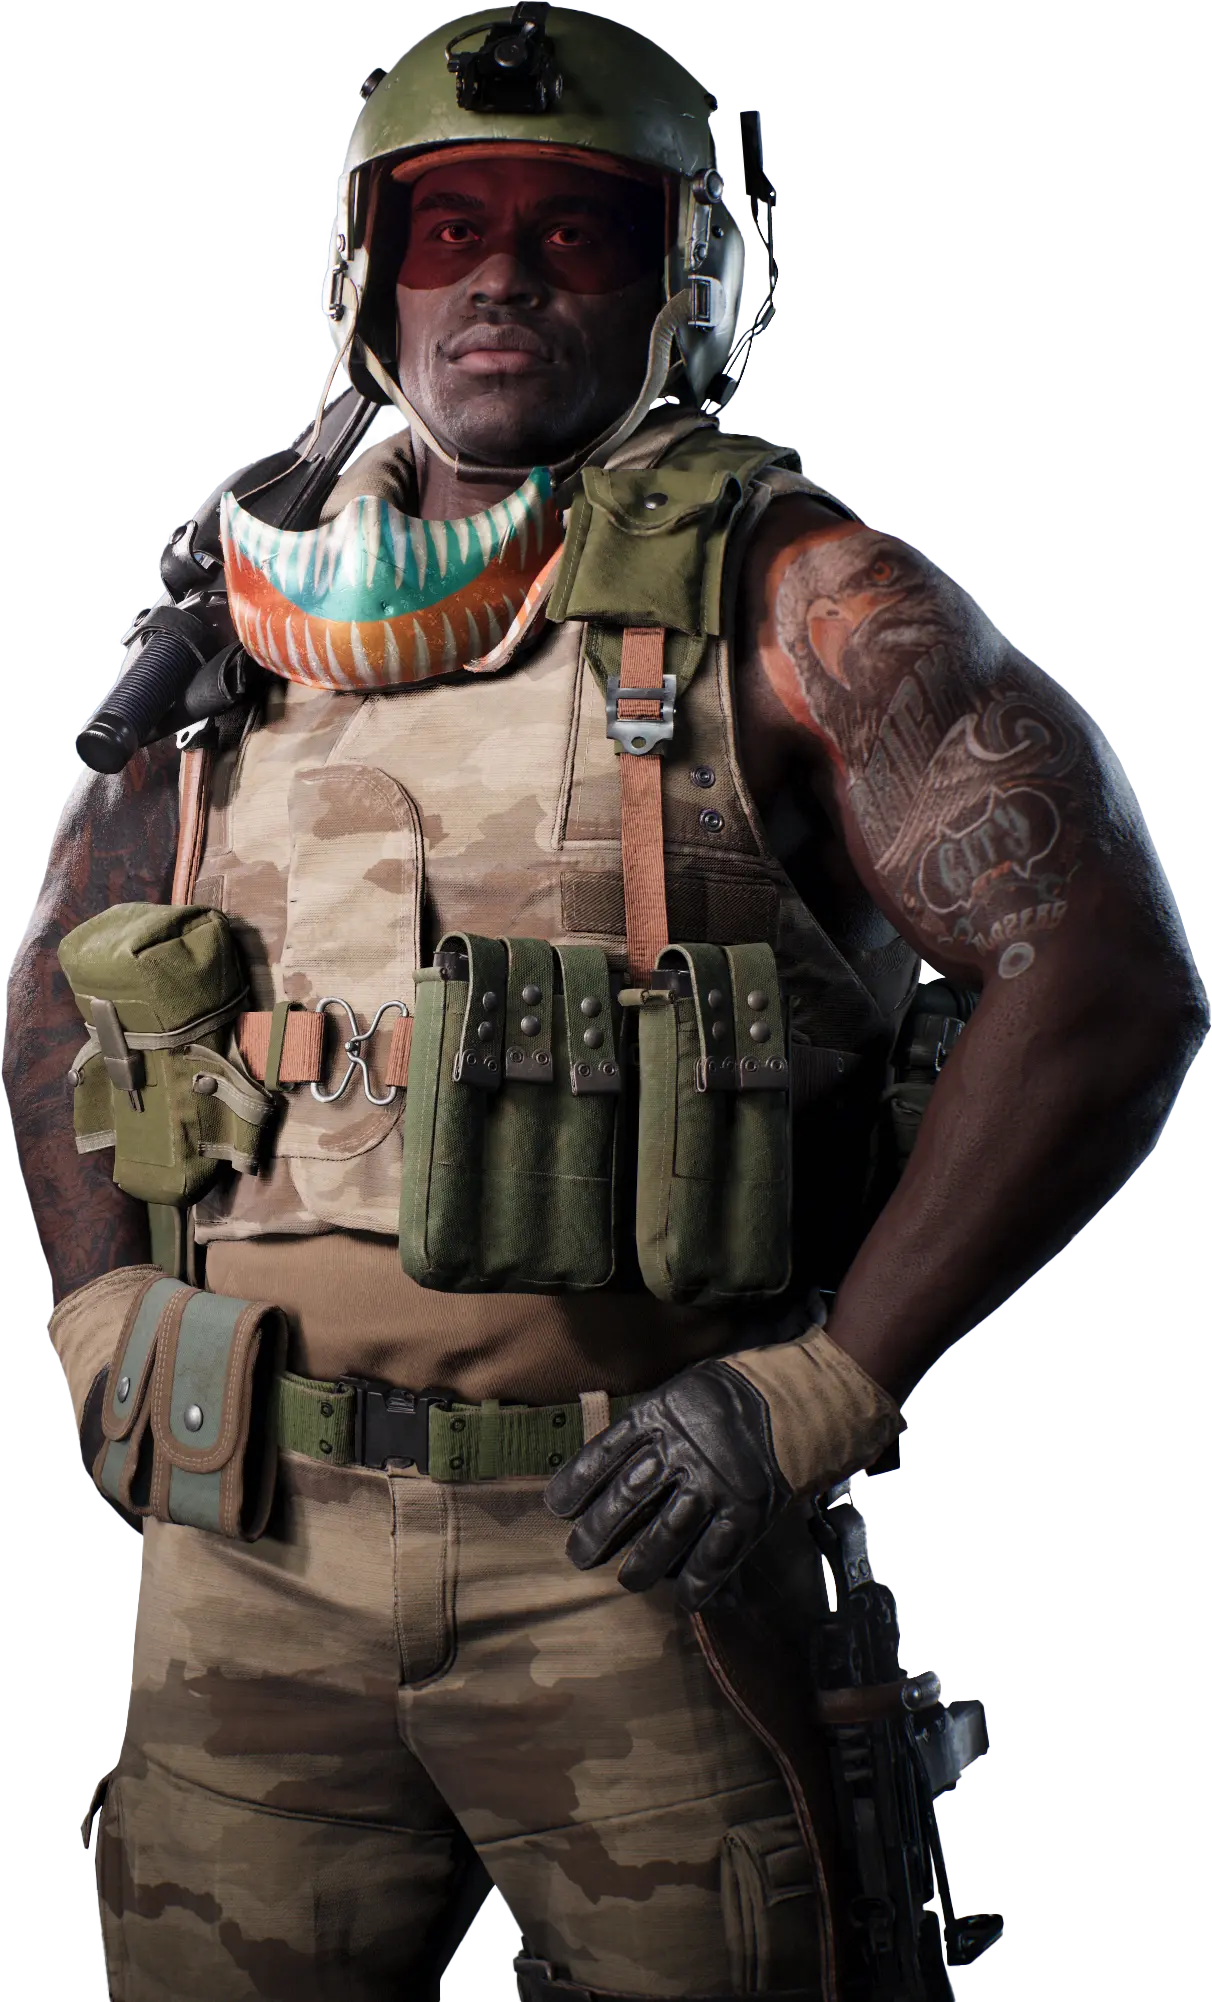
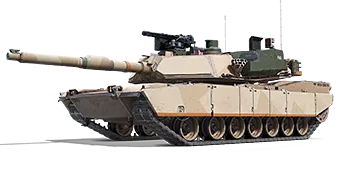
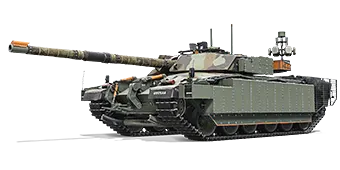
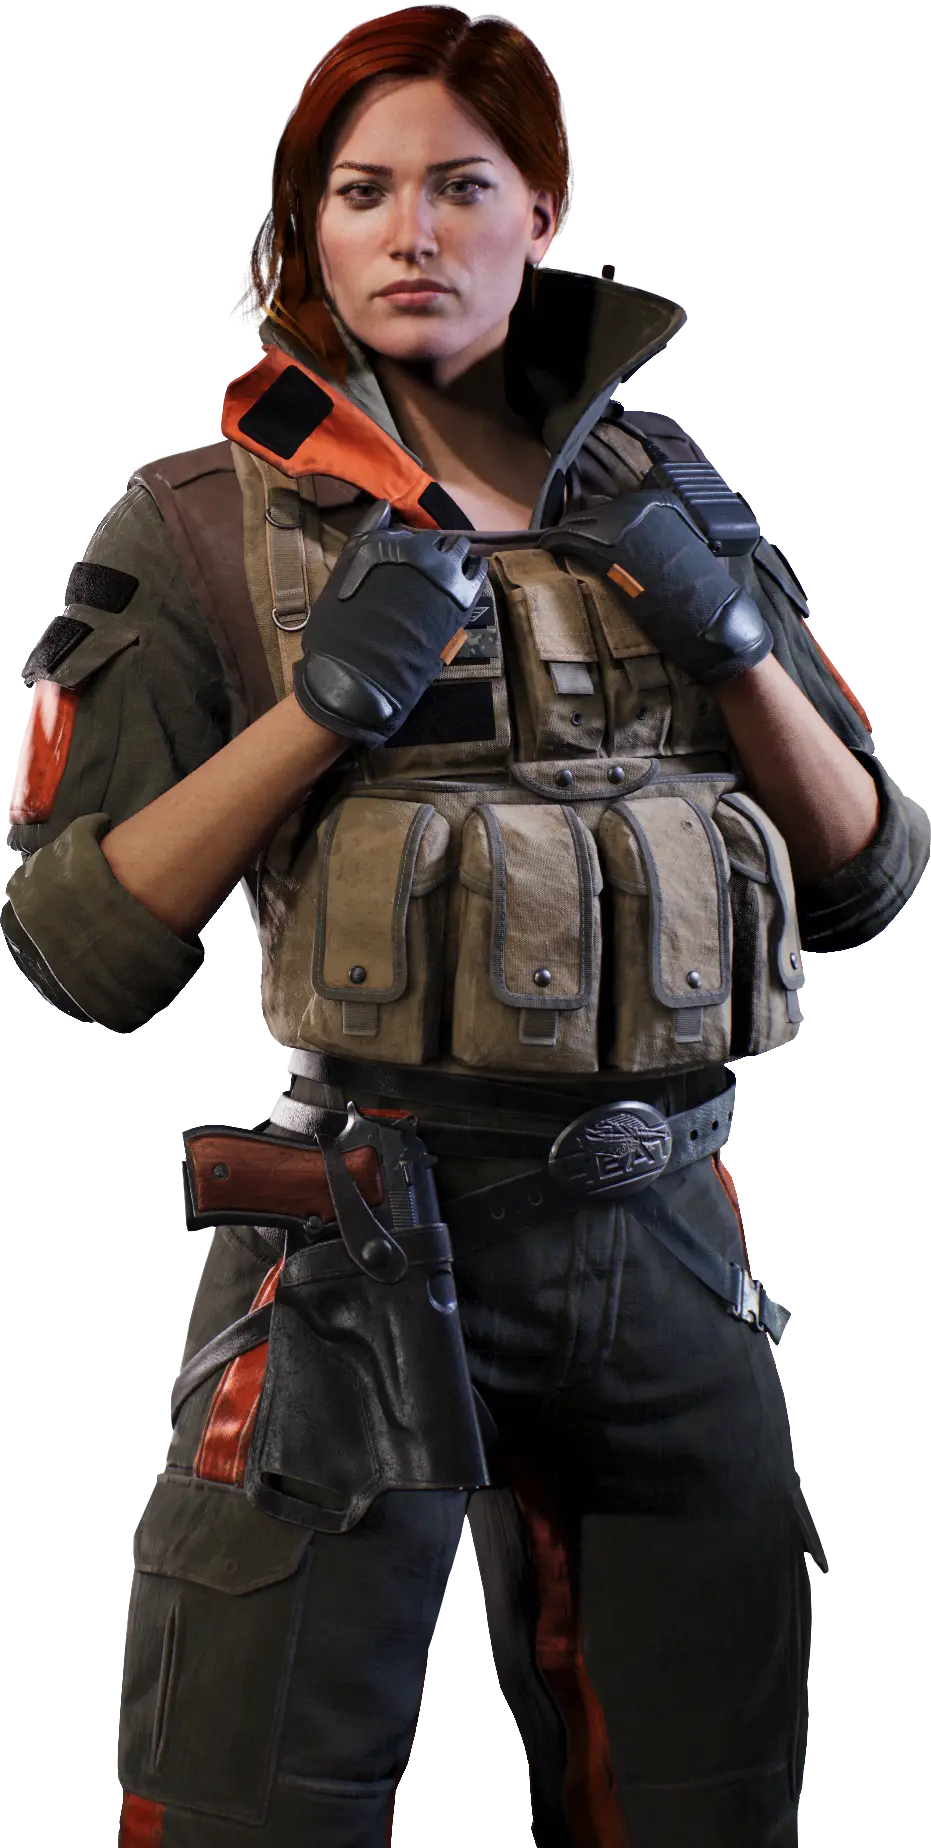
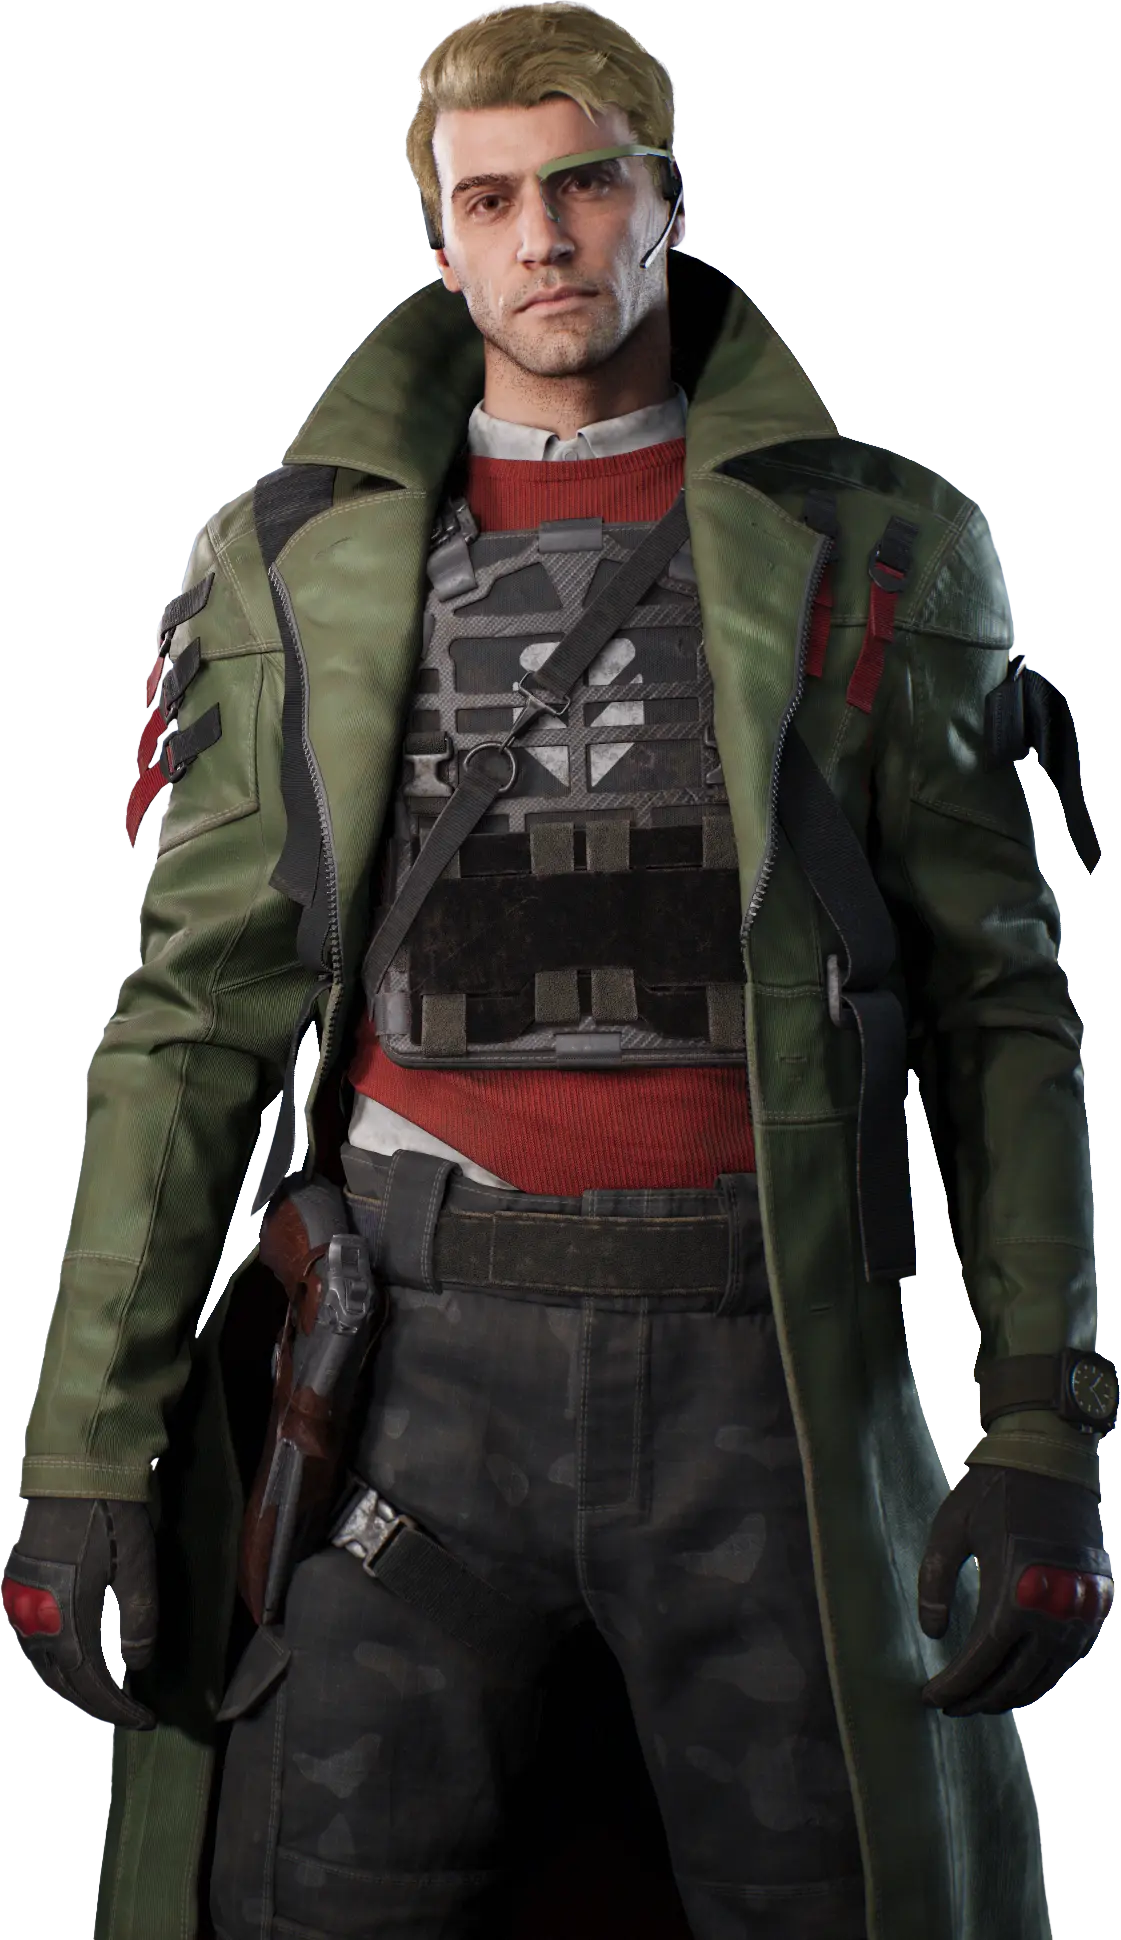
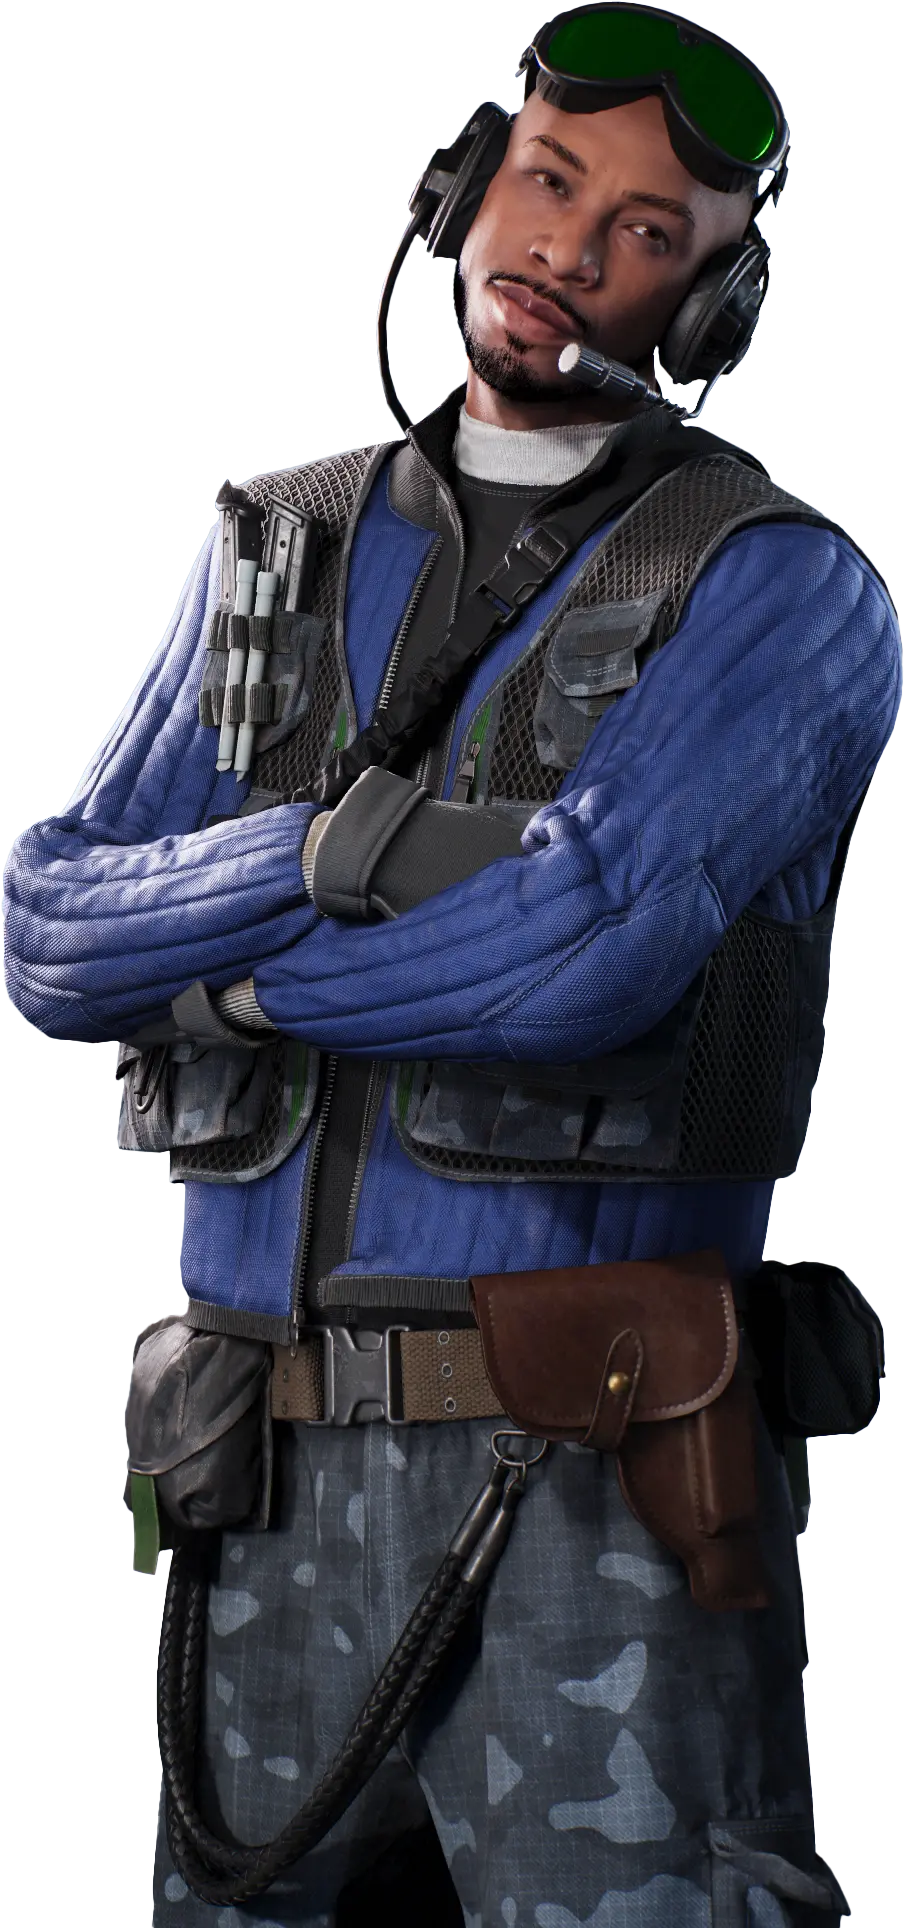
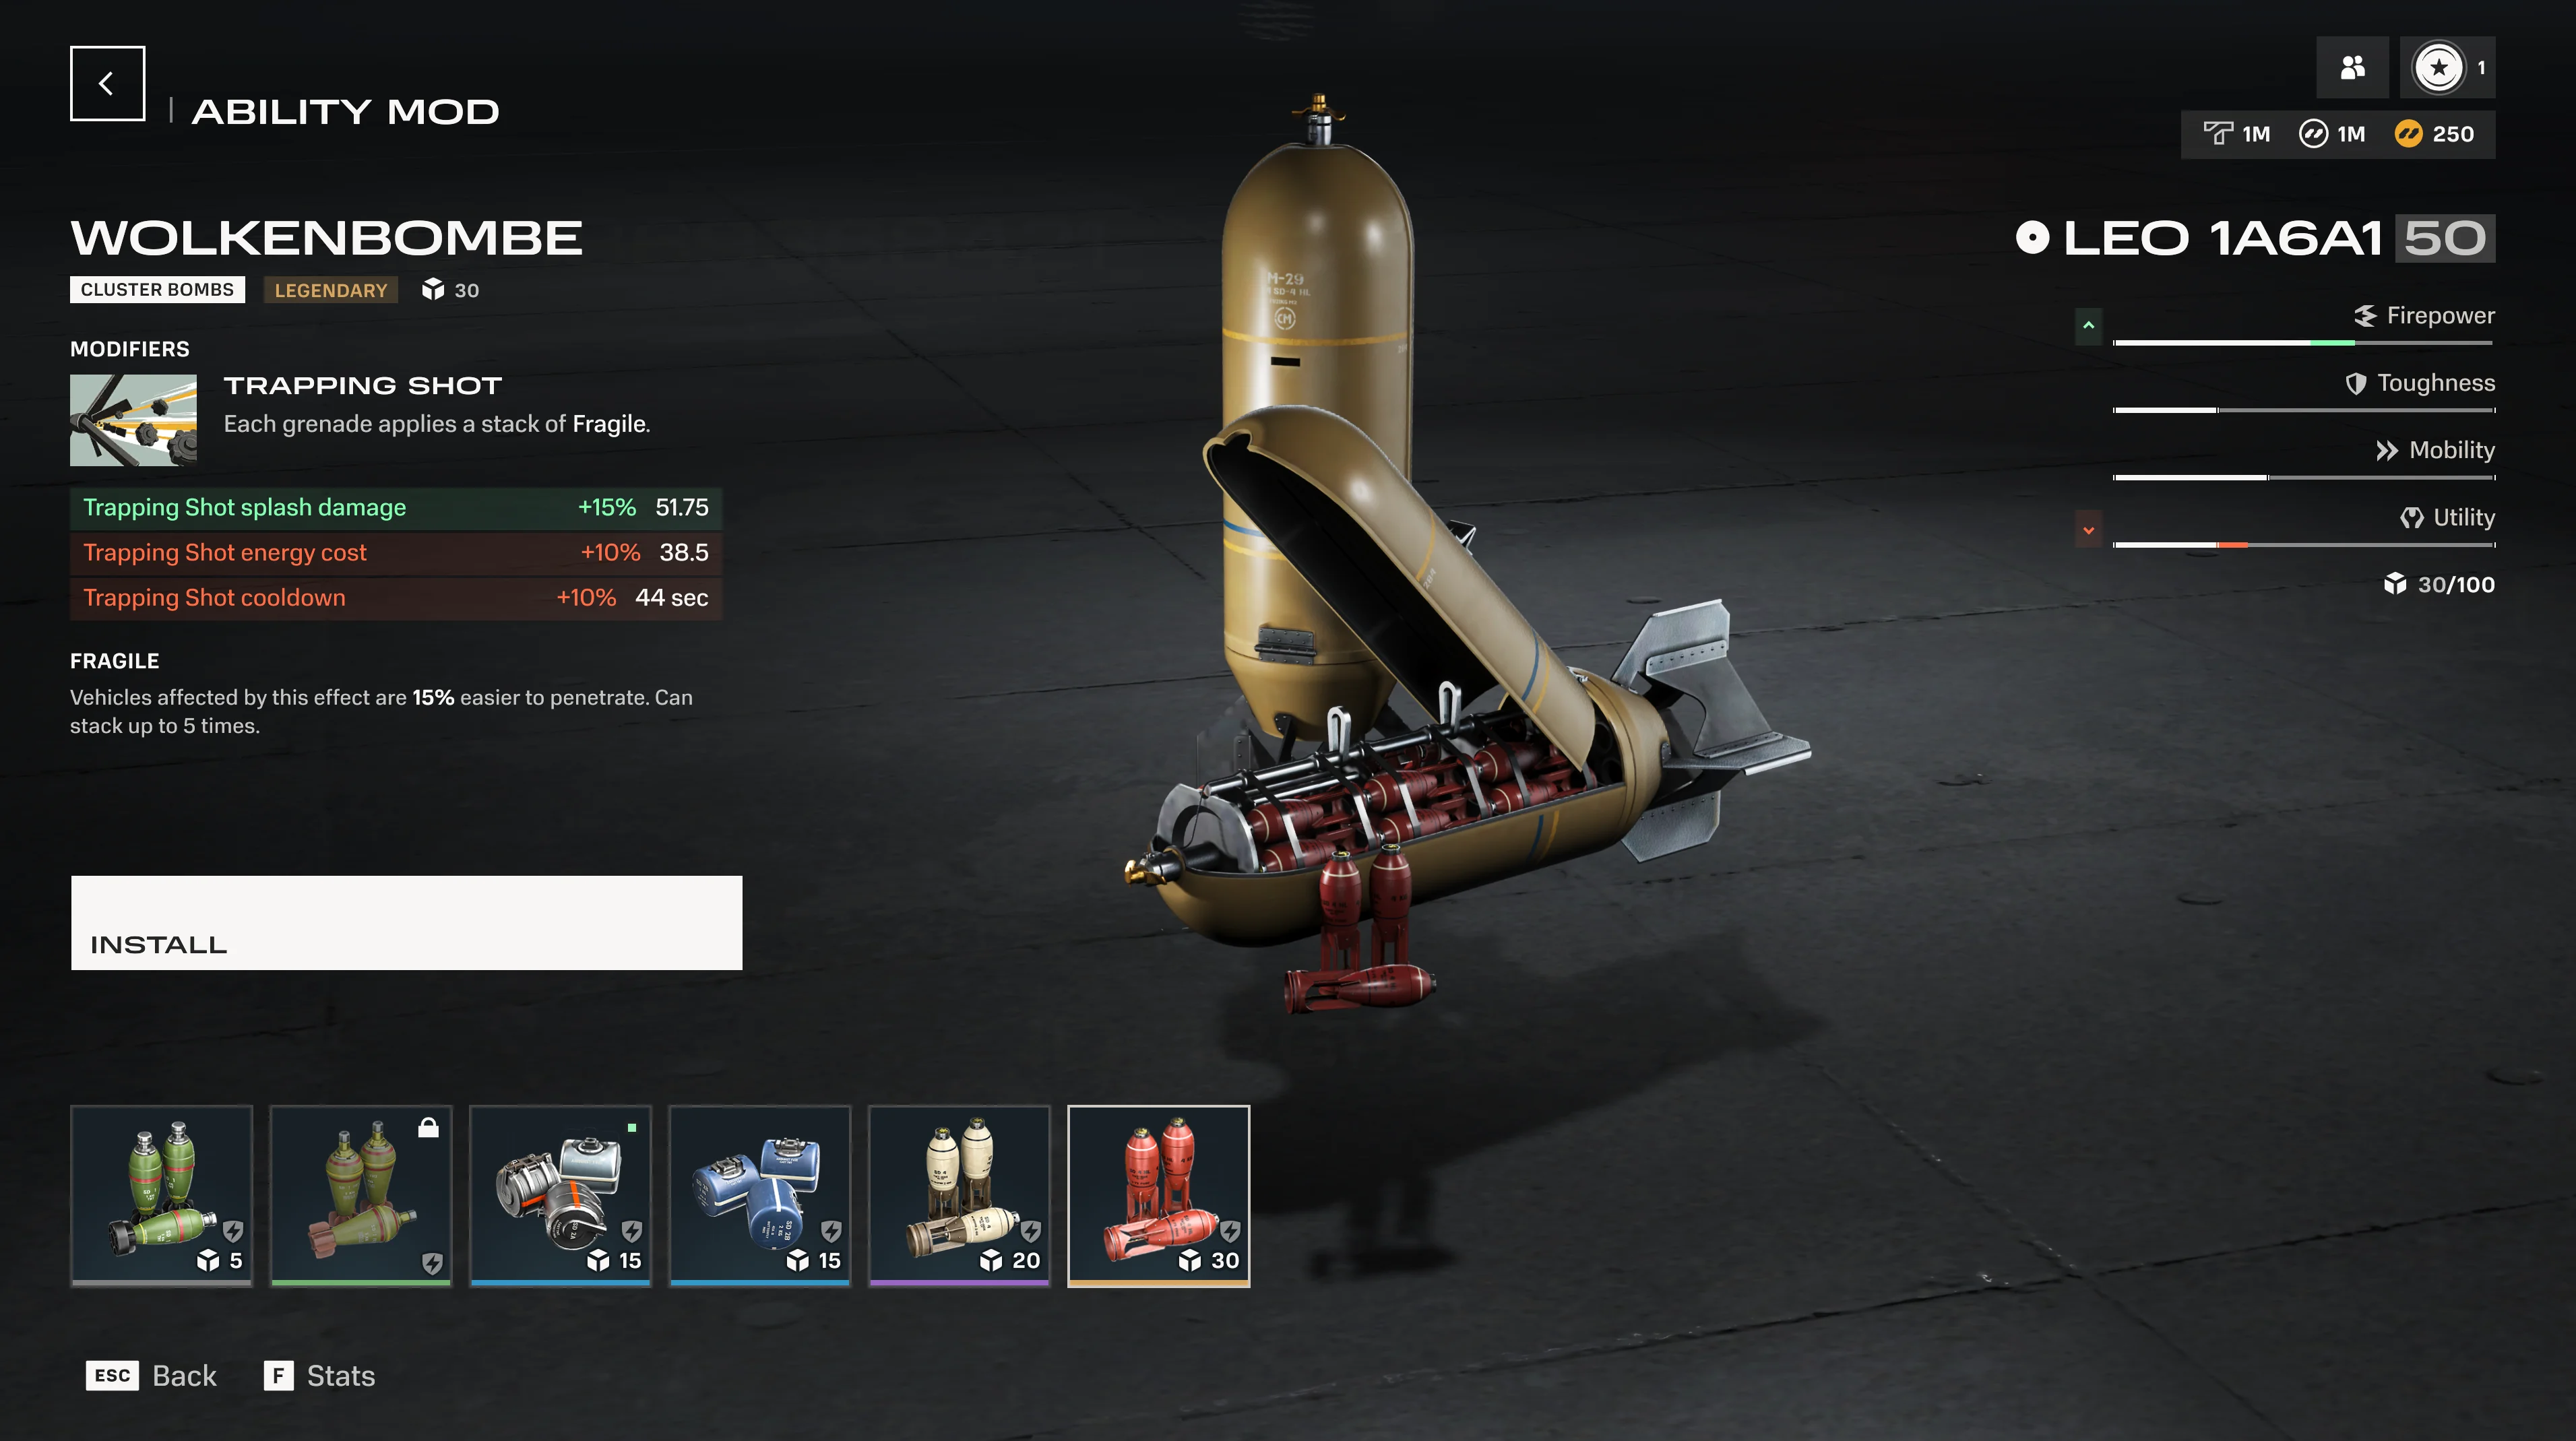
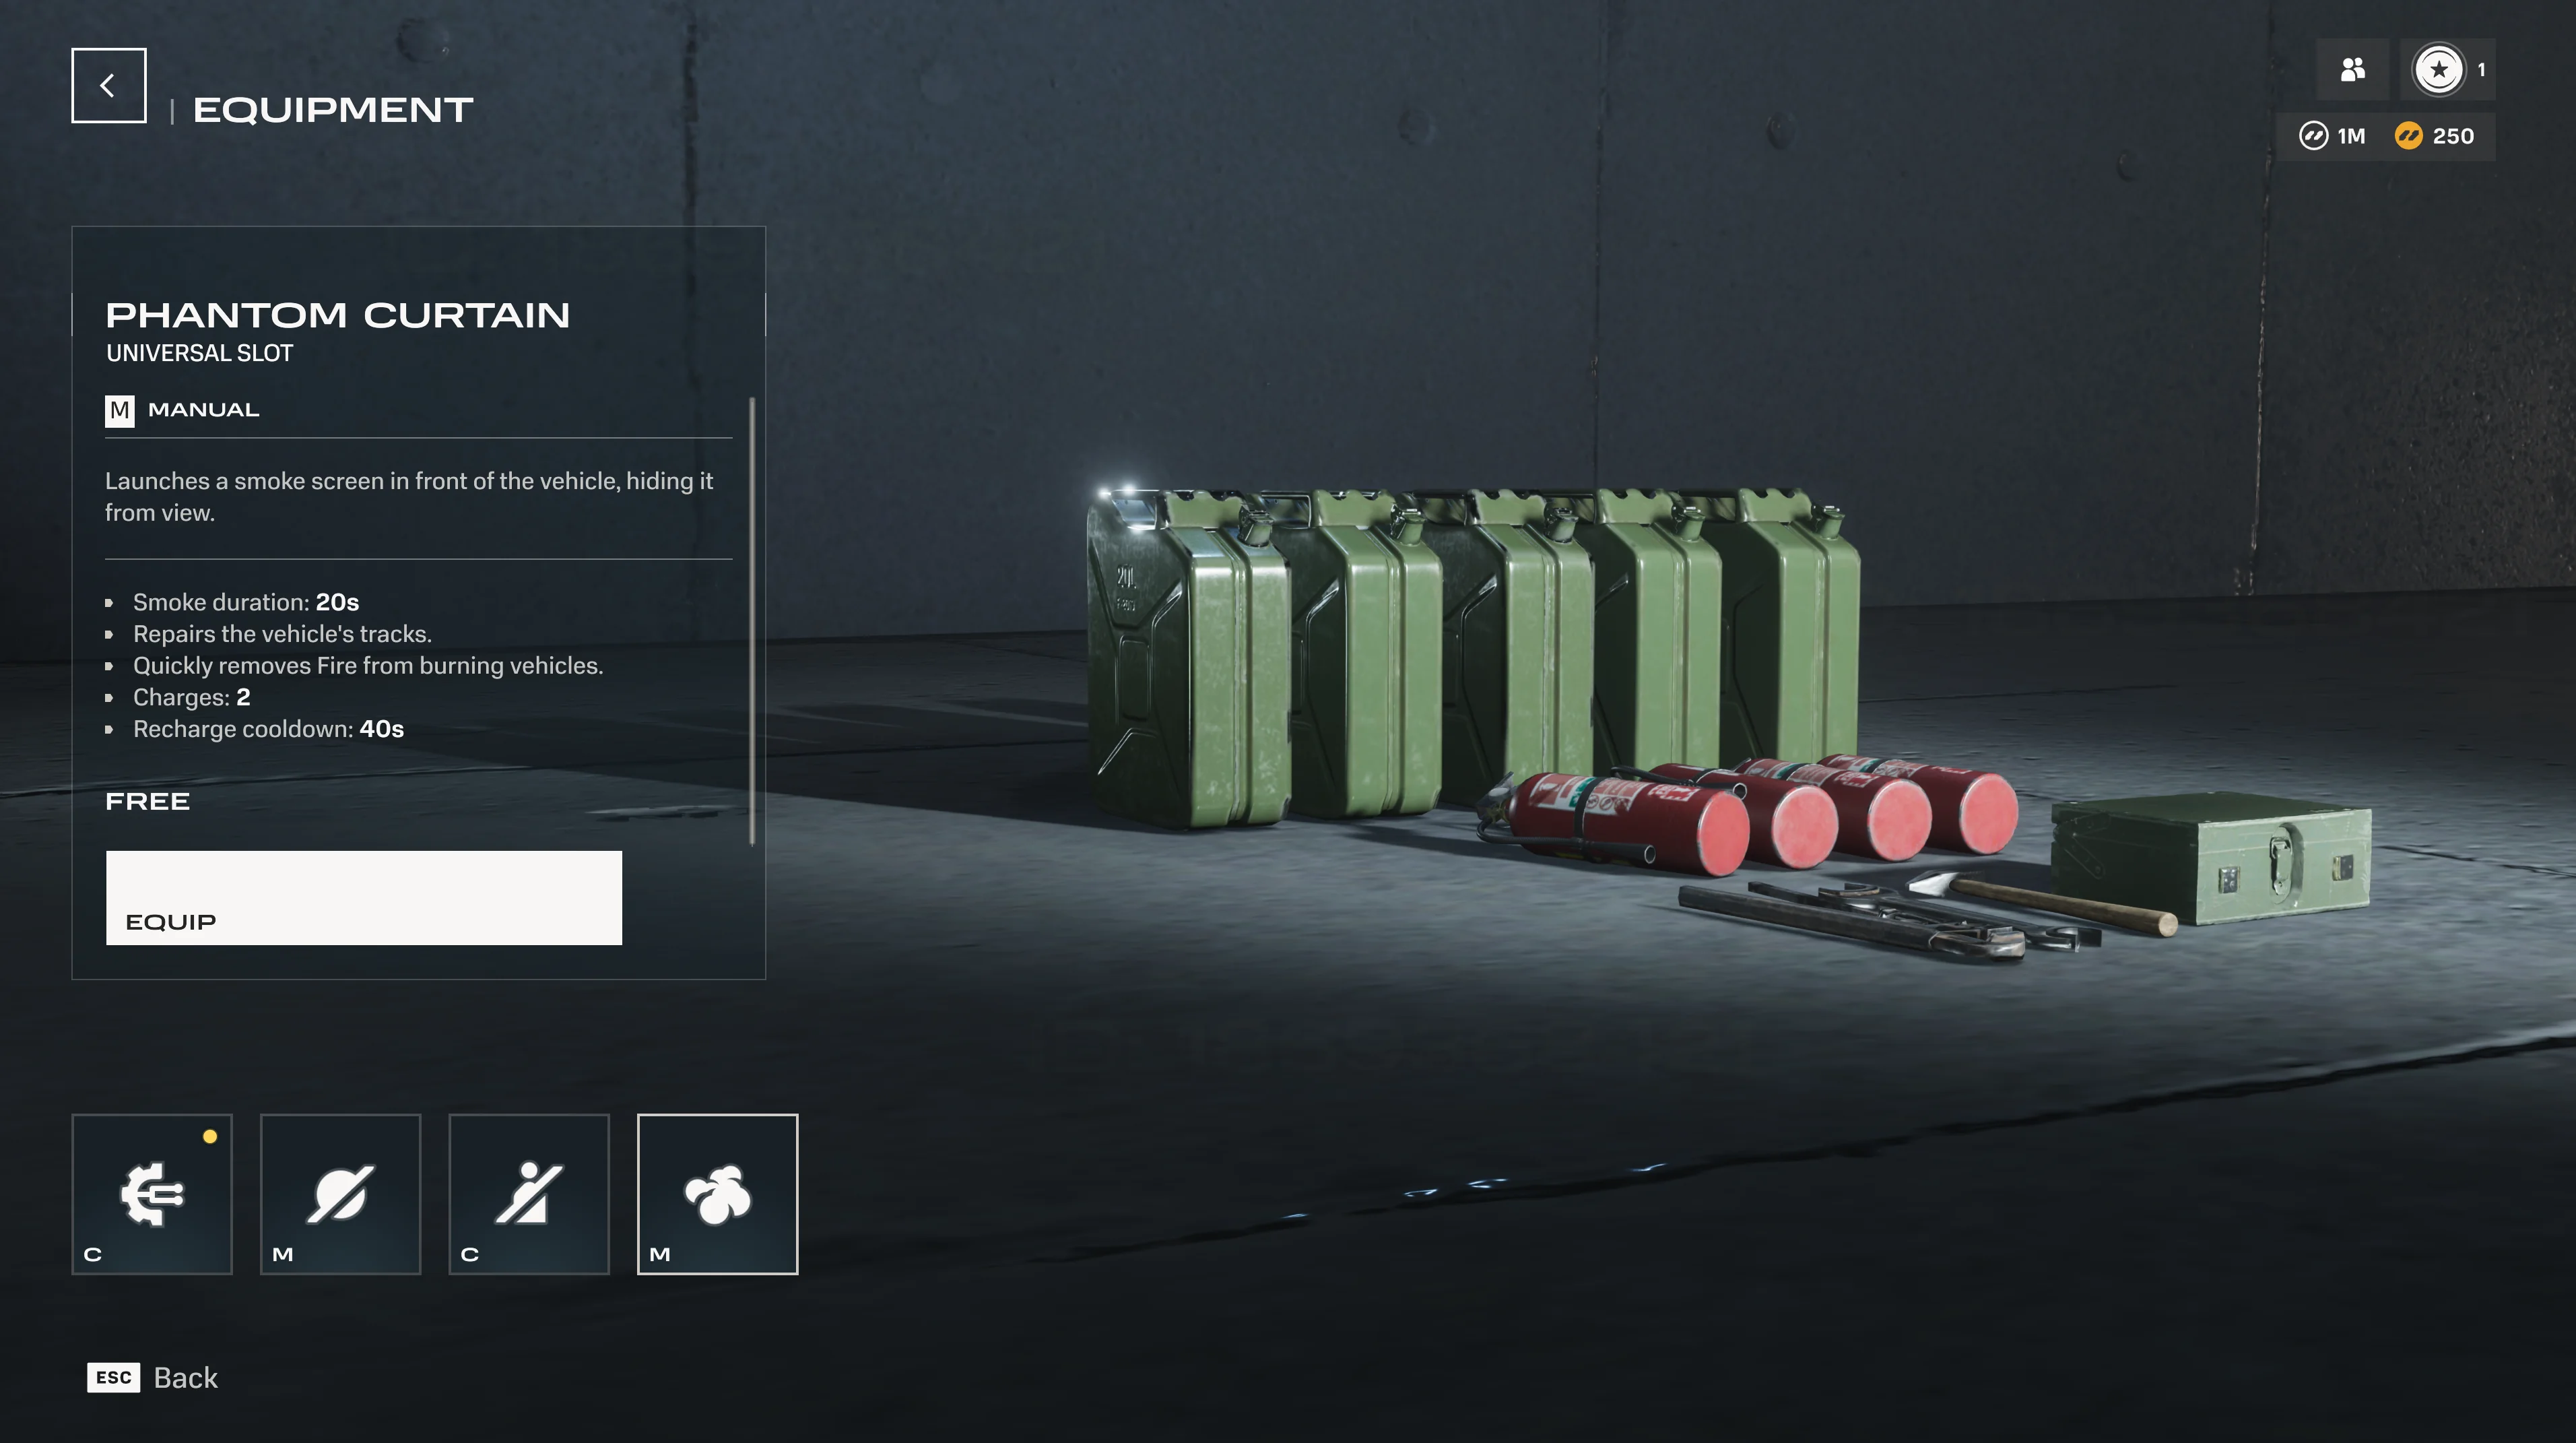
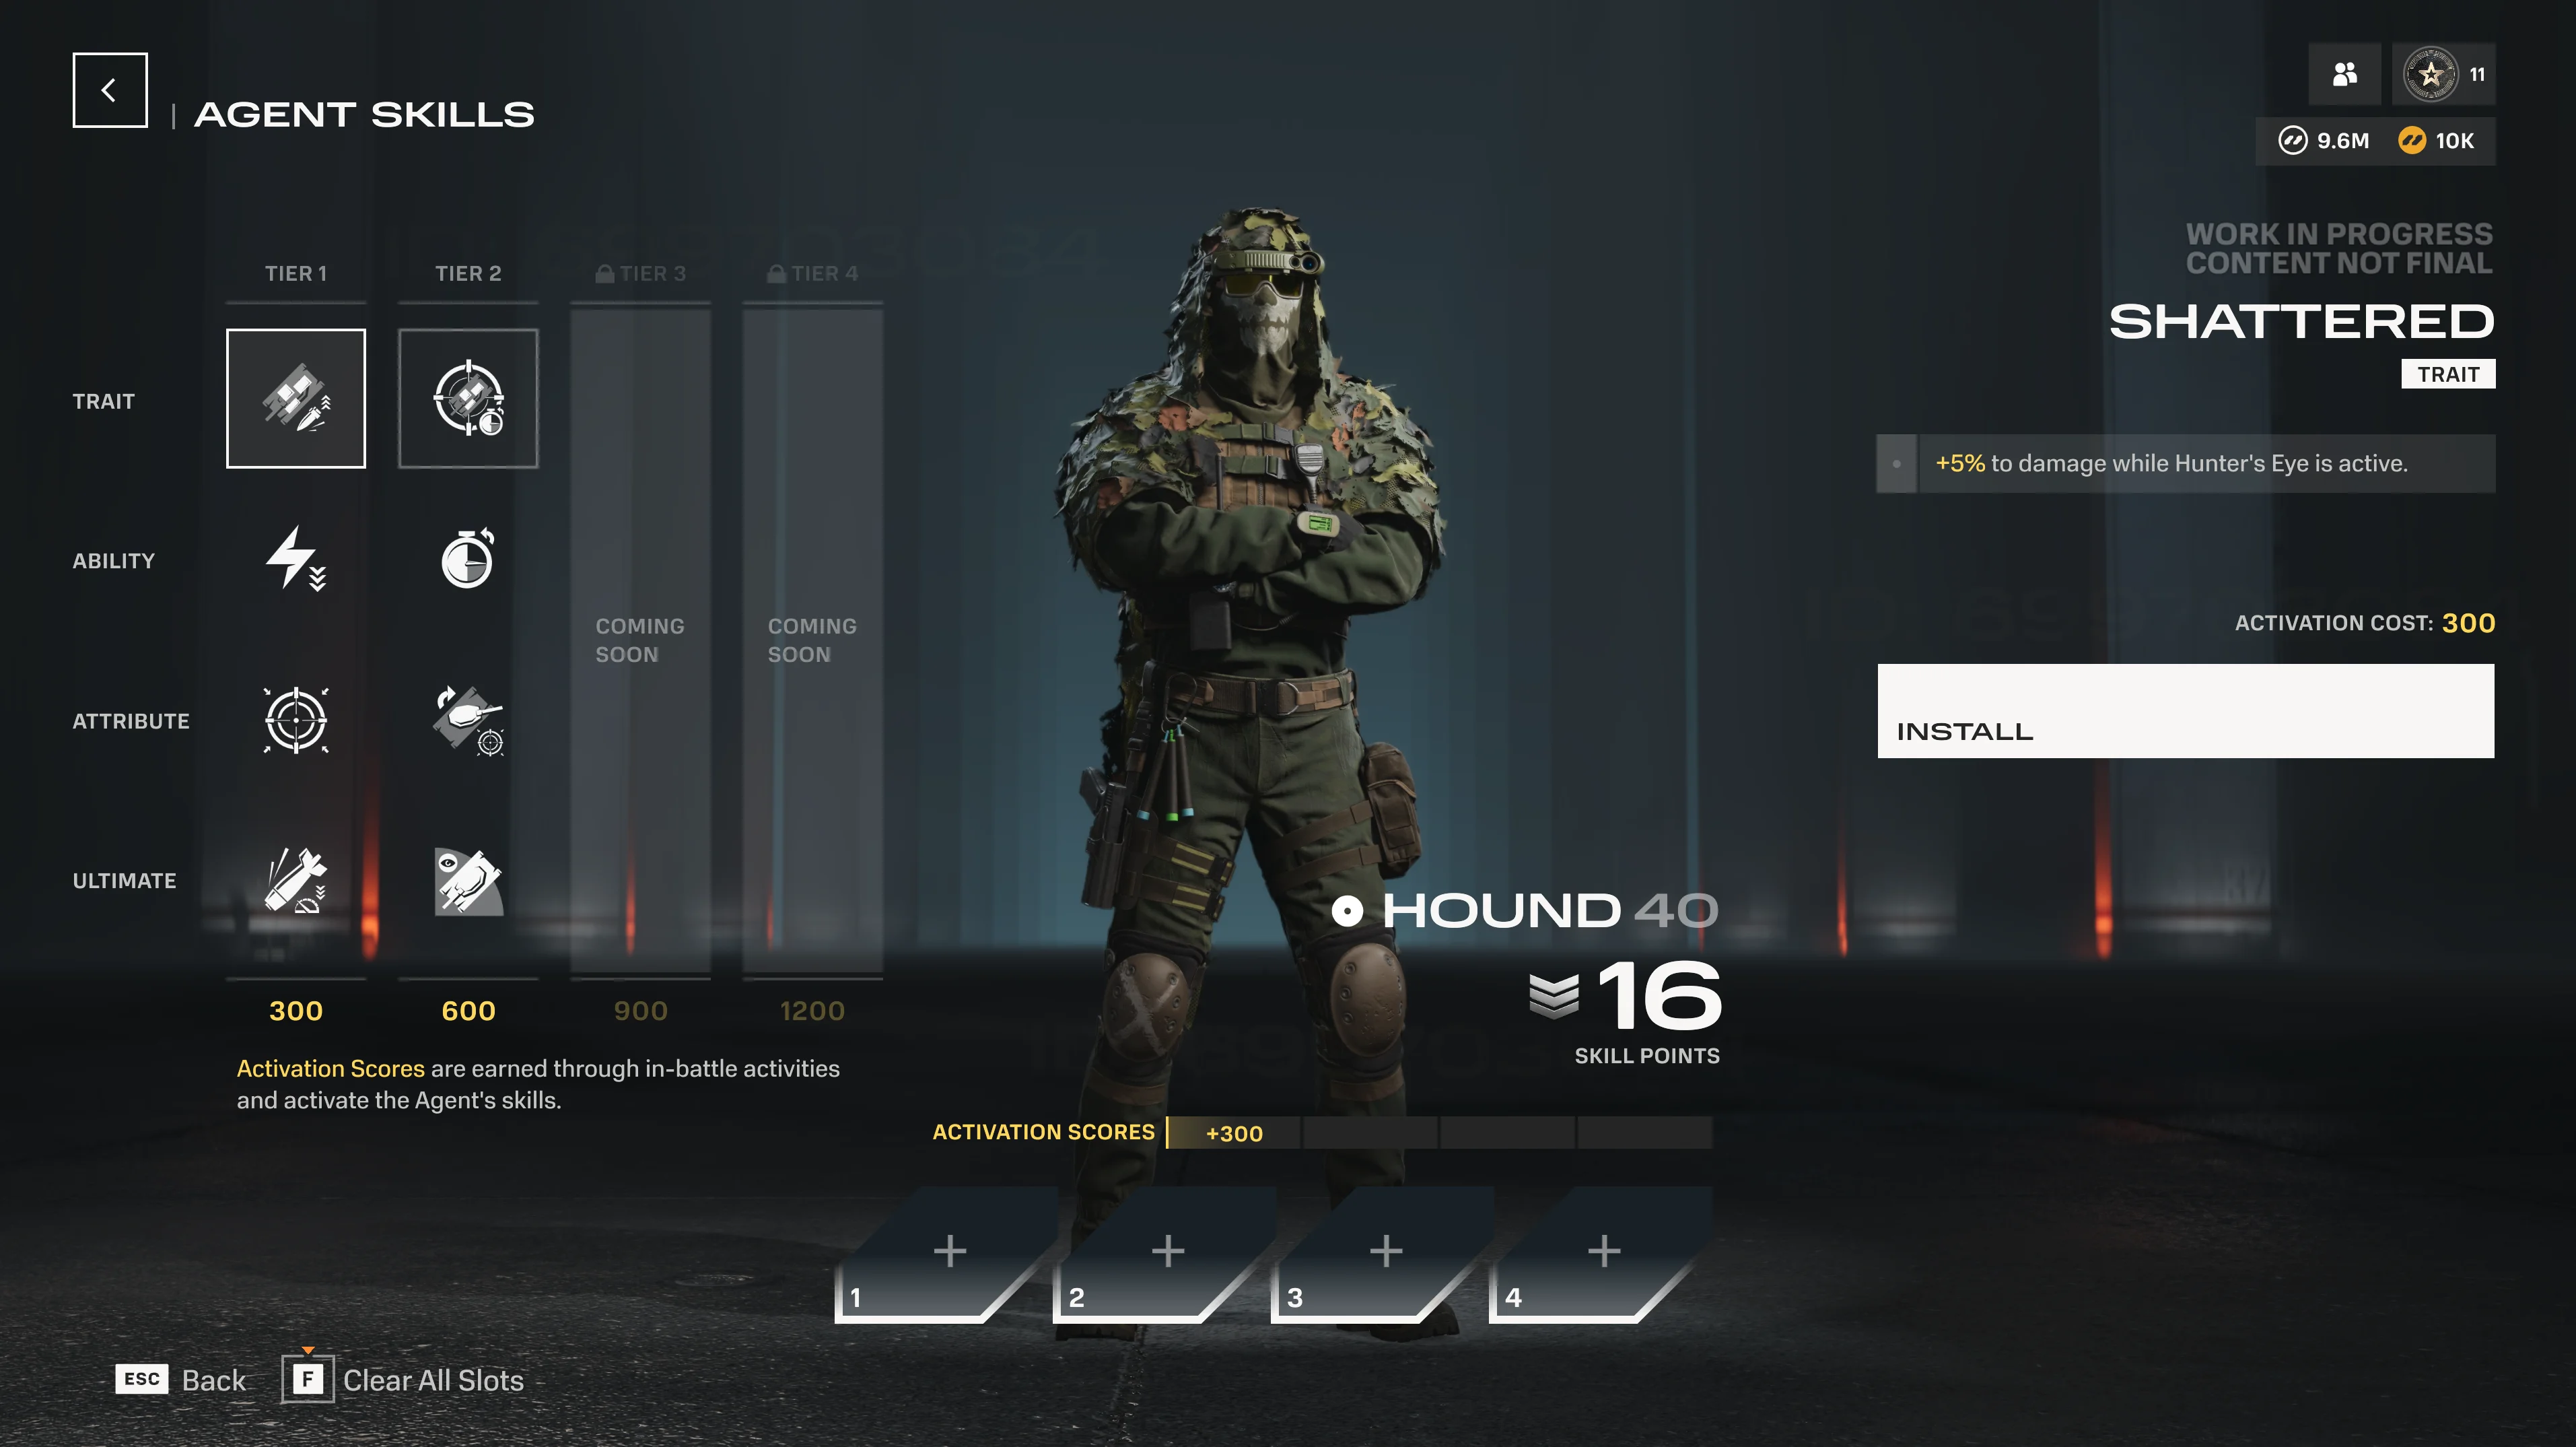
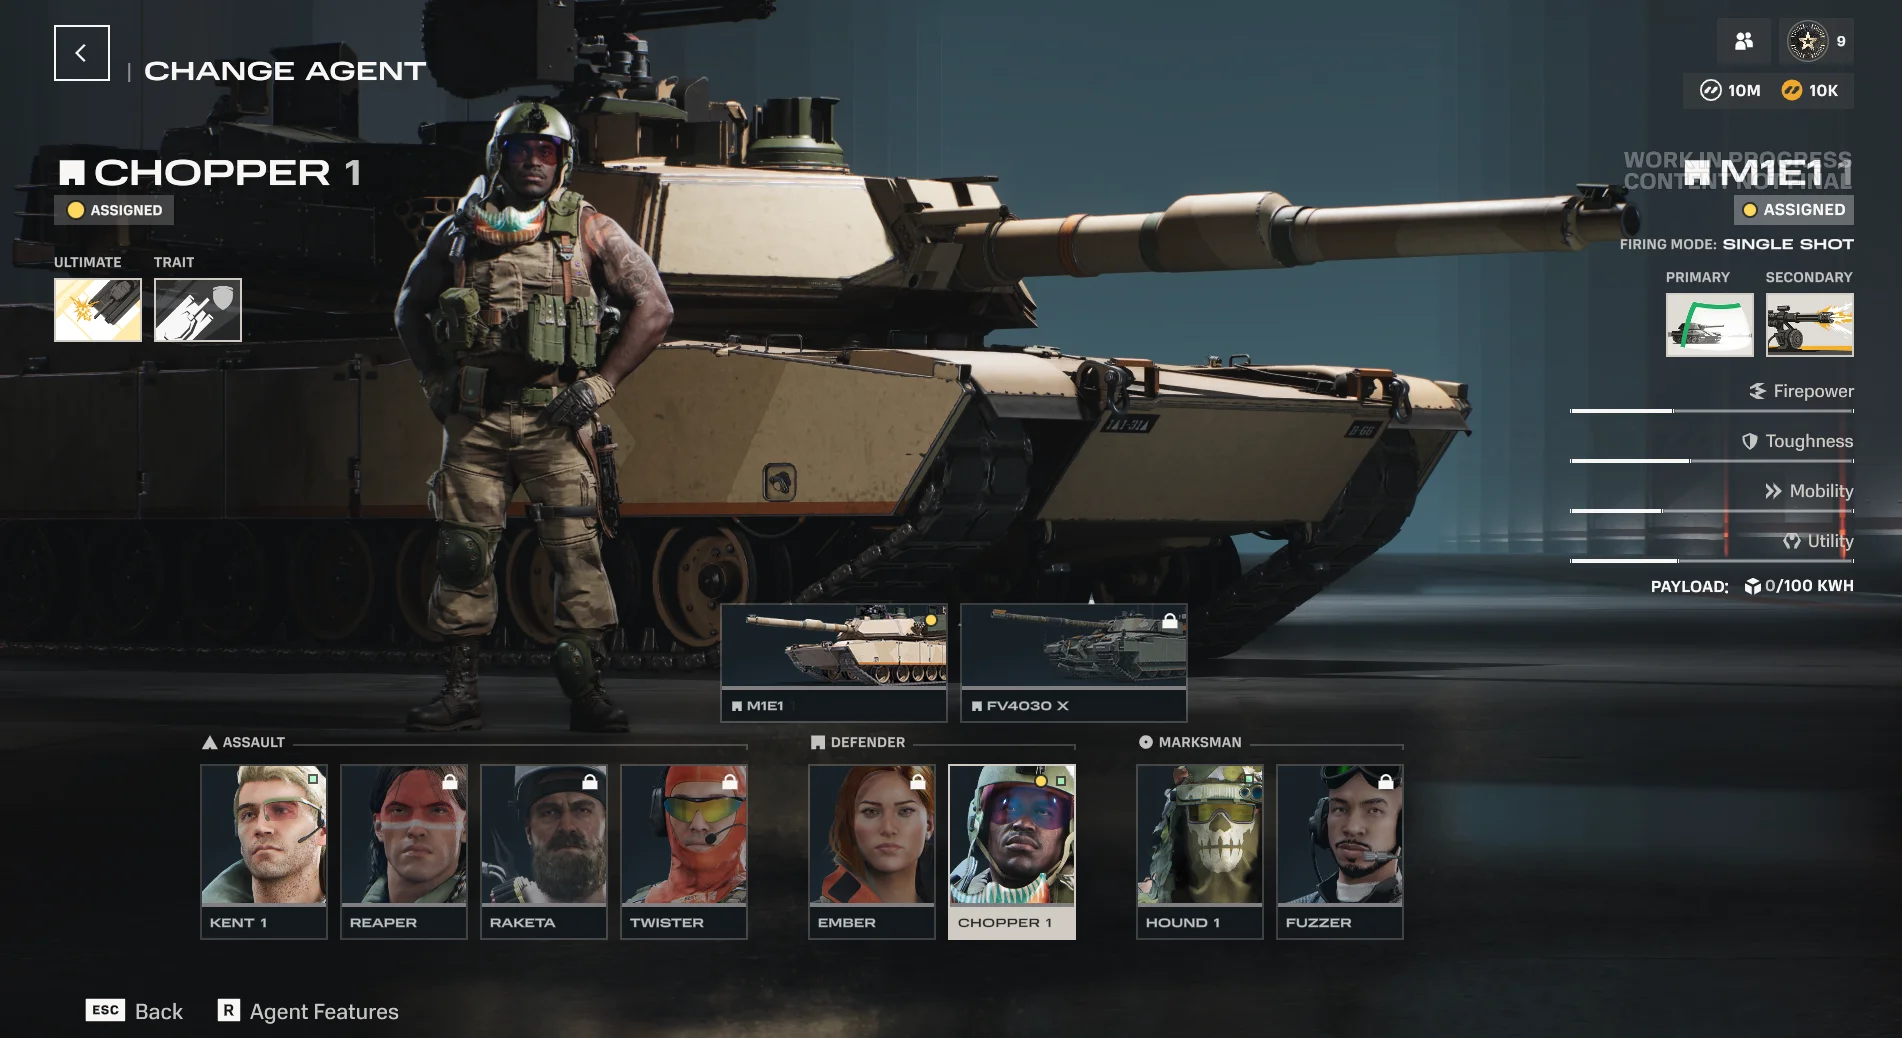
Every battle is shaped by the choices you make before and during combat. Your Agent determines your abilities and Ultimate. Your tank defines your firepower, armor, and movement. Your modules and equipment create trade-offs that reward deliberate custom fine-tuning over default setups.

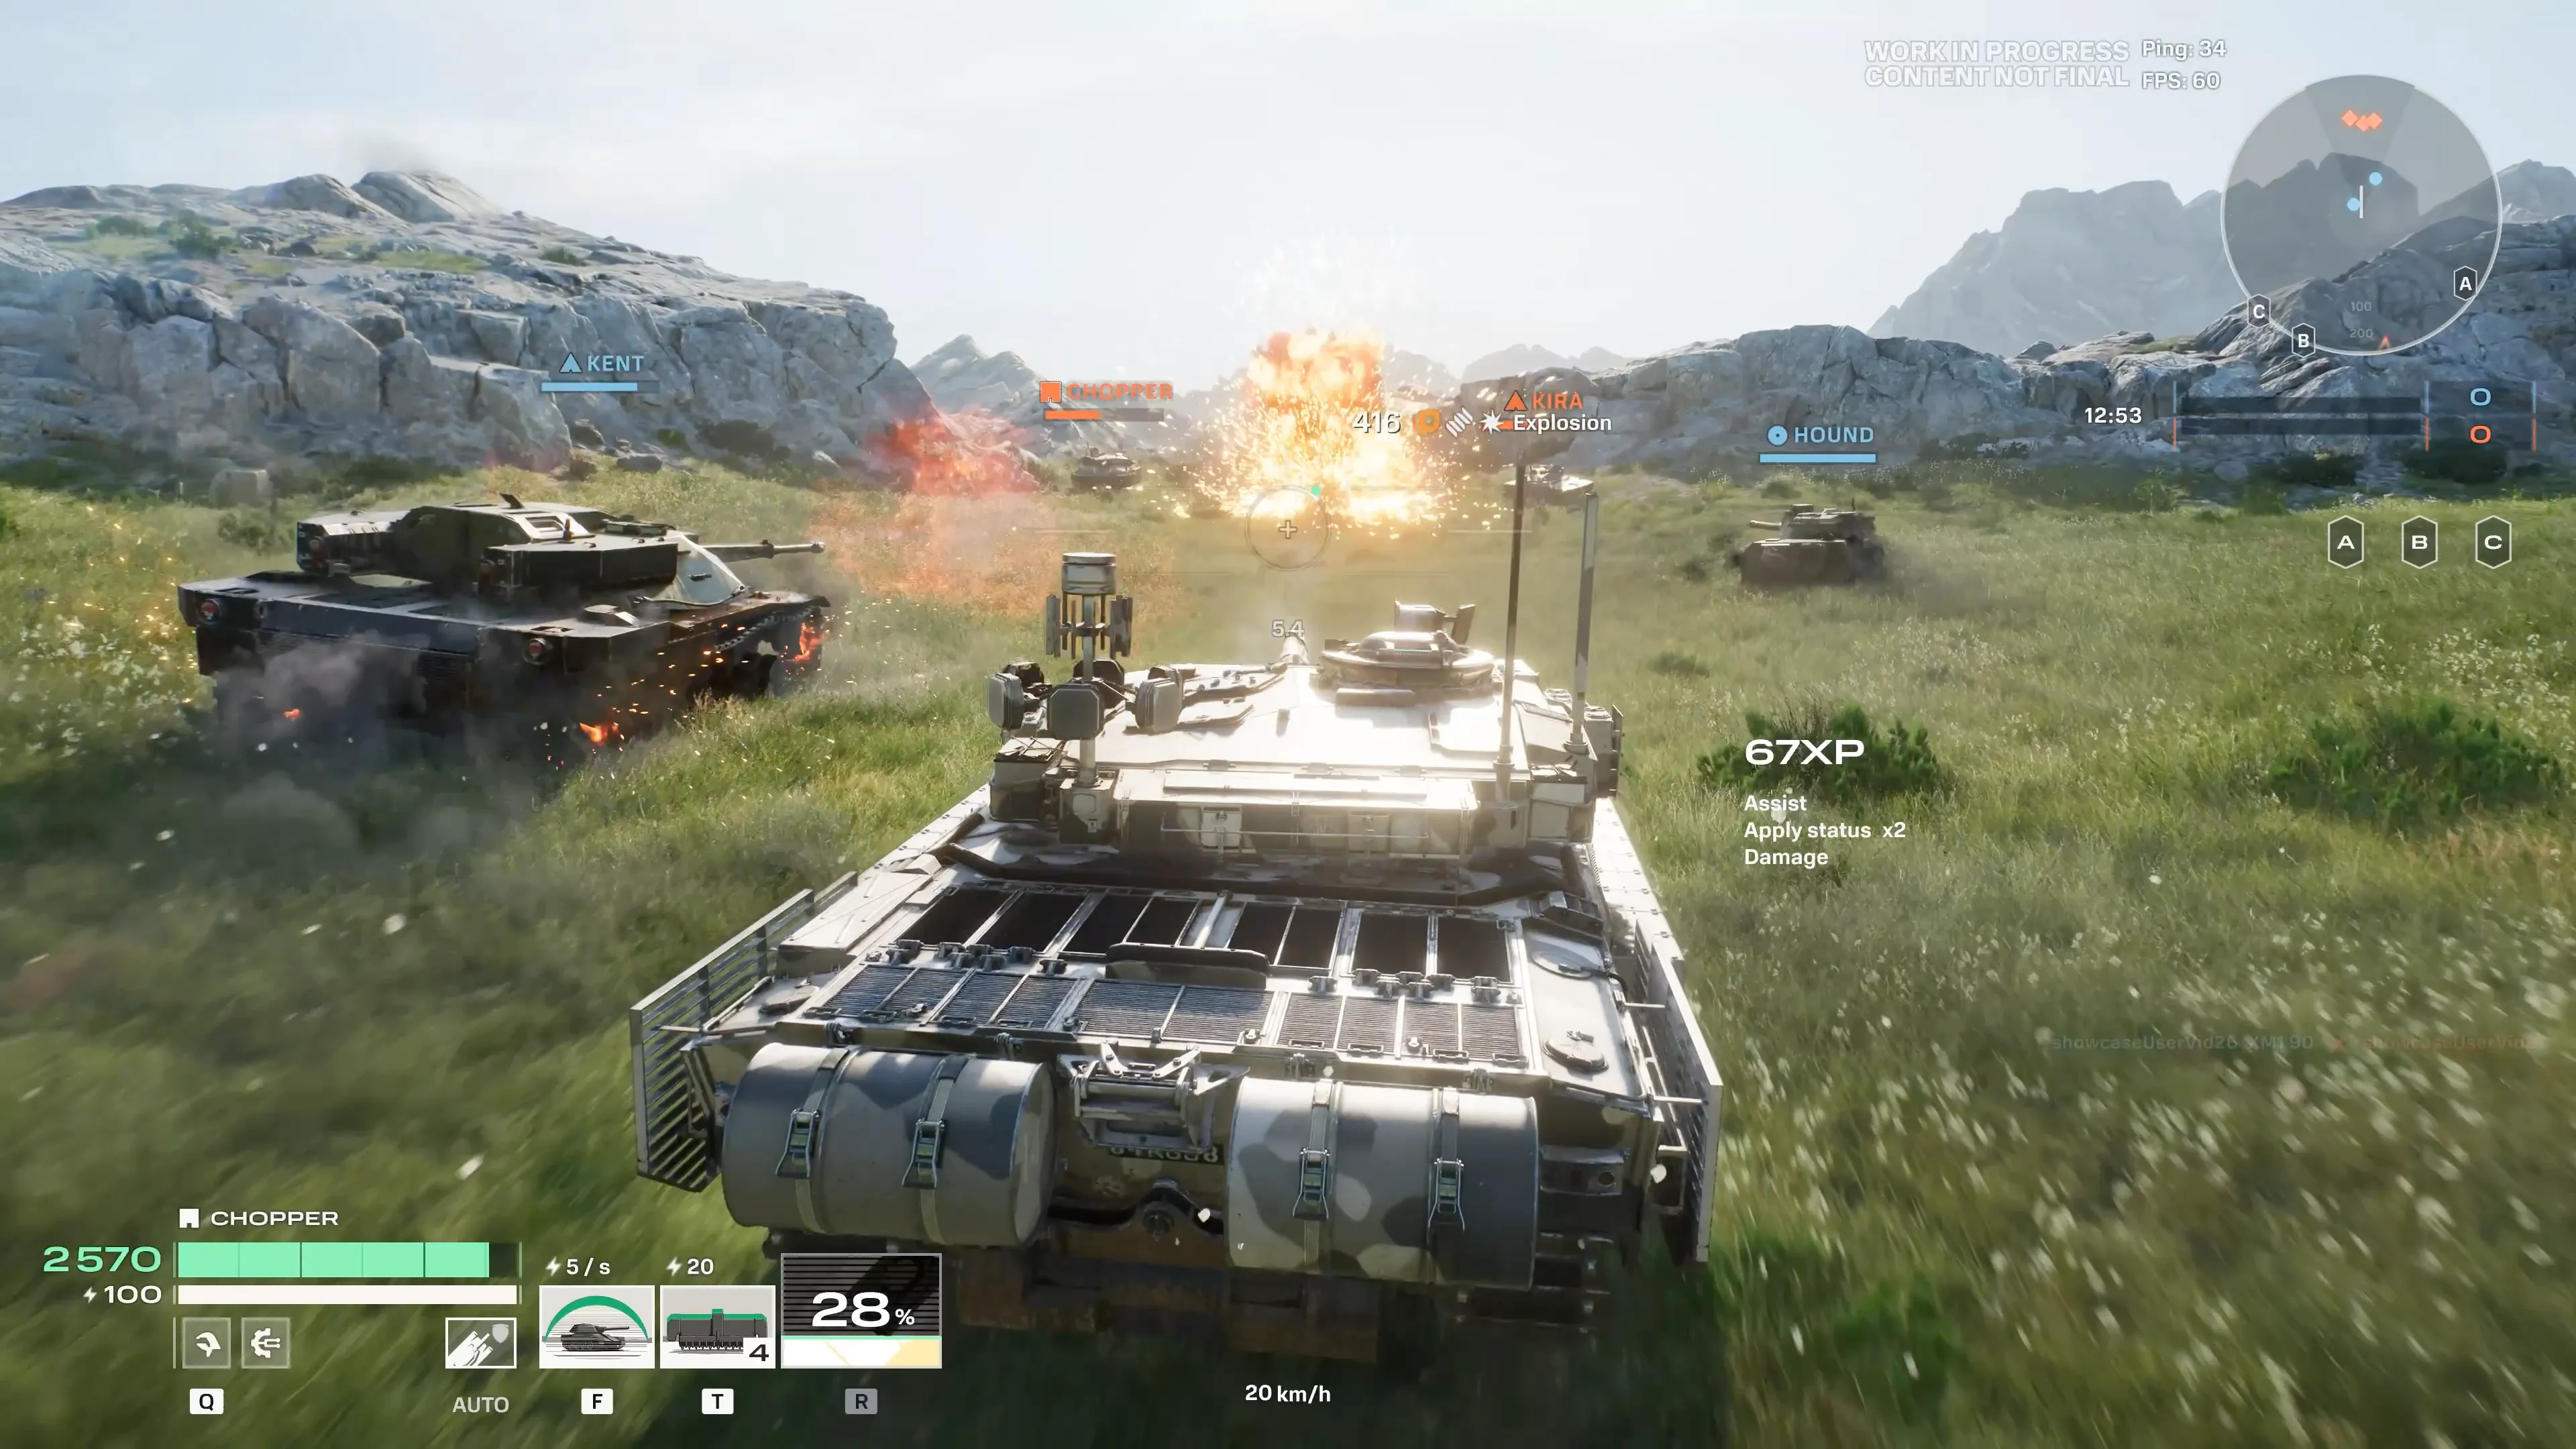
HEAT is built for players who want tactical depth and thrive in high-velocity combat without excessive complexity. The systems are readable, the feedback is clear, and precision matters more than time invested.

Agents, Their Roles, and Their Tanks

Each Agent brings a unique playstyle, abilities, and paired tanks to the battlefield. Choose the one that fits how you want to fight.

Agents fall into three major roles:

  • Defender. Made to take a beating, Defenders feature a blend of survivability and firepower, plus some unique tricks up their sleeves.
  • Assault. Attacking quickly and relying on their speed, Assault units are high-velocity menaces that thrive at the heart of a fight.
  • Marksman. Lurking in the shadows and heights of the battlefield, Marksmen hunt from a distance, drawing enemies out without being spotted.
Agent Chopper

Chopper

Defender

Ultimate Creeping Barrage. Calls in a moving artillery strike with HE shells to clear positions and support allied pushes.

Trait Stubborn. Provides damage mitigation and grants stackable extra protection while holding or contesting objectives.

M1E1

M1E1

Single shot

  • Active Protection System. Intercepts shells passing through a collider attached to the vehicle.
  • Vulcan Auto Turret. Activates an automatic turret that prioritizes threatening and vulnerable targets.
FV4030 X

FV4030 X

Single shot

  • Jamming Field. Projects electrical interference around the vehicle, applying Jammed and blocking enemy ability usage.
  • Bastion. Deployable battlefield cover that intercepts shells and mitigates incoming damage.
Agent Ember

Ember

Defender

Ultimate Grand Slam. Calls in a massive bomb strike after a delay. The bomb penetrates objects and detonates underground, creating a seismic blast wave that pushes enemies back.

Trait Juggernaut. Ensures safe movement through hazardous environments such as minefields and napalm, while also clearing through map physics objects and pushing players in or out of danger.

XM1V

XM1V

Single shot

  • Demolition Charges. Launch two 28 cm rockets in a ballistic arc; warheads deal heavy explosive damage and apply Slowed.
  • Minefield. Deploys a minefield that stalls opponents by damaging and Immobilizing them.
Agent Kent

Kent

Assault

Ultimate Contracted Strike. Lock on to enemies in front of the vehicle for a missile strike. A short lock fires Hydra rockets, while an extended lock launches a homing Hellfire missile for much heavier damage.

Trait Rising Tempo. Increases base reload time, but landing hits on enemies progressively reduces it.

XM1 90

XM1 90

Clip reloader

  • FASTDRAW Magazines. Switches to a different loader with specialized shells for an alternative combat approach.
  • Unload. Refill the main gun loader and rapidly unload it in a devastating burst.
ALVT

ALVT

Single shot

  • Dirty Substance. Launches Grease to create difficult terrain and Slow enemies.
  • Grenade Cluster. Launches grenades that explode instantly on impact with an enemy or after a delay on the ground.
Agent Raketa

Raketa

Assault

Ultimate Rampage. Brings on a destructive rage, firing faster and surviving any hit with at least 1 HP.

Trait Scavenger. Destroying enemy vehicles makes them drop Scrap Tokens, which can be picked up for temporary HP.

T-62AV

T-62AV

Autoloader

  • Pyro-Trail. Forces the vehicle forward at high speed, leaving a burning trail that ignites enemies and terrain.
  • Rocket Barrage. Unleashes a salvo of high-explosive rockets that damage and Slow enemies.
OBJ. 287

OBJ. 287

Autoloader

  • Harpoon. Launches a chained harpoon that pulls the vehicle toward the hit point and Immobilizes enemy vehicles on impact.
  • Combat Cage. Deploys hedgehogs around the vehicle to trap enemies in close combat; hedgehogs deal damage when pushed and can be destroyed by reactivating the ability.
Agent Reaper

Reaper

Assault

Ultimate Napalm in the Morning. Calls in an F-4 Phantom and places a napalm strike from an aerial targeting view.

Trait Relentless. Protects the vehicle from being destroyed with a single shot, provided it has sufficient HP.

M60A1

M60A1

Single shot

  • Suppressive Fire. Dual .50 cal machine guns that automatically target enemies and Slow them under sustained fire.
  • Charge. Plows forward, pushes enemies aside, and reduces ramming damage taken.
M60A2

M60A2

Single shot

  • Autocannons. Switch to dual high-velocity 20 mm cannons for high-rate close-range penetration.
  • Airburst. Loads a missile into the main gun that can be guided to a target and detonates into a Fire area.
Agent Twister

Twister

Assault

Ultimate Lights Out. Deploys an EMP bomb via drone. Pulses Slow enemies before the final detonation Jams and damages them.

Trait Daredevil. Reloads faster while boosting, charges Boost Energy while drifting, and takes less fall damage.

HSTV-L

HSTV-L

Autoloader

  • Recon Probe. Launches up to 3 probes to detect enemies and mark them as Traced for allies.
  • MK19 Auto Turret. Automatic turret that fires HE bursts at enemies in view, helping with escape or pressure.
M551A1

M551A1

Single shot

  • Canister Volley. Loads a close-range canister shell.
  • Manual Emergency APS. An emergency shield protecting the tank from the next incoming high-caliber shell.
Agent Hound

Hound

Marksman

Ultimate Hunting Time. Launches a TV missile that destroys marked lower-HP enemies and Traces others. Each destruction recharges the Ultimate for a short time.

Trait Hunter's Eye. Aiming at an enemy for a short time reveals their critical zones.

Leopard 1A6A1

LEO 1A6A1

Single shot

  • Decoy. Deploys a decoy identical to the tank; if destroyed, it Traces the enemy who destroyed it.
  • Trapping Shot. The next shot Immobilizes the target, then triggers a chain of small explosions around them.
AMX10 RC

AMX10 RC

Single shot

  • UAV Drone. Scouts the area and Traces enemies after lock-on.
  • Top-Attack Missiles. Lock on to one target or up to two Traced enemies for a missile strike.
Agent Fuzzer

Fuzzer

Marksman

Ultimate Strike Laser. Calls in an aircraft and takes control of its targeting camera to lock on to an enemy vehicle. The aircraft points a laser that emits damaging pulses.

Trait NBC Protection. A decontamination system that removes all status effects from the vehicle.

M3E1

M3E1

Autocannon

  • TOW ATGM. Activates TOW missiles to punch through armor and set targets on fire.
  • Laser Designator. Traces a target and makes it Vulnerable.
Marder 1A3

MARDER 1A3

Autocannon

  • Suppression Strike. Switches to guided HE ATGM firing mode that applies Fragile stacks.
  • Smart Mines. Deploys sentry mines that shoot and detonate, dealing damage and applying Fragile.
Module slots and stats screen

Modules

Modules let you customize your tank's performance to match your playstyle. Module slots are divided across multiple categories, including Firepower, Toughness, Abilities, Utility, Recon, and Mobility. Not all vehicles have all categories—the available slots depend on the tank.

Many modules come with trade-offs. You might gain extra firepower at the cost of defense, or boost ability efficiency while reducing mobility. These decisions ultimately define your approach to combat. New modules unlock as your vehicle levels up.

Equipment selection screen showing Recovery System

Equipment

Every tank carries 2 equipment slots. Slot 1 is reserved for healing equipment (repair kits, recovery systems). Slot 2 is role-based: the equipment available depends on your tank's designated role.

Equipment comes in two types. Conditional equipment activates automatically when the right situation occurs. Manual equipment is player-activated. Both types have cooldowns. Choosing the right combination for your playstyle and the battle ahead is part of your preparation.

Agent skill tree

Agent Skills

Every Agent earns Agent XP, which increases your Agent Level. Each level grants Skill Points you can invest in your Agent's skill tree to improve your Ultimate, Trait, ability-related bonuses, and attributes.

In battle, you earn Skill Activation Points by destroying enemies, capturing objectives, and blocking damage. Spend those points to activate the skills you've unlocked. Losing your vehicle costs activation points, so staying alive pays off.

Game Modes

For comprehensive details on our game modes, head to the dedicated article.

Hardpoint 5v5

A single control point moves across the map. Hold it to earn points. When one base is depleted or time runs out, the next activates. First team to 2,000 points wins.

Control 5v5

Capture and hold a single zone to fill your control meter. If both teams contest the zone, progress pauses. At 99%, overtime kicks in until one team clears the zone. Best of 3 rounds.

Kill Confirmed 5v5

Destroyed vehicles drop Tokens. Collect enemy Tokens to score. Collect allied Tokens to stop the enemy earning points. Power-ups spawn on the map. First to 25 Tokens wins.

Conquest 10v10

Multiple bases across a large map. Each base you hold earns your team points. Dynamic events like bombing runs and elimination challenges can shift the score. First to 2,000 wins.

Combat Essentials

When you aim at an enemy, the reticle color tells you whether your shell can penetrate. Green means you can penetrate. Yellow means a partial chance or reduced damage. Red means no chance of penetration. Use this feedback to pick your shots and find weak spots.

The aiming circle (reticle) shows your accuracy. A smaller circle means higher accuracy. It tightens as you hold your aim steady and widens when you move or fire. Patience and positioning pay off.

Shells have an optimal range where they deal full damage and penetration. Beyond that range, both values drop. At 3 times the optimal range, they're halved. At extreme distances, they bottom out at 30% of base values. Closing the distance generally means more damage.

Shell Types

Type Characteristics
AP Solid all-rounder. Good damage and penetration, but both drop with distance. The most common shell type.
HE No damage falloff. Consistent damage regardless of penetration. Splash damage can hit multiple targets. Strong against external modules.
APHE AP-style penetration with a small guaranteed damage component and some splash. Effective against modules.
HEAT Average damage with no distance falloff. Slower than AP, making it harder to hit moving targets.
Canister Shotgun-style pellets. Devastating at close range, rapid falloff at distance. Low penetration.
ATGM Guided missiles in AP, HE, and HEAT variants. No penetration drop-off, but slower velocity. Available in multiple subtypes.
Autocannon High rate of fire. Available in AP, APHE, and HE variants. Lower per-shot penetration, compensated by volume of fire.

Status Effects

Status buildup accumulates from damage, abilities, and area effects. When it reaches the threshold, the status effect triggers. Multiple different effects can be active simultaneously.

Core status effects

These four effects trigger when their buildup meter reaches the threshold. Each has a corresponding resistance stat that slows buildup.

Effect Triggered by What it does
Burning Fire areas, fuel tank hits, fire-based abilities Deals 0.75% max HP every 0.25 s. Lasts ~8 seconds. Removed by entering smoke or water.
Irradiated Radiation areas, radiation-based shells and abilities Deals 0.75% max HP every 0.25 s and blocks all HP recovery. Lasts ~8 seconds.
Jammed Interference areas, crew compartment hits, interference abilities Cannot activate abilities. Already-active abilities continue. Agent Traits are not affected. Removes Spotted state. Lasts ~4 seconds.
Slowed Slow areas, engine damage, slow-based abilities Cannot boost. -40% top speed, -35% acceleration, -25% turret/hull traverse, -60% reverse. Lasts ~6 seconds.

Effects

These modify a vehicle's stats and are applied through modules, abilities, or gameplay interactions—not through the status buildup system.

Effect How it's applied What it does
Overdrive Module conditionals and abilities +100% Boost acceleration, x10 Boost regen, max Slow resistance. Longer Boost duration.
Vulnerable Applied by abilities and effects 70% less resistance to status buildup. At max: double damage and status accumulation, half decay rate.
Drowning Air intake submerged in water 10-second countdown to destruction. Immediately removes Burning.

Stackable effects

These effects accumulate in stacks, growing more powerful with each application.

Effect Stacking What it does
Fragile Up to 5 stacks, 10 seconds each +15% incoming shell penetration per stack. At max stacks: +75% penetration increase.
Warded Up to 5 stacks, 5 seconds each -10% incoming damage from all sources per stack. At max stacks: 50% damage reduction.
Immobilized Tracked: 1–2 tracks. Wheeled: per wheel destroyed Tracked vehicles: one track gone means pivot only; both tracks gone means fully stationary. Wheeled vehicles: each destroyed wheel reduces speed and limits steering. Can still fire and use abilities.

Defensive systems

Effect Activation What it does
Active Countermeasures Interference module activation ATGMs lose guidance. Enemy guns cannot fire accurately at you.
Active Protection System Manual activation Intercepts incoming projectiles before impact. Has an HP pool—deactivates when depleted.

Area effects

Persistent zones that apply statuses or conditions to vehicles inside them.

Effect Duration What it does
Fire 10 seconds Builds Fire status. Burning is continuous while inside. Replaced by Smoke on water.
Smoke Varies Applies Obscured. Removes Fire areas and Burning. Blocks vision by removing Intel, Spotted, and Traced states. Can be dispersed by large explosions.
Radiation 60 seconds Builds Radiation status. Irradiated is continuous while inside.
Grease 60 seconds Reduces vehicle traction, causes sliding and unpredictable turns. Ignites on contact with fire (250 damage + 500 Burning buildup).
Interference 10 seconds Builds Interference status. Jammed is continuous while inside.
Water Permanent Hull contact increases Fire resistance and speeds up Fire decay. Deep water triggers Drowning.
Napalm 10 seconds Builds Fire status. Burning is continuous while inside. Blocks vision like Smoke. Replaces Fire, Smoke, and Grease areas.
Lava Permanent Builds Fire status. Burning is continuous while inside. Ignites Grease. Turns Water into Smoke on contact.

Visibility System

The spotting system focuses on intentional scouting, clearer communication, and meaningful counter-play. The flow of information limits passive awareness and rewards active involvement.

Passive spotting

Vehicles provide less automatic spotting information. Targets are not revealed without direct observation or deliberate player action. Teamwide spotting is more constrained—information shared indirectly from allies is reduced, making global awareness less complete.

Active scouting rewards

Players who intentionally relay target information to their team—by spotting, observing, or designating targets—receive scoring credit. Spotting enemy vehicles awards points. Dealing damage to an opponent automatically Traces them. Players are notified when they have been Traced.

Visibility flare

A visible flare only appears when an enemy is looking directly at your vehicle in sniper mode, providing clear feedback about when you have been visually confirmed by an opponent.

Camera-based visibility

Visibility cones follow the player's camera, improving responsiveness and accuracy. Enemy icons only appear when the player is actually looking at the target, preventing icons from appearing when the player is not observing the area.

Stealth

Player actions in-game influence how successful stealth gameplay is. Vehicles that rely on staying hidden—such as long-range vehicles—perform more effectively, since they are no longer automatically revealed by passive systems.

Visibility states

These states determine how vehicles appear to enemies within the visibility system.

Effect How it's applied What it does
Traced Manually spotted by an enemy, dealing or taking damage, contextual ping Fully visible to all enemies, even through obstacles. Blocks Obscured. Removed by entering smoke.
Obscured Smoke areas, certain abilities and equipment Hidden from enemy vision. Enemy UI indicators disappear. Partially countered by Thermal Vision.
Agent selection and progression screen

Progression & Currencies

Progression in HEAT runs on two parallel tracks. Agent XP increases your Agent Level, unlocking Skill Points to invest in your Agent's abilities. Vehicle XP increases your Vehicle Level (up to 25), unlocking new modules for your tank.

Both are earned through battle performance. Better play earns more, and each track rewards different kinds of mastery: Agent progression deepens your role identity, while vehicle progression expands your buildcraft options.

Currencies

Currency Used for How to earn
Credits Buy vehicles, customization items Battles, Battle Pass rewards
Tech Purchase vehicle modules Battles (better performance = more Tech)
Intel Progress through the seasonal Battle Pass Battles, missions
HEAT-Coins Premium purchases, can be converted to Credits Purchased with real money or included in various promotions

Tips for New Players

Which Agent should I start with?
Chopper, Kent, and Hound are the three introductory Agents. Chopper (Defender) has high HP and survivability but decreased mobility as a result. Kent (Assault) is straightforward aggression. Hound (Marksman) rewards patience and precision. Pick the playstyle that sounds most natural to you.
What do the reticle colors mean?
Green means your shell can penetrate. Yellow means a partial chance or reduced damage. Red means no chance of penetration. Use this to pick your shots and find weak spots.
How do modules and equipment differ?
Modules are permanent upgrades that customize your tank's stats across categories like Firepower, Toughness, Abilities, Utility, Recon, and Mobility. Equipment is consumable gear with active or conditional effects that you bring into each battle. Both shape your loadout, but modules are about long-term build identity while equipment is about in-battle tools.
How do I earn Tech faster?
Tech is performance-based. Better play in battles earns more Tech. Focus on objectives, damage, and assists rather than just destroying enemies. You can also convert Credits to Tech if you need a specific module upgrade.
What's the best way to learn a new tank?
Use the Firing Range after completing the tutorial mission. You can test any tank, practice shooting at different ranges, and experiment with modules and equipment without risking a real battle. Versus AI is also a low-pressure way to learn.
Can I play solo or do I need a Squad?
Both work. HEAT supports solo queue and Squads of up to 3 players. Coordinating abilities and Ultimates with a squad is powerful, but the game is designed so solo players can contribute effectively through smart positioning and objective play.