How Stats Work

The first in a short series clearing up the gray areas of HEAT, one topic at a time.

Welcome to The Breakdown

As you read in our latest article, the Closed Beta has brought in loads of data and numbers, along with notable points of focus. It has also highlighted a few areas of the game that were unclear and generated a wave of questions from your side, ranging from UI/UX issues to gameplay mechanics that were not so self-explanatory.

For this reason, we're kicking off with a short new series to clear up those gray areas, one topic at a time. Let's call it The Breakdown.

Reading the stats menu

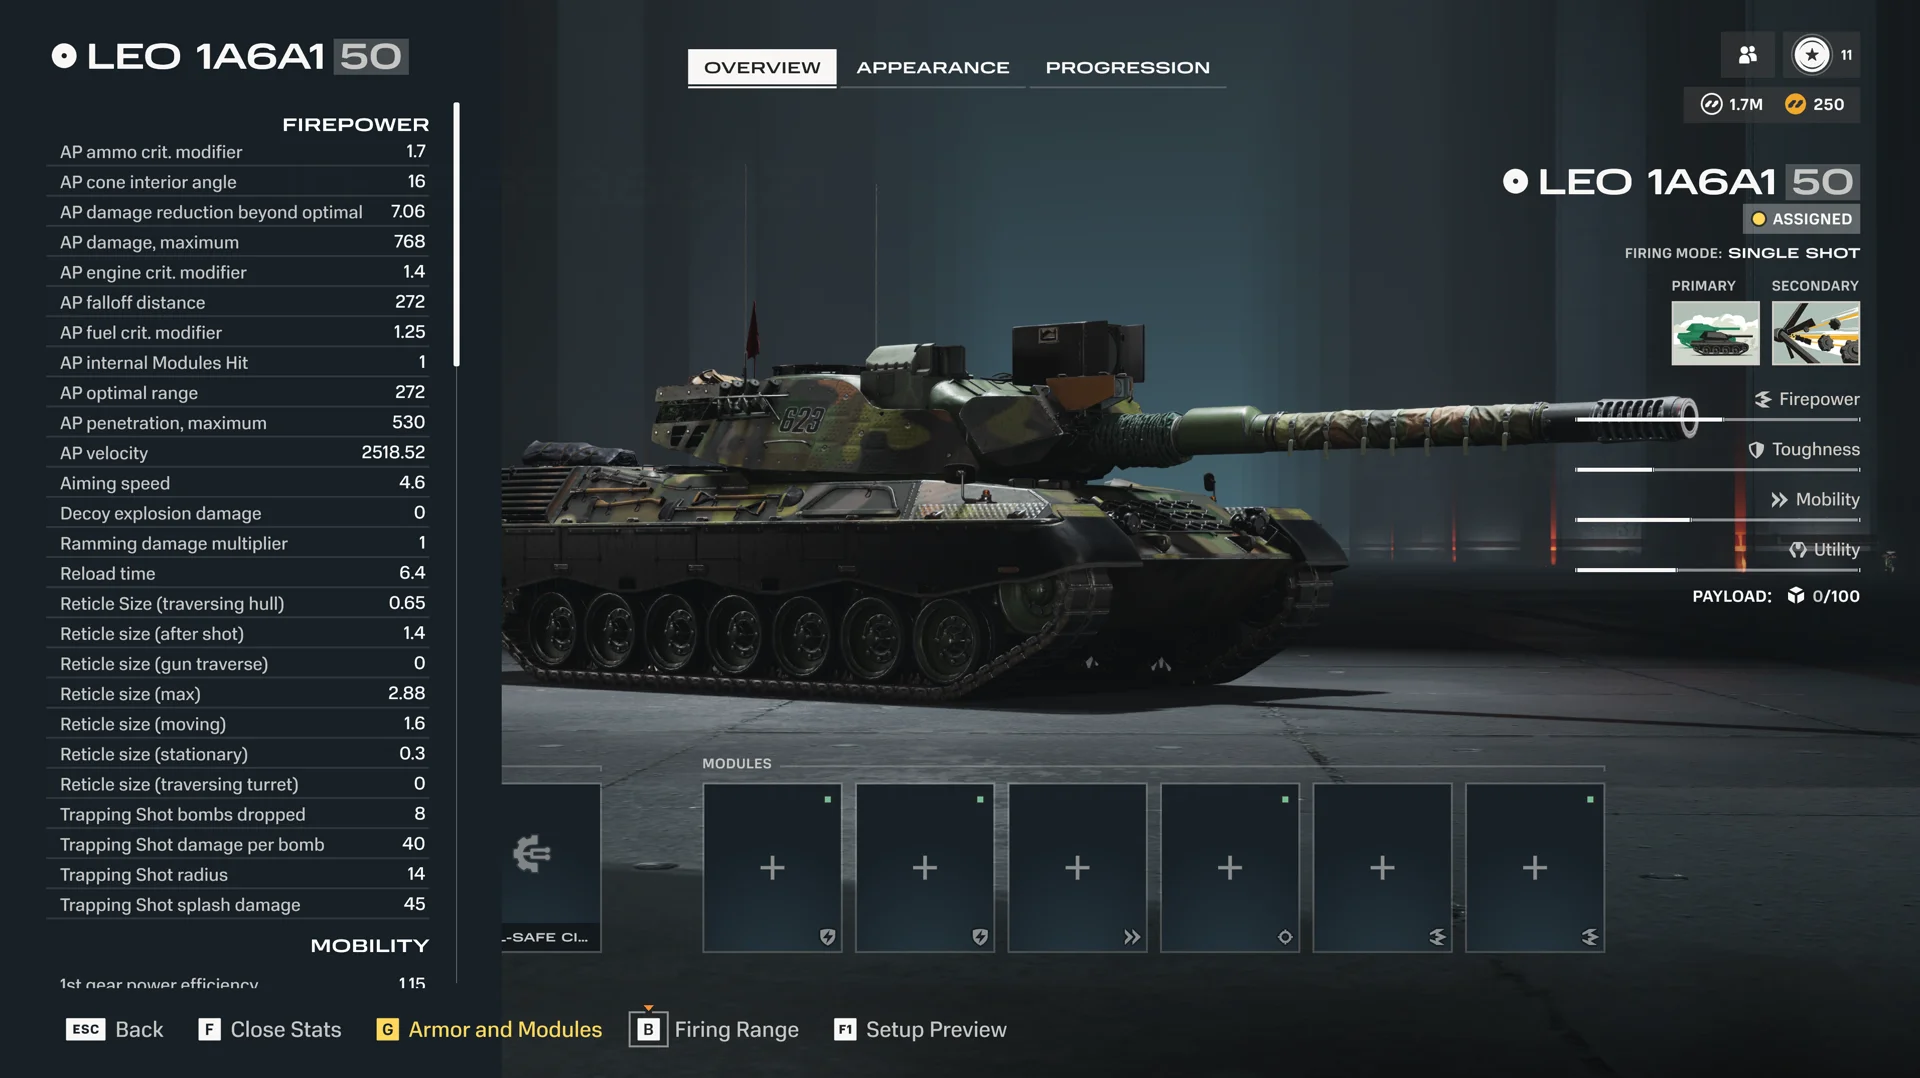
First on the list are the stats themselves, what they represent, and how they work under the hood. We'll go through them one by one in the same order as they are represented in the game menu (you can open it from the Modify Vehicle screen, either with the Stats button or by pressing F on your keyboard if you're playing on PC).

Note: While some of the explanations may seem obvious to experienced players, they will be useful to newcomer tankers who want an easier time getting into the game.

In-game stats menu shown for the LEO 1A6A1, listing Firepower values like AP penetration and reload time.
The in-game stats menu, accessible via the Stats button or by pressing F on PC.

Firepower

This is one of the most desired qualities in any tank. The more you can hurt your enemy, the better, so let's see what stats add up to a good punch. To keep things concrete, we'll use an Assault vehicle as our reference point throughout this section.

Vehicles in the game have different firing modes that define your gun's behavior in combat, and these can change depending on the modules you install. Here are four of the more common ones:

Single Shot. The classic. After every shell fired, the gun needs a full reload before the next round.

Autocannon. Built for sustained fire. The gun can spit out multiple shells in quick succession, but each shot raises its heat level. If you get too carried away, the gun will overheat, blocking you from shooting until it fully cools down.

Burst Magazine. The gun is equipped with a magazine and can fire shells in bursts, discharging multiple rounds in quick succession. Each shell fired increases recoil and reduces accuracy. Each burst is followed by a short reload, while emptying the magazine triggers a longer one.
Important note: for Burst Magazine, you can trigger a manual reload at any time after firing the first burst. This action reloads the full magazine and takes the same time as reloading a fully emptied one.
Autoreloader. The vehicle's gun is equipped with a magazine that automatically loads the next shell after each shot.

Burst Magazine in action

How a burst magazine cycles through short bursts before going into the long reload.

The Object 287 firing a Burst Magazine.

Falloff Distance

Not all shells behave identically at various distances when it comes to damage and penetration numbers. As an example, a Defender tank is a frontline brawler, built for different engagement distances from a Marksman (a long-range sniper).

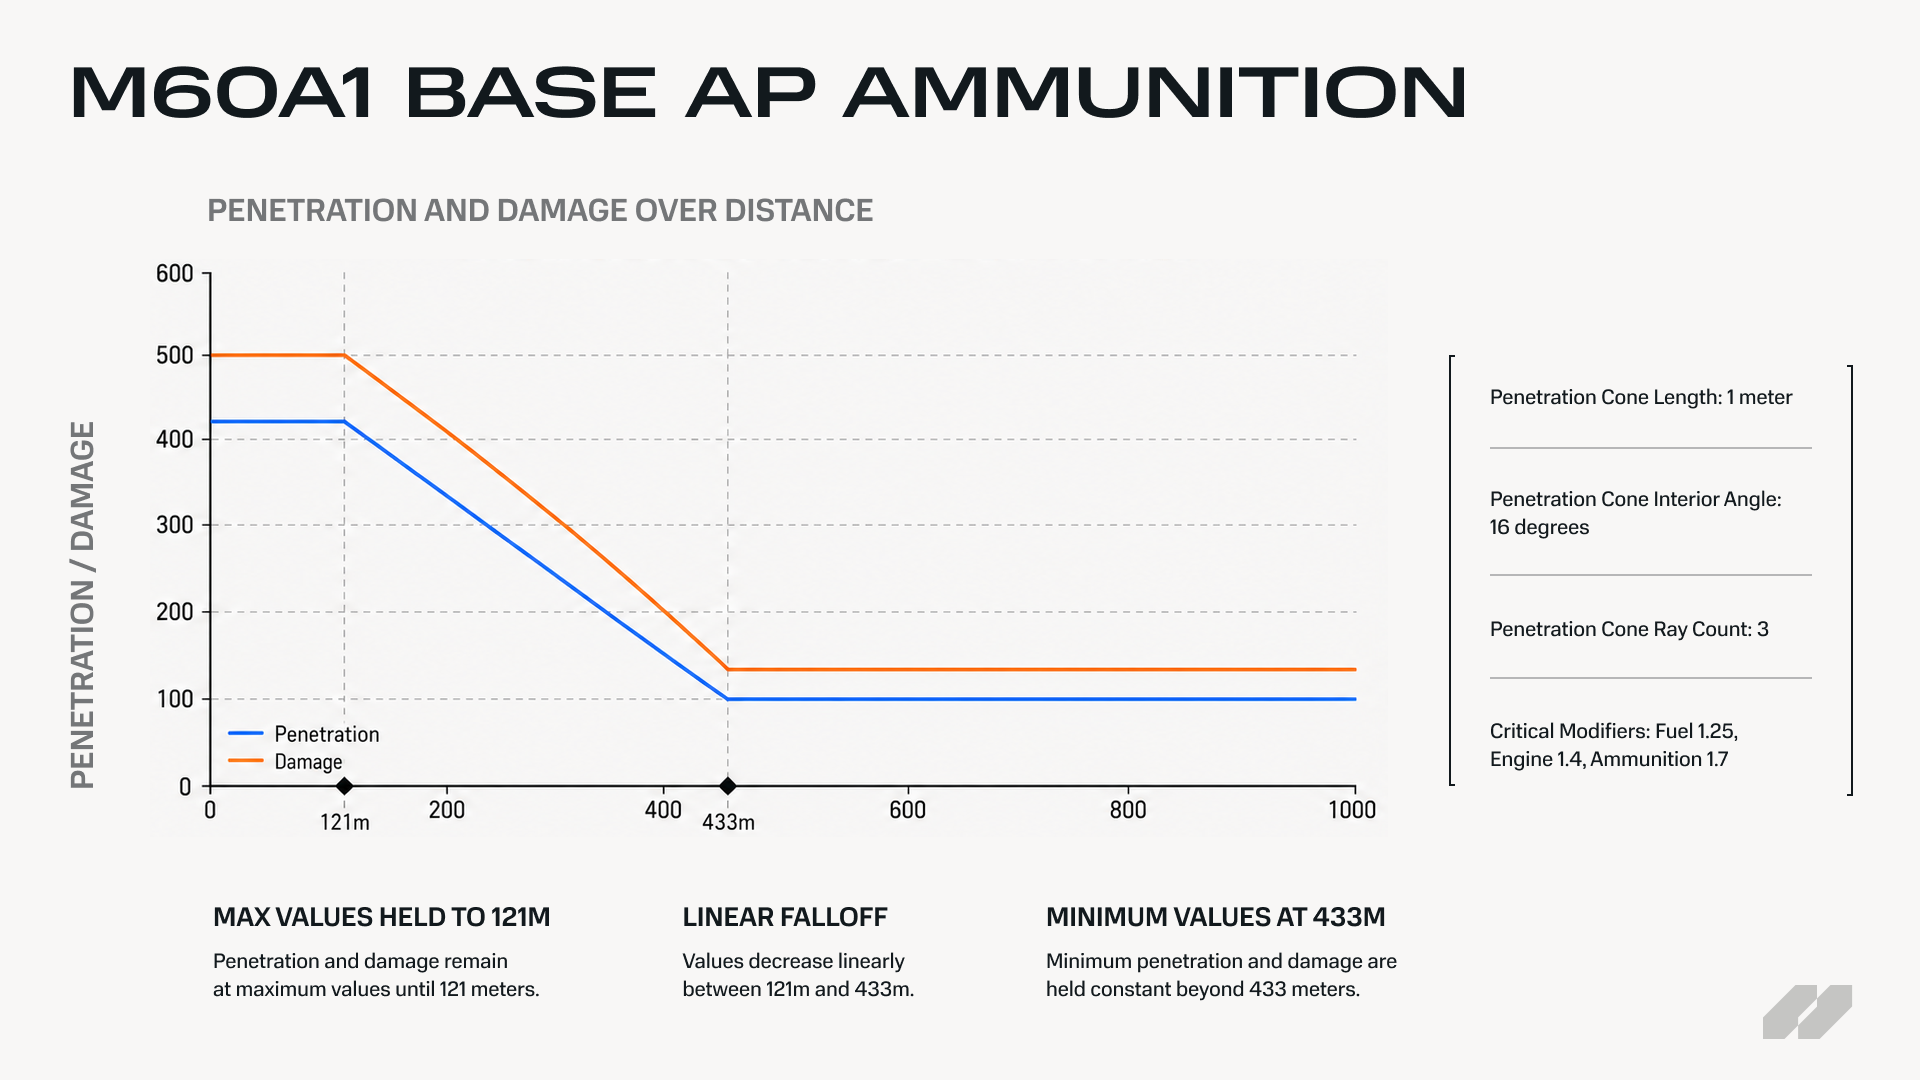
Within its optimal range, a tank gets the full effectiveness of its ammunition. Step beyond that range, and both damage and penetration drop off. If you're at three times the optimal range, you'll only deal half the damage and penetration you'd normally expect. Damage and penetration fall off at specific rates depending on each vehicle.

M60A1 Base AP Ammunition: penetration and damage over distance
Damage and penetration drop off linearly between optimal range and three times that distance.

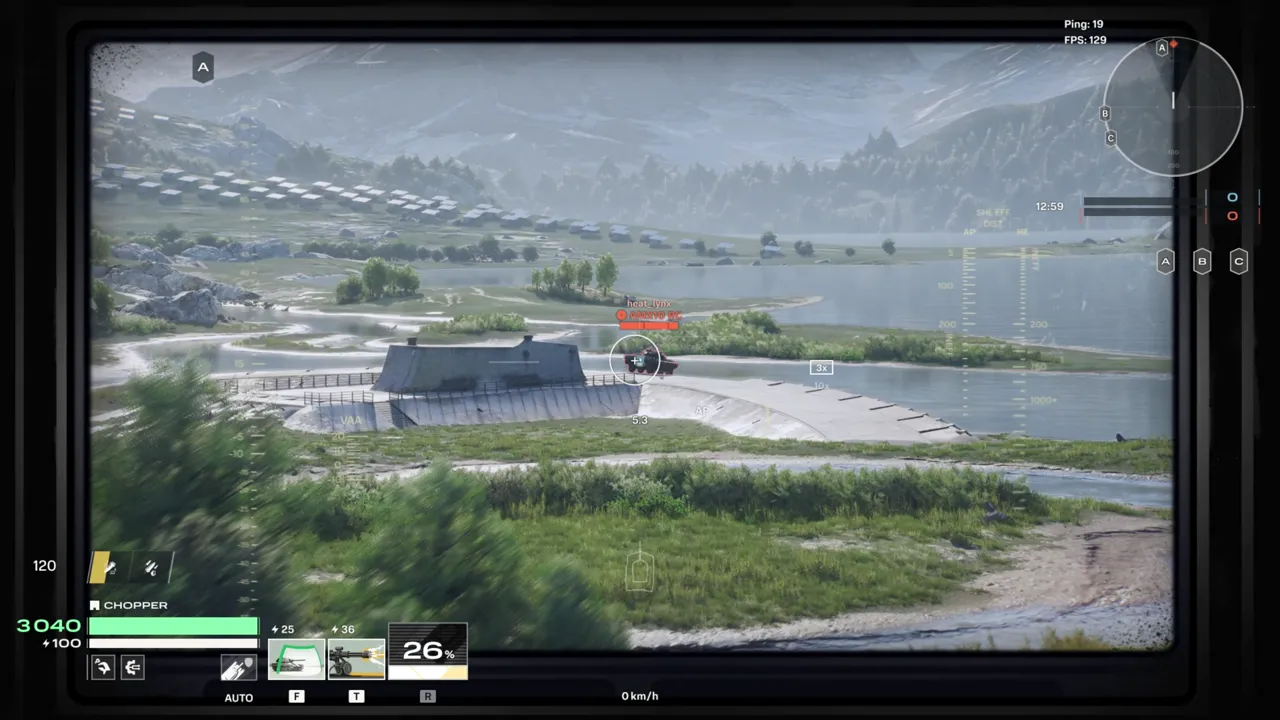
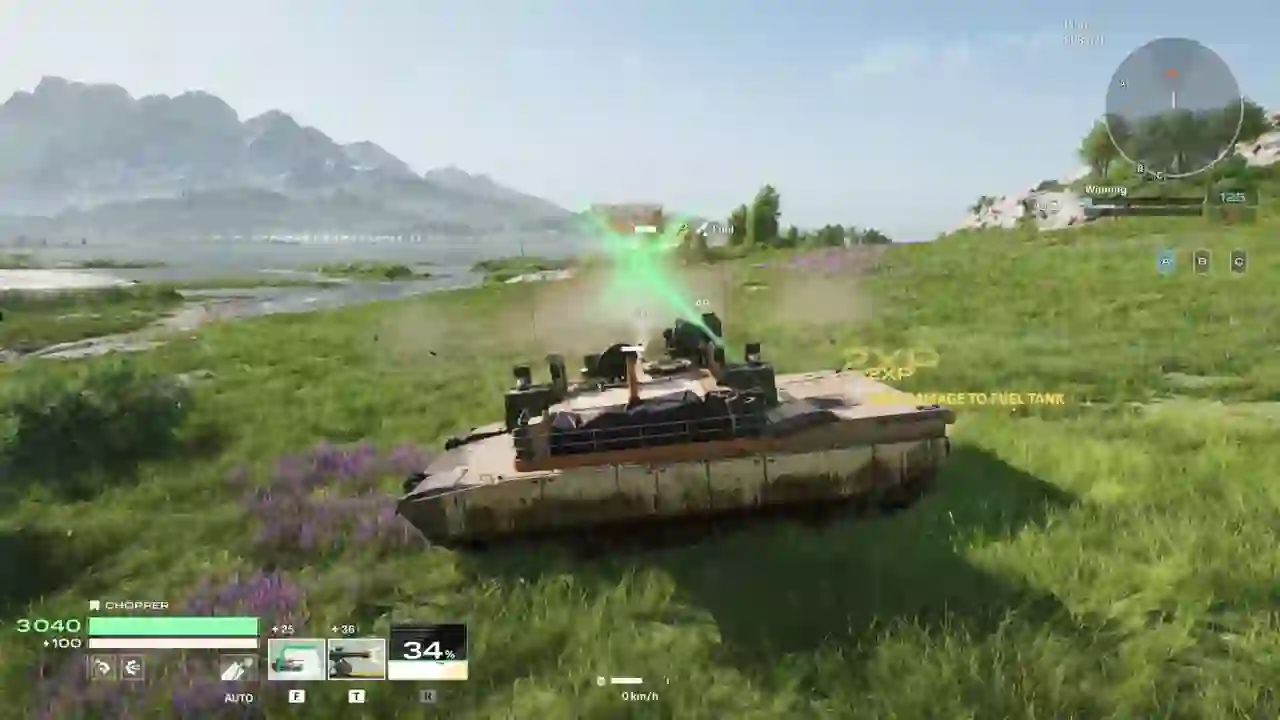
Same shot, different range

The same vehicle firing at long range vs inside its optimal CQB envelope.

Beyond optimal range

At optimal range

A Defender trying to snipe at Marksman ranges will struggle. Play to your machine's strengths and your shells will work at their fullest potential.

Penetration

Penetration determines whether your projectile actually pierces the target's armor. The general rule is simple: if your shell's penetration value is higher than the armor it strikes, the shell goes through and deals damage. If not, it doesn't.

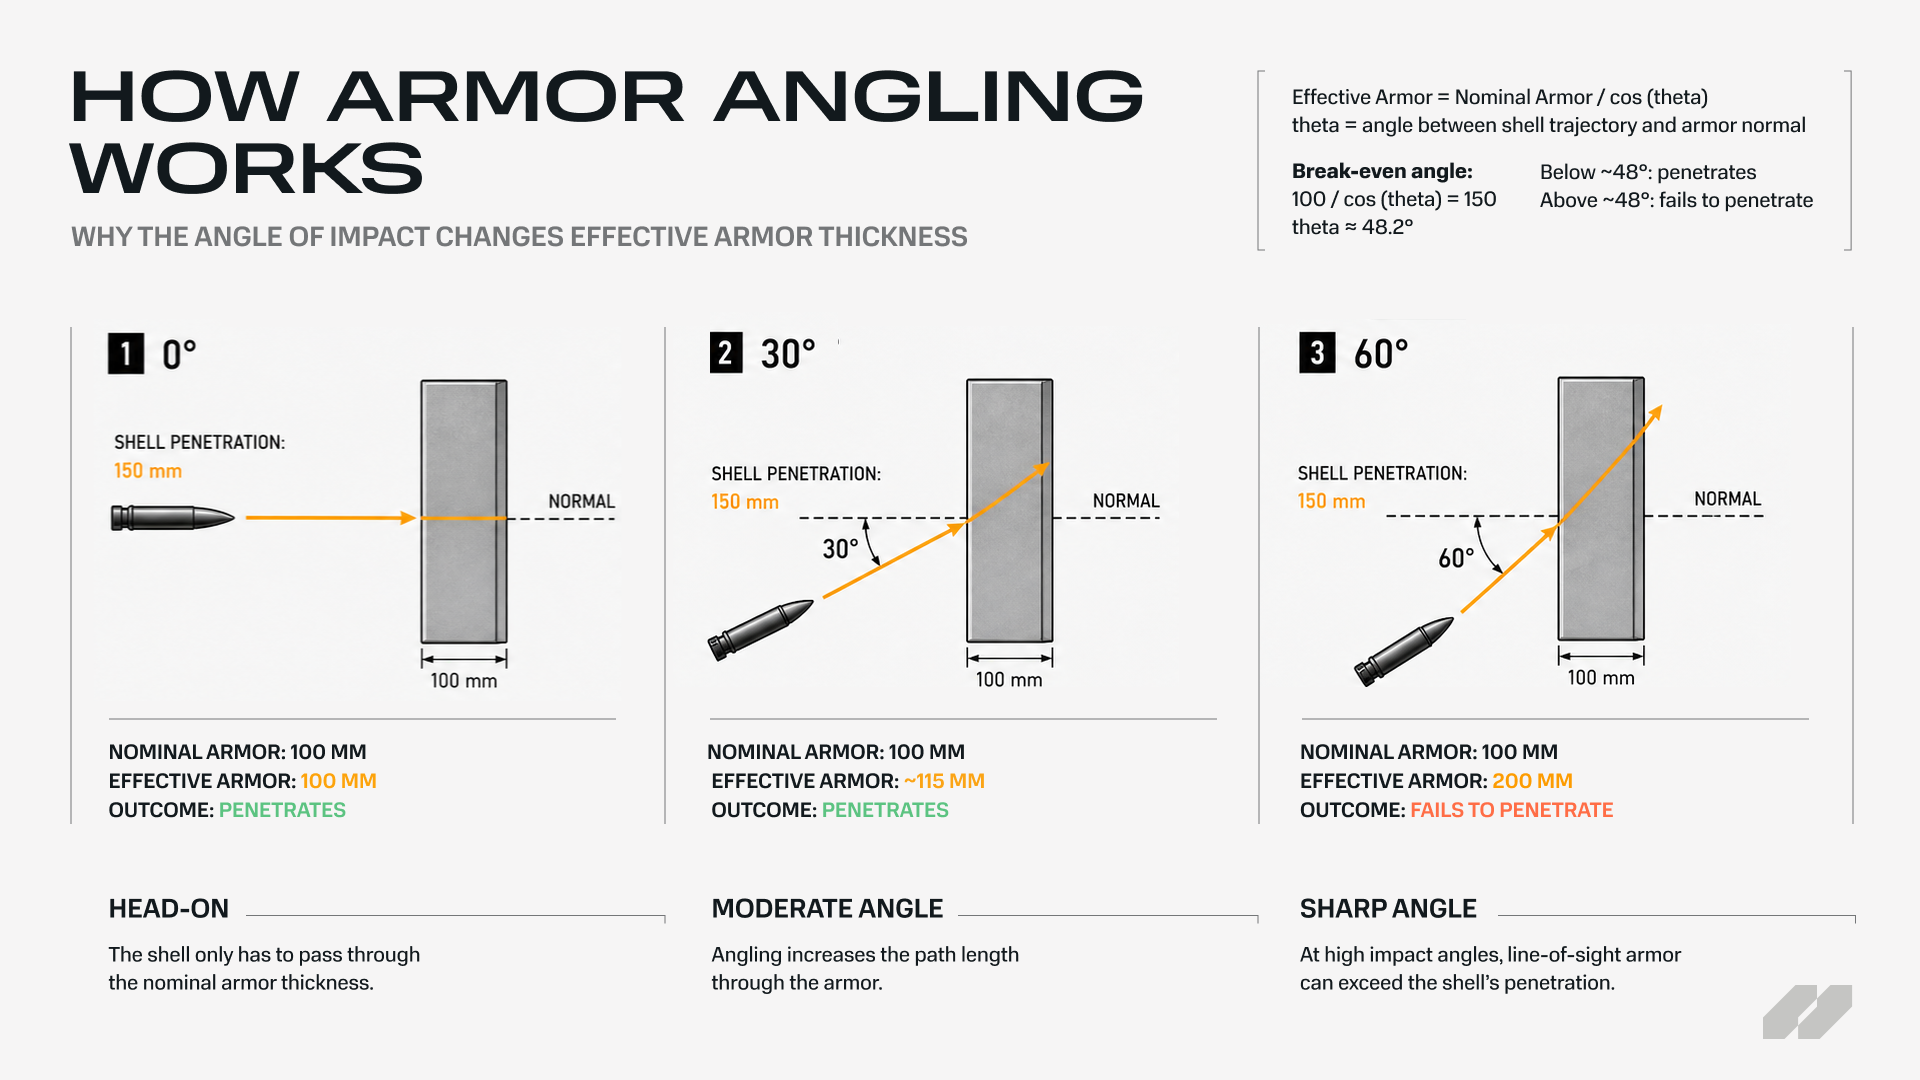
As an example, a stock Leo 1A6A1 can penetrate up to 530 mm of armor. If you put an M1E1 in front of it with its 335 mm of frontal hull armor, a direct hit will most likely end up with a penetration. However, hitting it at an angle will trigger the effective armor mechanics, meaning no penetration and no damage dealt if the angle results in the effective armor being higher than the penetration of the incoming shot. A shell with 120 mm of penetration will tear through 10 mm of armor without trouble. Against thicker plating, that same shell won't penetrate.

How armor angling works: 0° head-on (100mm effective armor, penetrates), 30° moderate angle (~115mm effective, penetrates), 60° sharp angle (200mm effective, fails to penetrate). Effective armor = nominal armor / cos(theta), break-even angle ~48.2°.
How armor angling works: a sharper angle multiplies the effective armor a shell has to punch through. Above roughly 48°, a 100mm plate blocks a 150mm-penetration shell.

Inspecting armor values

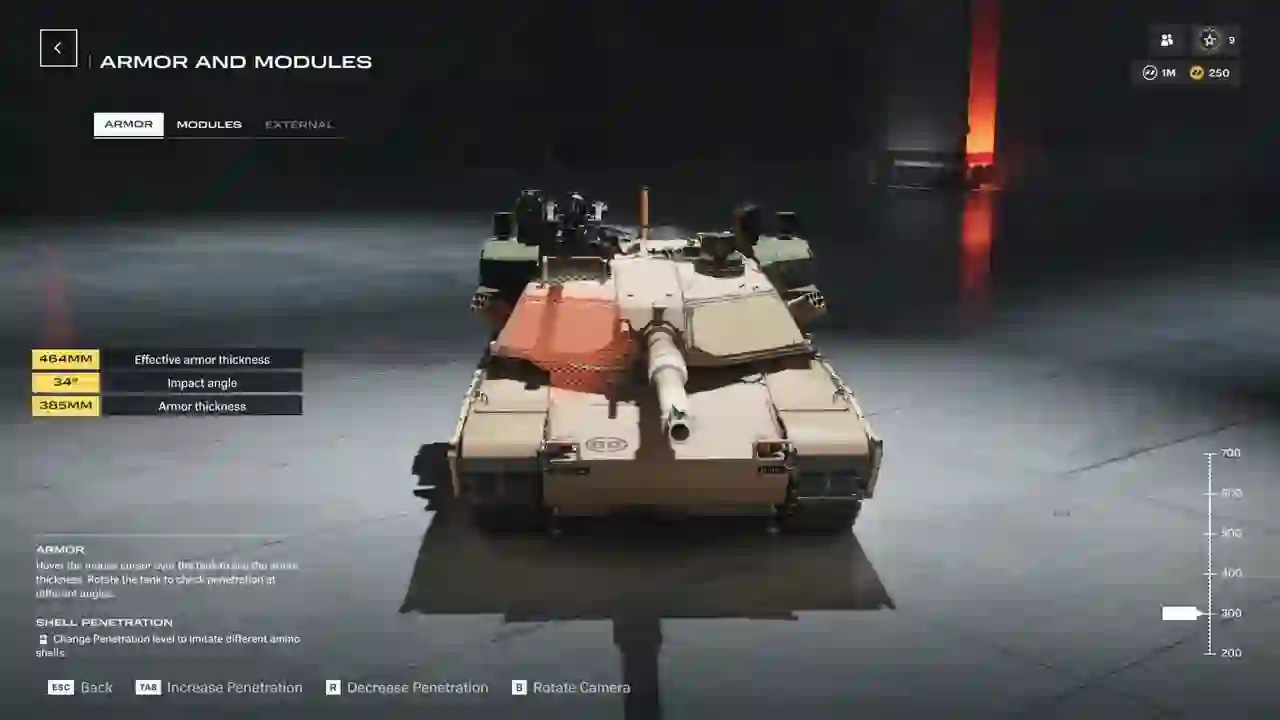
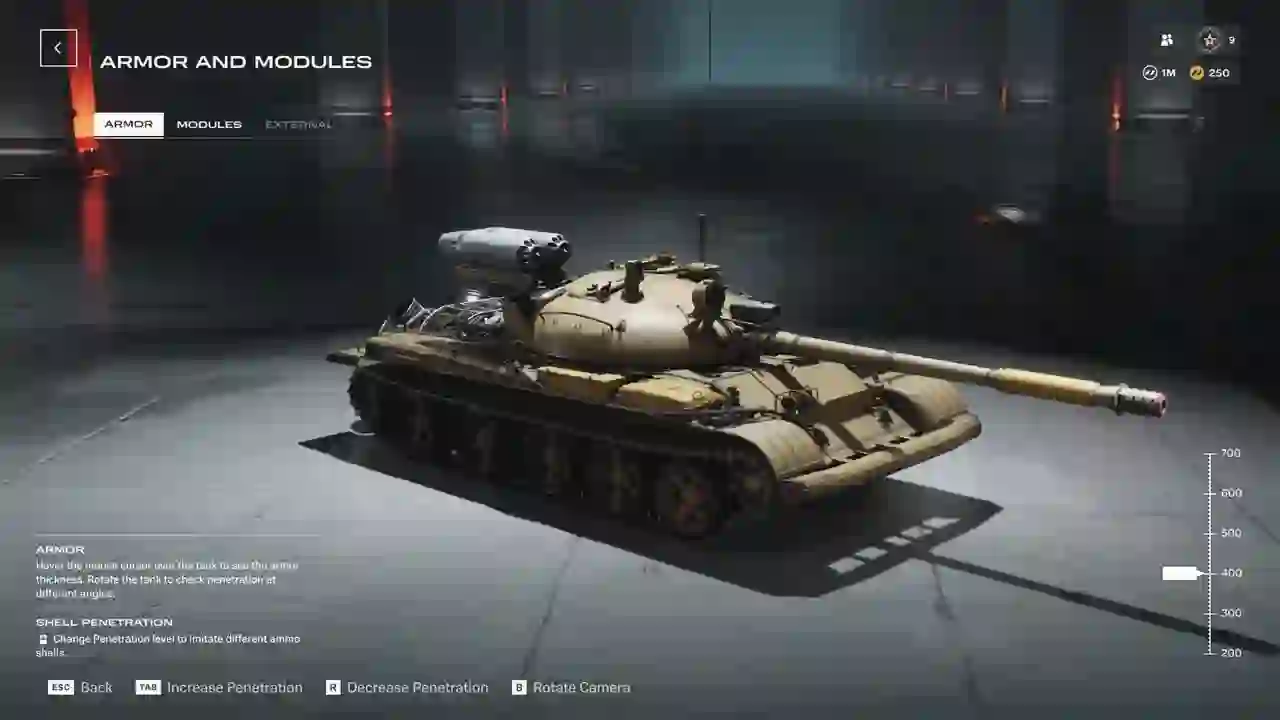
Two examples of armor inspection in-game. Compare the layouts and the numbers behind them.

M1E1 armor inspection

T-62AV armor inspection

Use armor inspection to plan where to aim and where to angle your own hull.

Reticle Size

Experienced tankers know: the smaller the better. The reticle expands when you're moving, firing, or rotating your hull. The reticle is purely a UI element, so your shot can land anywhere within that circle. Dispersion is the underlying mechanic that determines accuracy, so a bigger circle means more dispersion.

Stand still for the gun to settle and for the reticle to shrink. The smaller it gets, the more precise each shot becomes.

Toughness

Now let's flip sides and talk about staying alive. We'll use a Defender as our reference here. Soaking up incoming fire is exactly what it's designed for.

Armor. The basics first: the more millimeters of armor your tank has, the greater the incoming shell penetration it can deflect. But that's only the default state. As we mentioned before, using various angles will engage the effective armor mechanics that can drastically increase your defensive abilities.

ERA and Shields

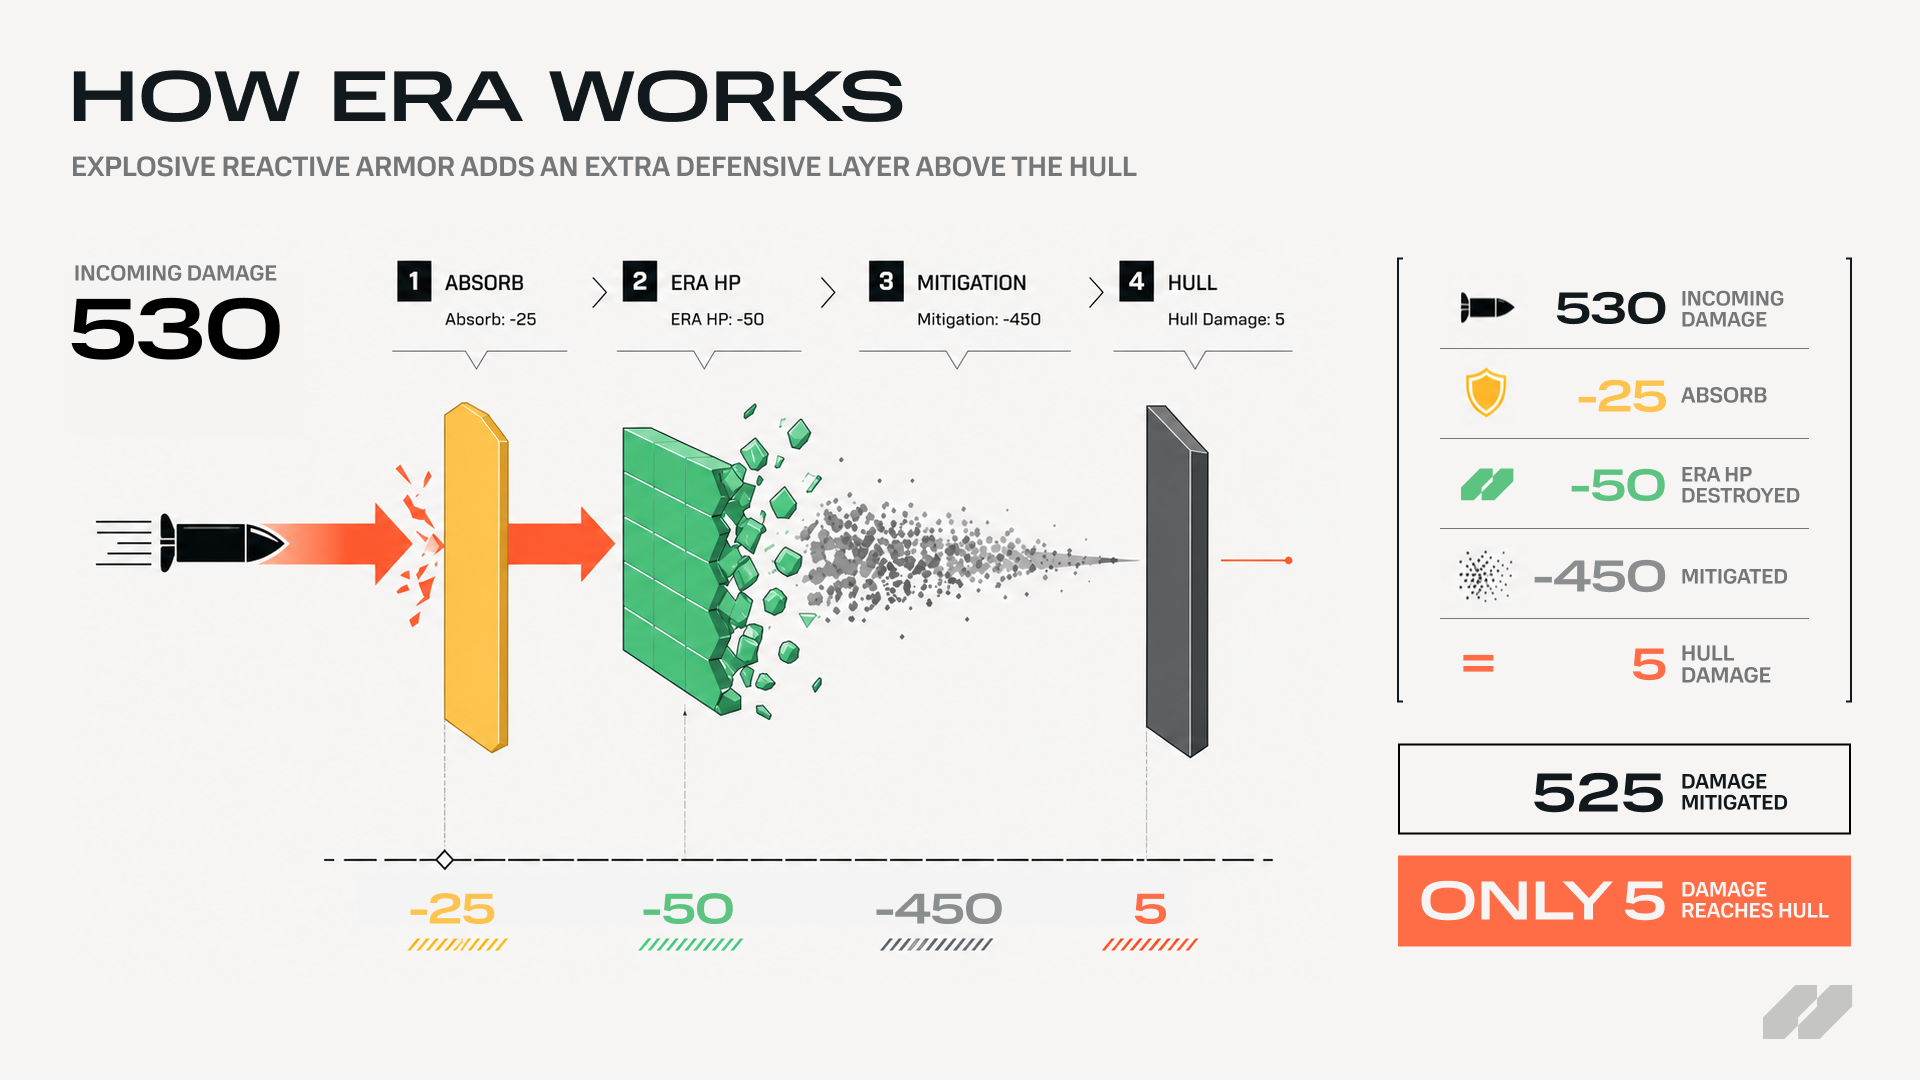
This one's worth a more thorough review. ERA (Explosive Reactive Armor) and shields work as a layer above your armor. ERA blocks have three crucial values: a damage absorb value, an HP value, and a damage mitigation value.

ERA blocks have a minimum damage value that triggers their effect. Any damage dealt that is equal to or below this minimum damage threshold will not trigger the ERA effect.

How an incoming shell gets resolved

Incoming damage is first reduced by the absorb value. Anything left over chips away at the ERA's HP. If the HP drops to zero, the ERA block is destroyed.

Damage that exceeds both the absorb and HP values is then run through the damage mitigation value, and only what survives that final filter gets resolved against your hull armor.

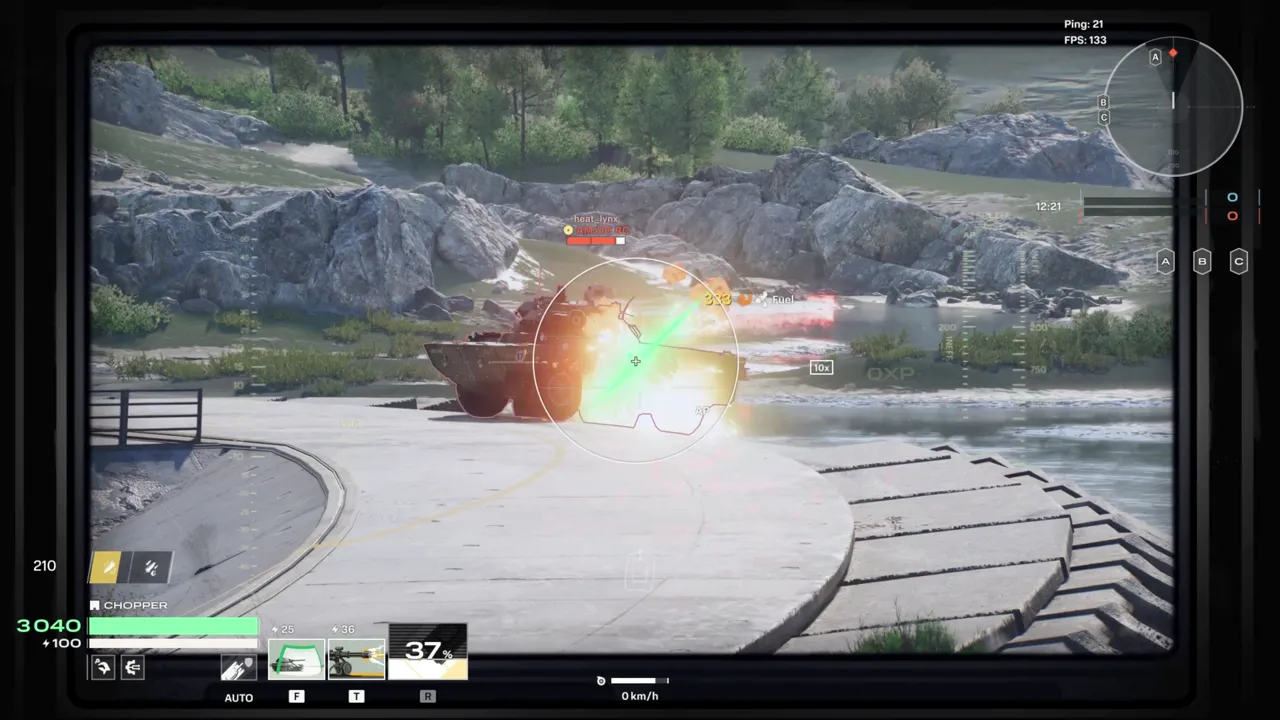
An ERA block taking the hit

Watch the ERA block soak the incoming shell and crumble under the leftover damage.

An ERA block absorbs the hit and is destroyed by the leftover damage.

ERA in action: a worked example

Now let's look at a more applied example. The numbers below are picked for explanation purposes, but they will be useful to visualise ERA in action. Say an ERA block has these values:

Absorb Value: 25  ·  HP: 50  ·  Damage Mitigation: 450

If vehicle A hits vehicle B for a total of 530 damage, the ERA block on the target is destroyed, mitigating 525 damage in total (25 Absorb + 50 ERA HP + 450 Damage Mitigation), and as a result the remaining 5 damage is deducted from the target's HP.

How ERA works: incoming 530 damage absorbed across Absorb (-25), ERA HP (-50), Mitigation (-450), leaving 5 damage to hull
Damage absorption breakdown for a 530-damage shot against a single ERA block.

Shields

Shields work similarly to ERA.

Unlike ERA, however, shields have a slightly higher damage absorb value and a much larger HP pool. This allows them to survive a high number of lower-damage projectiles, such as autocannon and canister rounds, until their HP is fully depleted.

Against higher-caliber guns, if a shield has an absorb value of 40 damage per hit and 200 HP, an incoming 500 damage shell would first lose 40 damage to the absorb effect, then a further 200 damage to the shield's HP pool, leaving 260 damage to pass through to the target. The shield would then be destroyed once its HP had been depleted.

By comparison, autocannons are designed around continuous sustained fire and therefore deal relatively low damage per shot. Using the same values above, a 60 damage autocannon round striking the shield would have 40 damage absorbed, leaving only 20 damage applied to the shield's HP. This means it would take many hits to destroy the shield.

As a result, shields are especially effective against rapid-fire, low-damage weapons. Autocannons and canister rounds, which are normally very effective against ERA, can struggle significantly against shields because each hit removes only a small amount of shield HP.

If you'd like a deeper dive into ERA mechanics and how they interact with different shell types, let us know in the comments and we'll prepare extensive coverage on the topic.

Shields, no HP buffer

Same hit, but with a shield instead of an ERA block. Note how it absorbs damage differently.

Shields work like ERA, but without the extra HP buffer.

Mobility

Last up: how your vehicle behaves and performs while moving. We'll use the HSTV-L (an Assault tank) as our reference for this one.

Mobility stats cover everything from turning to acceleration, maneuvering, and boost management.

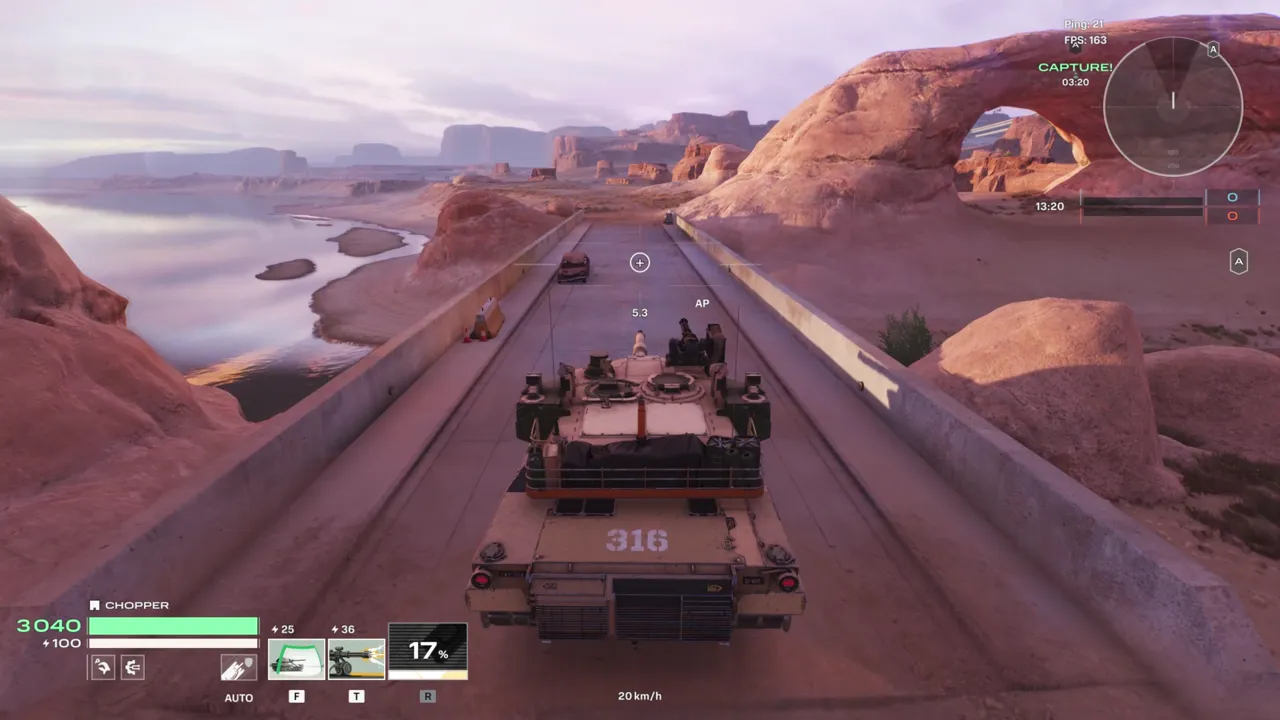
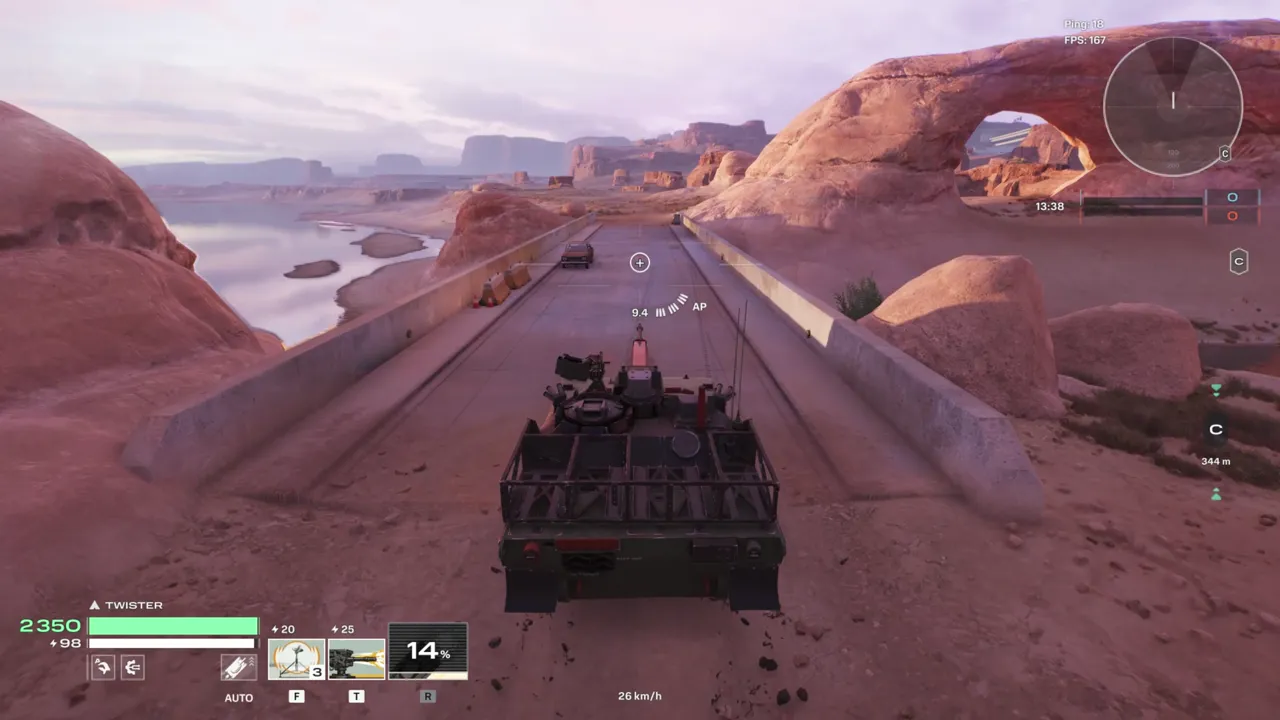
Two reference vehicles

Comparing the speed feel of an Assault and a fast light.

M1E1

HSTV-L

Different chassis, different feel. The numbers in the menu reflect this.

Core Mobility

Hull Traverse determines how quickly your chassis can rotate left or right. Higher values make you more responsive when you need to change direction or counter someone trying to dance around you.

Turret Traverse Speed tells you how fast the turret rotates independently of the hull. A higher value means smoother maneuvering and less need to reposition the entire tank just to line up a shot.

Handbrake Force controls how sharply your vehicle decelerates and pivots when you pull the handbrake. More force means tighter turns and more aggressive direction changes. It can come in handy when you need to pull off a sudden move.

Vehicle Lateral Friction measures your grip when turning or moving sideways. Higher friction keeps you stable and in control. Lower friction lets you slide and drift, especially at higher speeds. Great for those who love introducing some chaos (and dramatic highlights) to the battle scene.

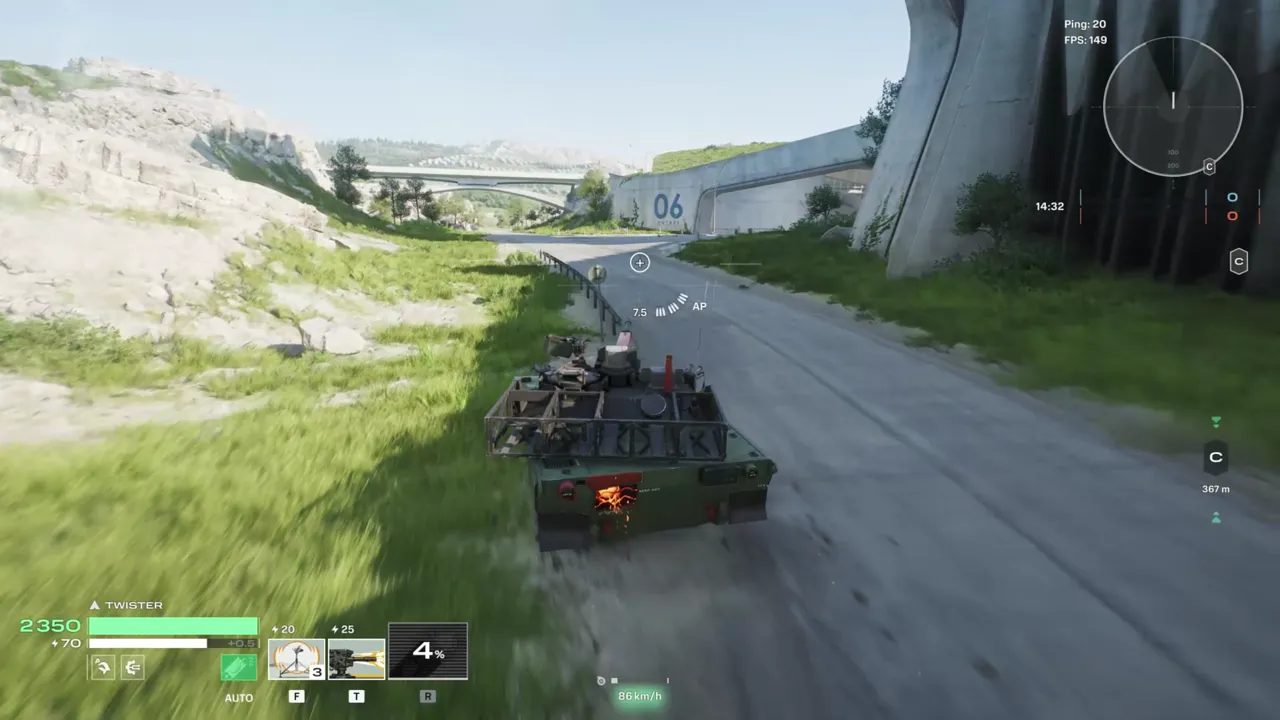
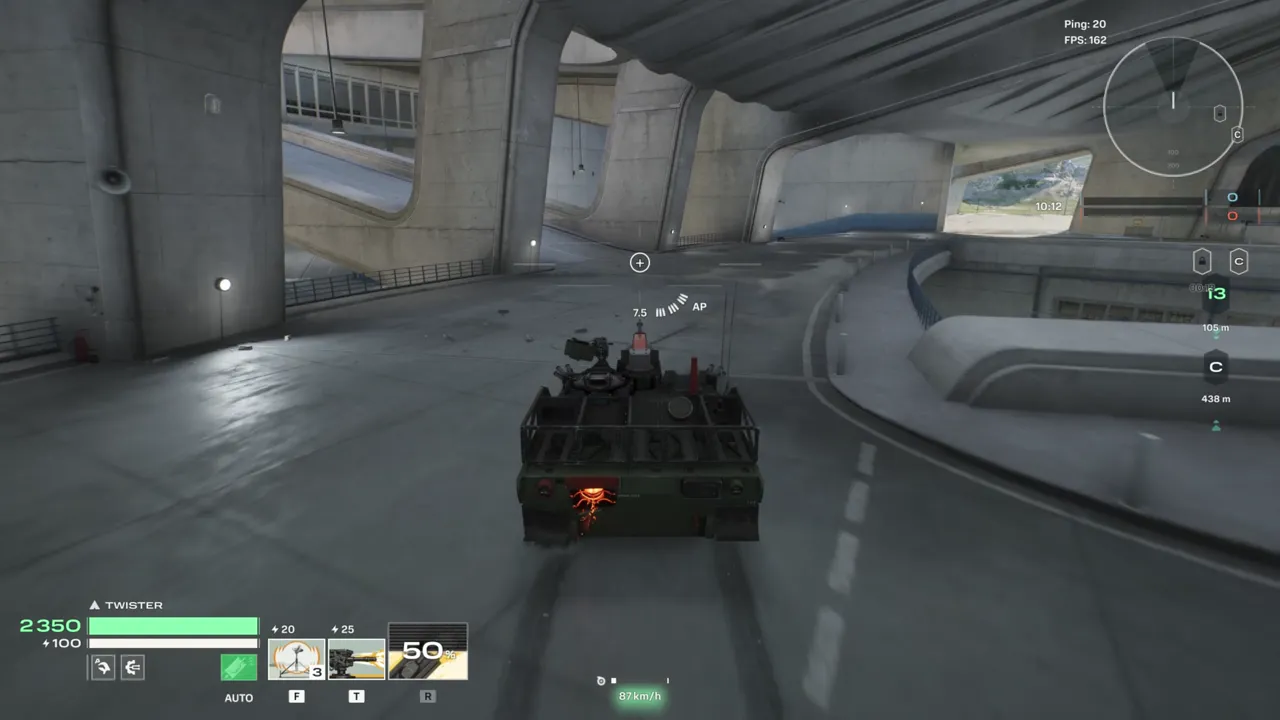
Below: handbrake on vs. handbrake off, side by side.

Handbrake force

Same approach, same speed. The only difference is the handbrake.

Without handbrake

With handbrake

Handbrake turns are tighter, faster, and far more dramatic.

Gear Efficiency and Boost Mode

1st Gear Efficiency defines responsiveness at low speeds and during short acceleration bursts. Higher efficiency improves performance in stop-and-go situations such as peeking out of cover.

2nd Gear Efficiency defines dynamics at moderate speeds, typically during sustained maneuvering. Higher values mean more efficient torque, crucial for repositioning or circling slower targets.

3rd Gear Efficiency influences performance at higher speeds. A higher value gives you improved mobility over longer distances and enhances the ability to disengage or reposition quickly.

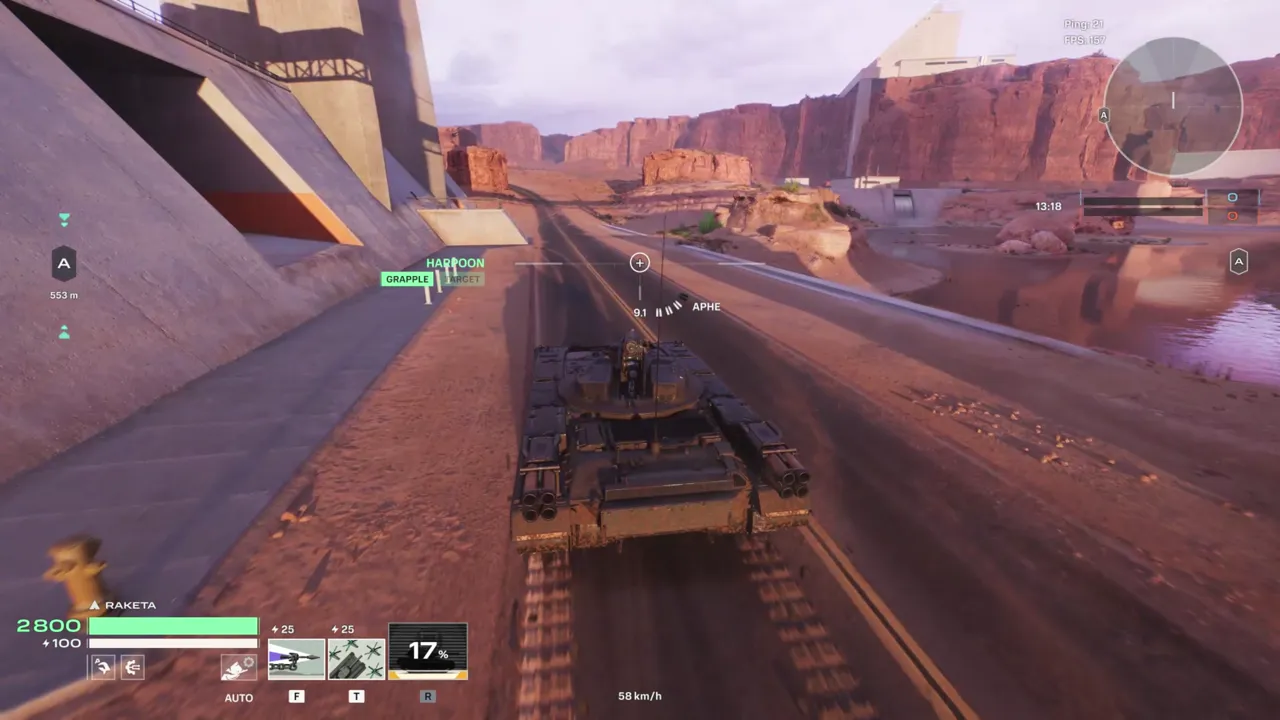
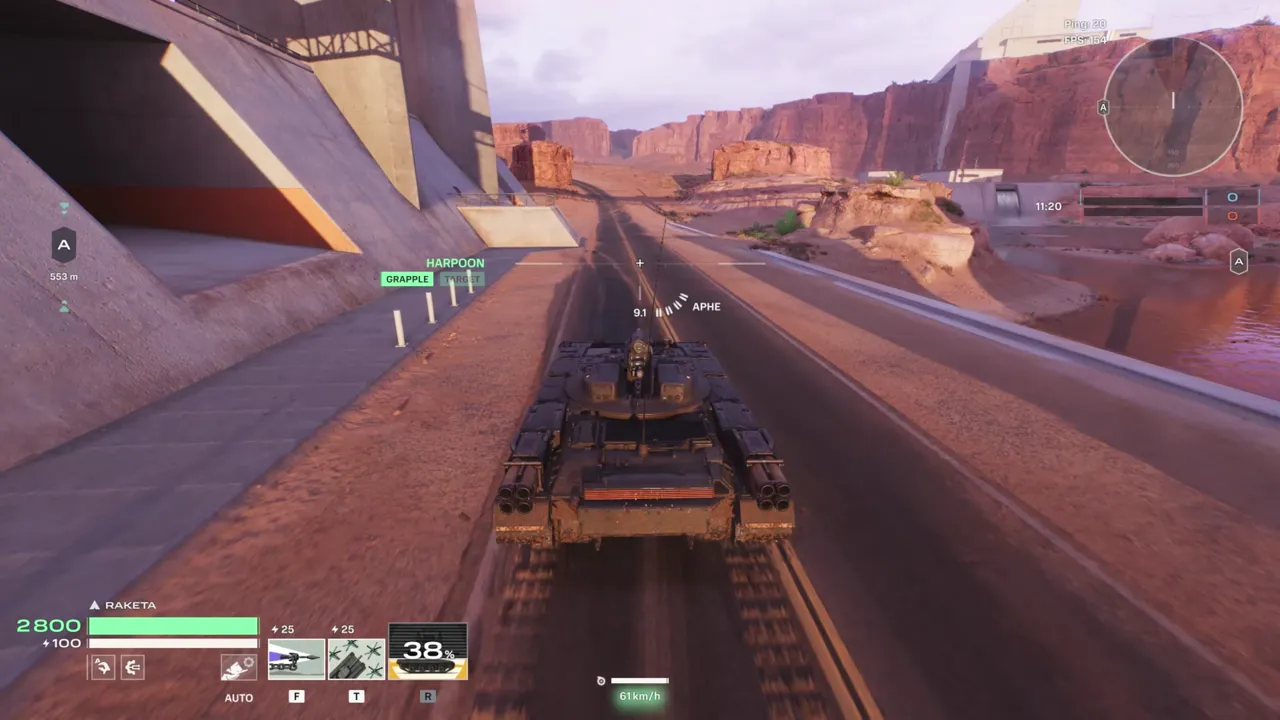
Boost is a self-contained system with its own four numbers: Acceleration (how fast you build speed when boost activates), Energy Volume (total boost capacity), Energy Cost (how quickly boost drains while active), and Regeneration Rate (how fast it refills when not in use).

Boost on, boost off

Same vehicle, same line. The only difference is whether boost is active.

No boost

Boost active

Boost shortens the time to top speed dramatically. Use it when you need to commit.

That's three down. More to come.

Last but not least would be the Visibility and Recon categories, but those are quite comprehensive topics, so we've decided they deserve a separate article.

Stay tuned for the next piece, and let us know what else you'd like to be covered in the series.

Next: How Visibility and Spotting Work